Progress Bar

Skip to main content

Jaycar
...

How to remove Header pins

How to remove Header pins

Difficulty
TEST & TOOLS

Summary

Many off-the-shelf modules have header pins that can be difficult to work with, whether they are facing the right way or are the wrong configuration (vertical instead of horizontal, vice versa.) - Sometimes it can be easier for you to use wires instead of header pins, and you need a way to remove the existing header pins without causing damage to the module or causing a mess with a pair of side-cutters.

Removing the header pins is actually a very easy process when you remember that metal doesn't stick to plastic too well.

  • Soldering iron
  • Vice, or something to grasp onto the module firmly.
  • Needle-nose pliers.

For cleaning:

  • Solder wick, Alcohol, old toothbrush.
  1. Mount the module firmly in a vice, with the pins facing downwards. If they are right angle pins, bend them with a pair of pliers to be facing straight down.

  2. Heat up the soldering iron and grip the pin firmly with a pair of pliers.

  3. Apply heat to the solder joint for around 2-3 seconds , and gently pull downwards on the pin to pull it out of the solder pad. It should also slip out of the black plastic fairly easily as well. pulling too hard or fast can pull the pad off the board.

  4. Repeat for remaining pins.

  5. Apply fresh solder across the old pads, to mop up old junk and refresh the metals.

  6. Use a solder wick (and solder sucker if you wish) to mop and remove the new solder so that there is no trace of solder.

  7. Spray with alcohol and scrub with a brush or cloth to clean up any residual flux.

  8. Done!

Similar projects you may be interested in

TEST & TOOLS
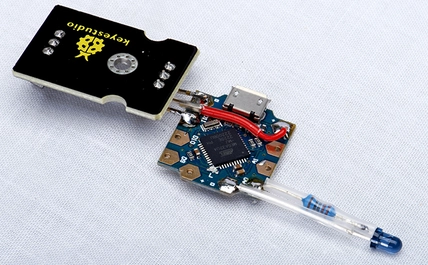
IR Helper
Difficulty

TEST & TOOLS
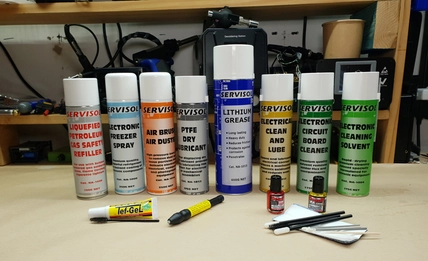
Service Aids - More Than You Think!
Difficulty

thumbnail
TEST & TOOLS
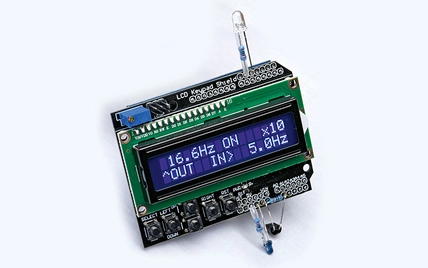
Stroboscope and Tachometer
Difficulty

TEST & TOOLS
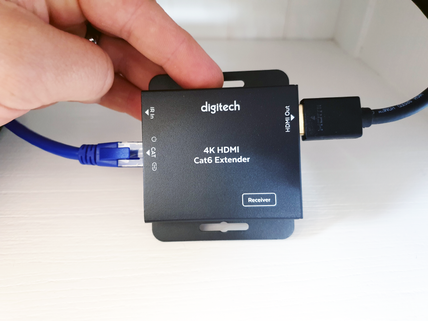
How to extend HDMI signals to a different room
Difficulty