How to make a Smart Wireless Alarm
Summary
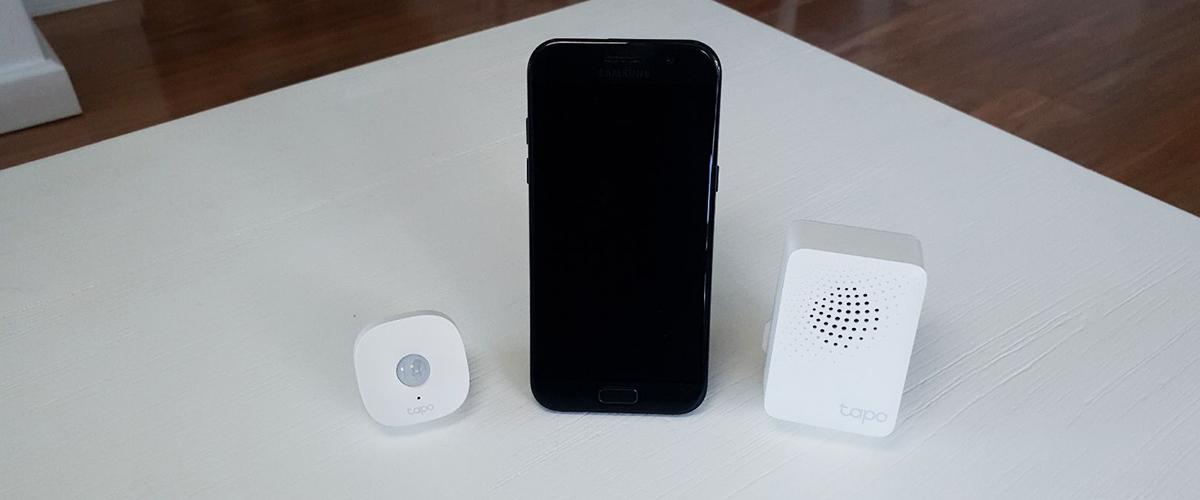
In this one-day project, you can use some of the Tapo range of wireless integrated smart home products to make a wireless alarm that can stand alone or fit in with a bigger Tapo system. Being a smart networking device, the Tapo Hub can even alert your phone if you are too far away from the Hub to hear one of its nineteen inbuilt chimes! We have sectioned the information for those new to Tapo, and those who already have it set up.
Table of Contents
If you have already installed the Tapo App and Hub, skip to ‘Adding the Motion Sensor’
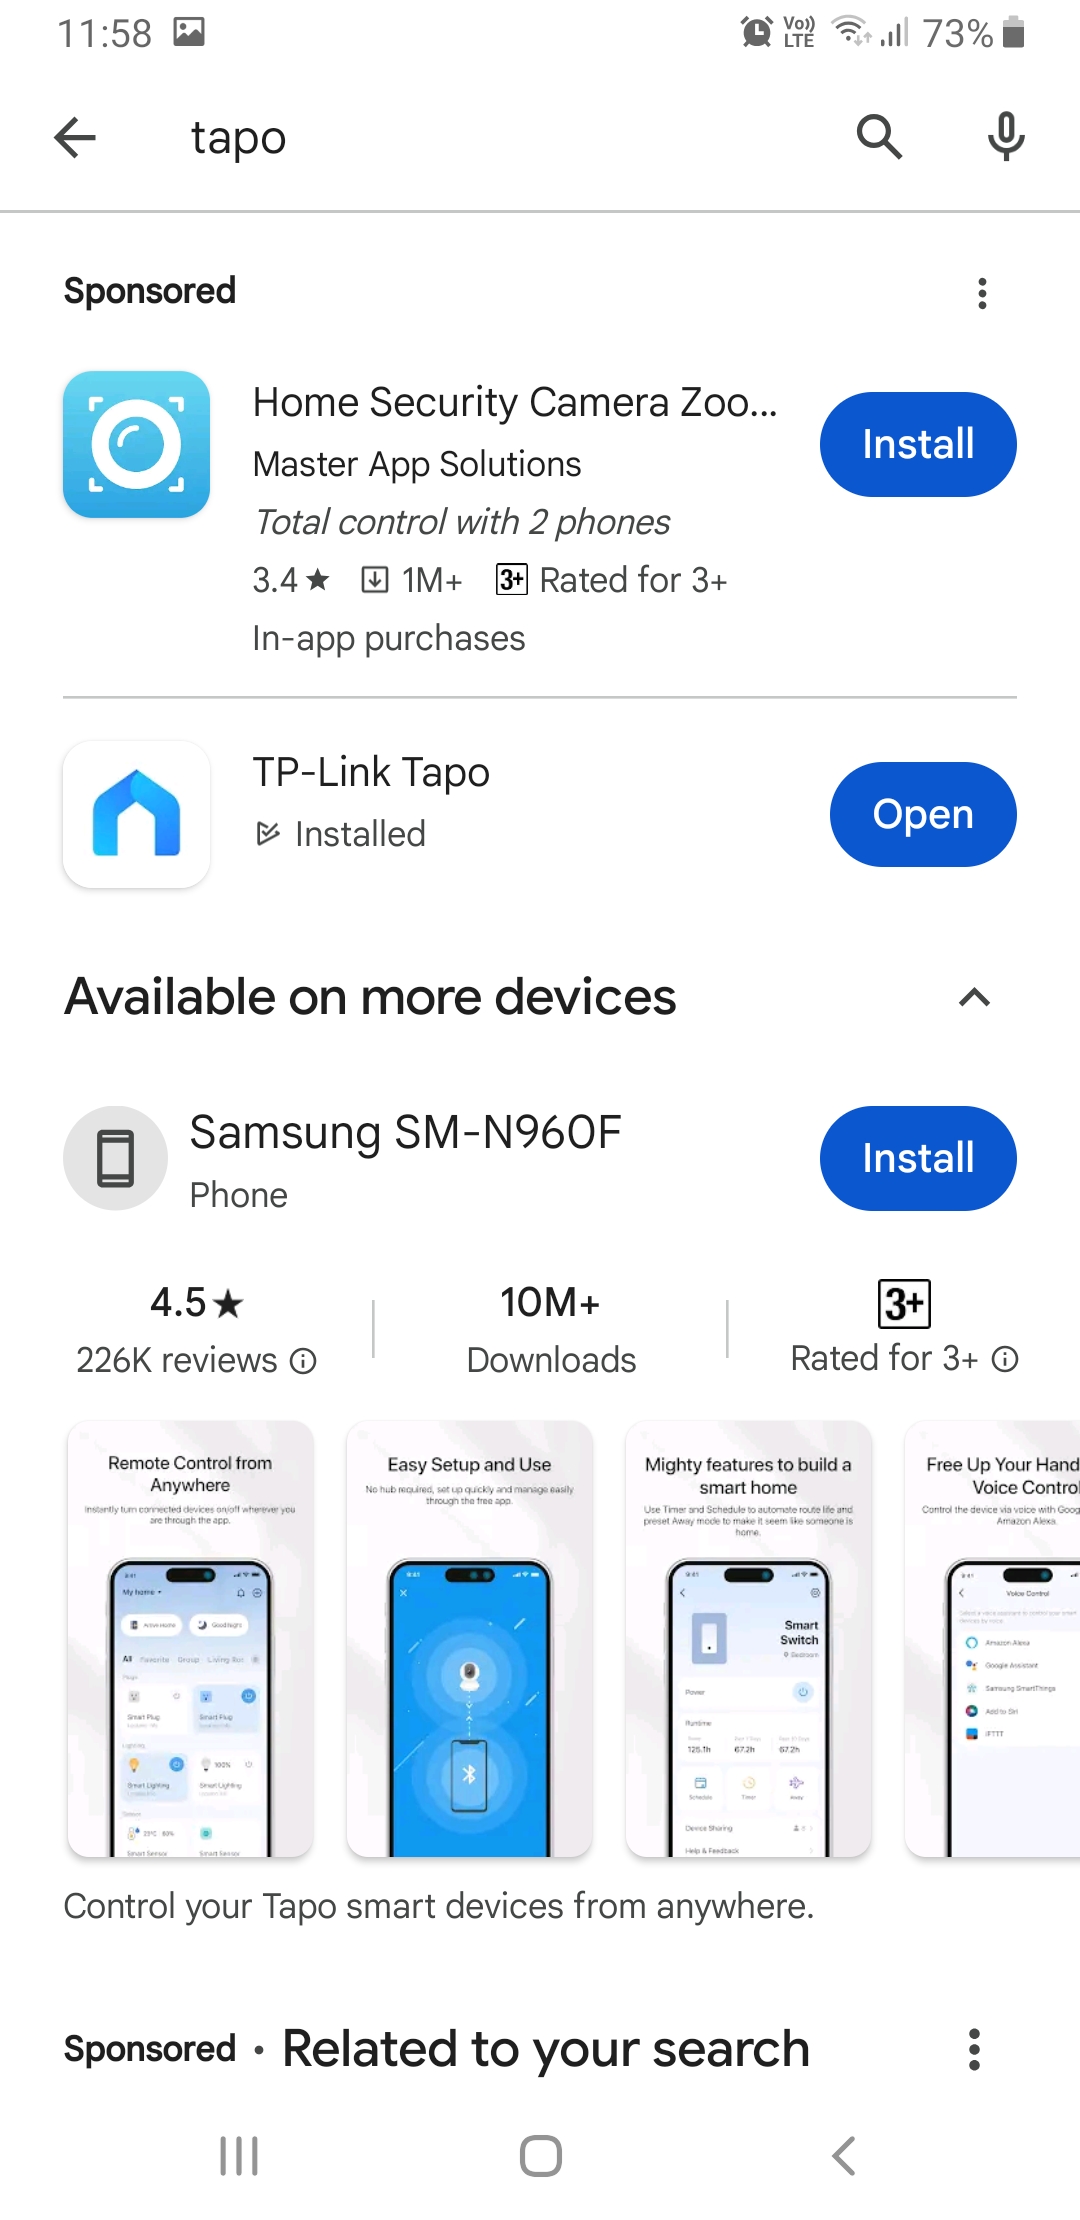
Before you do anything with the Tapo range, you need the Tapo app. This works with all of the smart devices, and while many sensors, buttons, and lights function through the Hub, other items like the power sockets function through the app directly. Go to your device's preferred app store and search for "Tapo". Because of sponsored promotions, the correct app may not be at the top of the list. Look for the ''TP-Link Tapo'' app.
Open the app that has just installed, and you will see this screen:
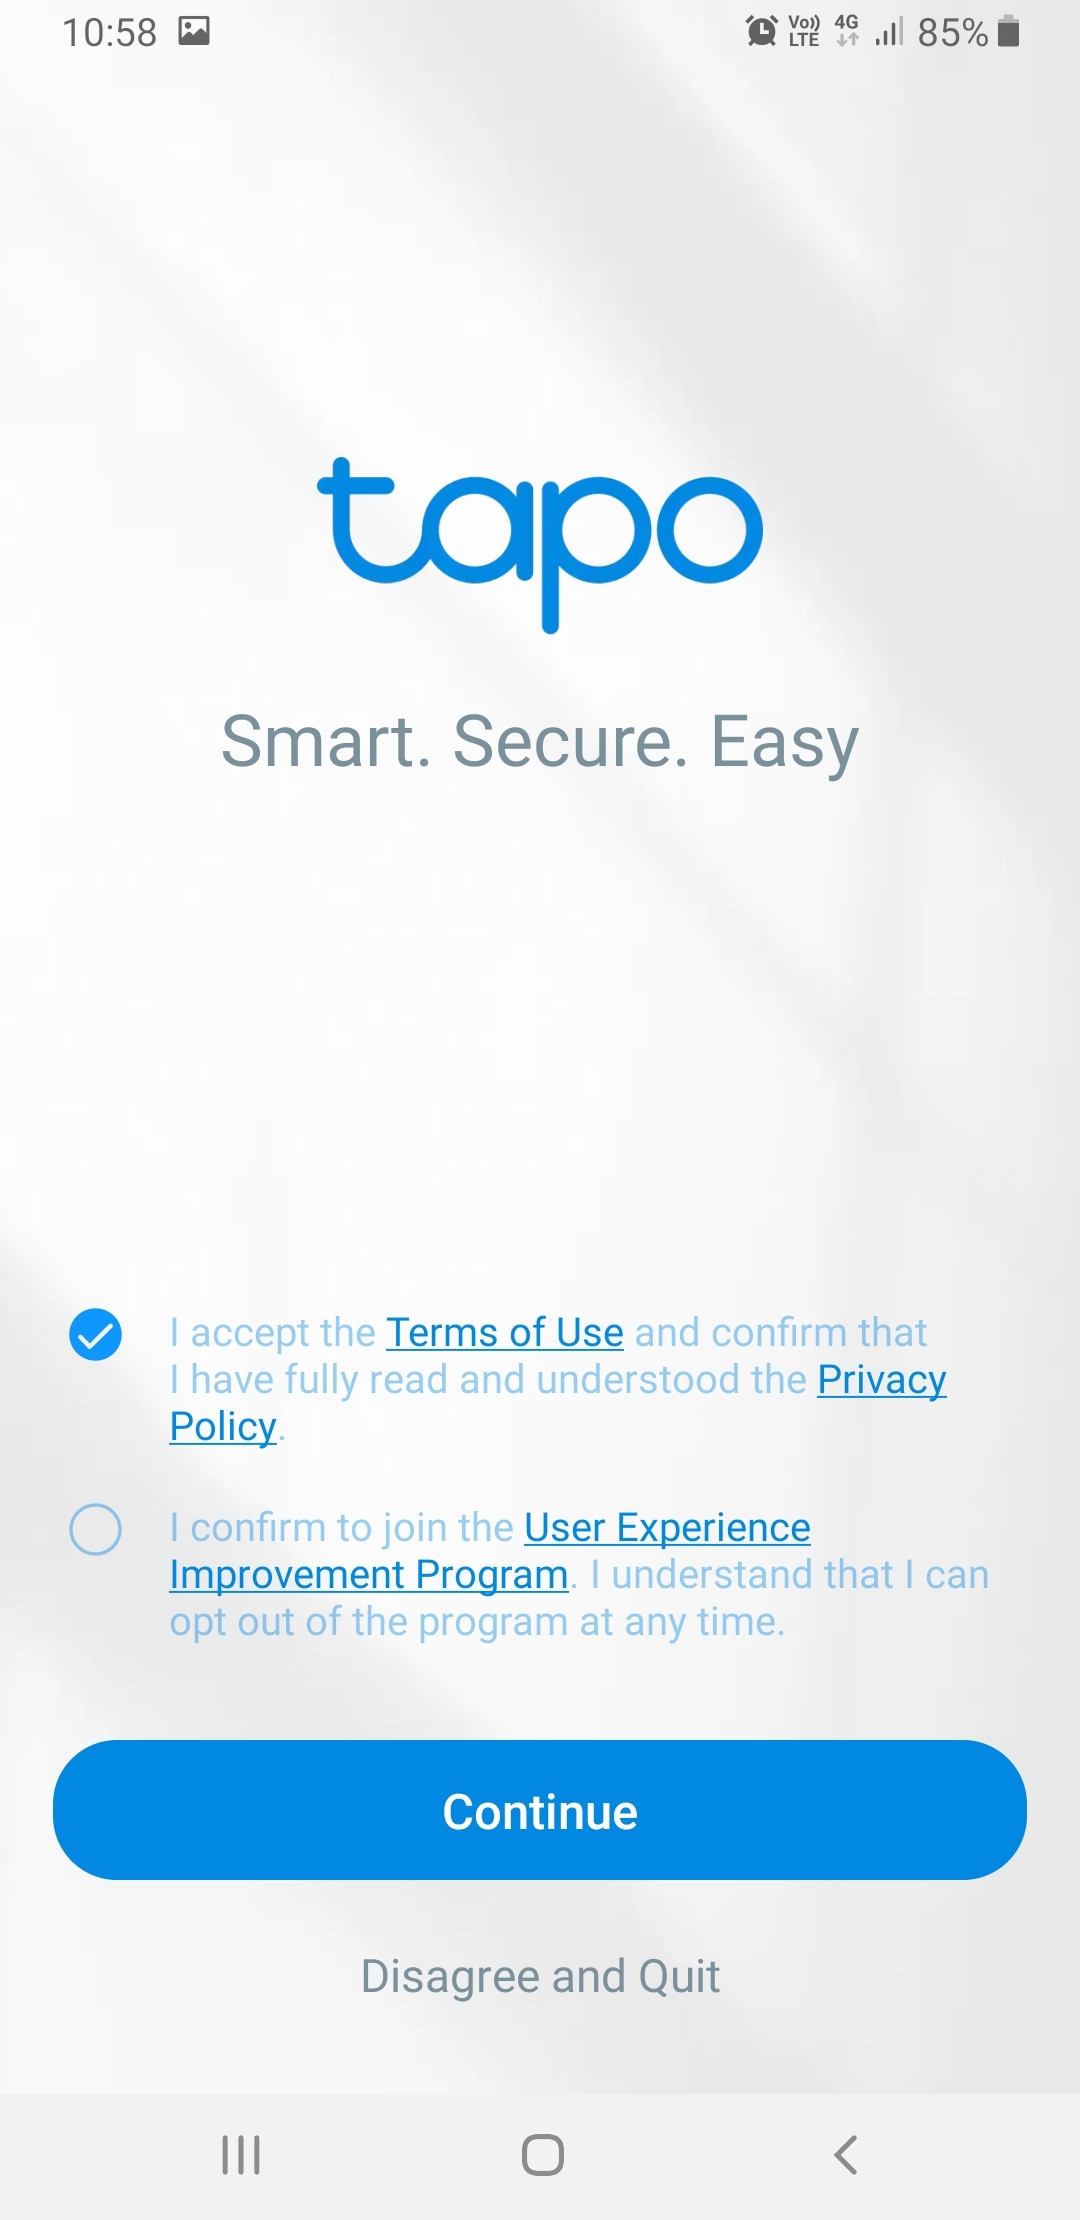
Click the first 'I accept' button, but you do not have to click the second 'I confirm' button: the app will work without you being part of the 'user experience program'. Click 'Continue'
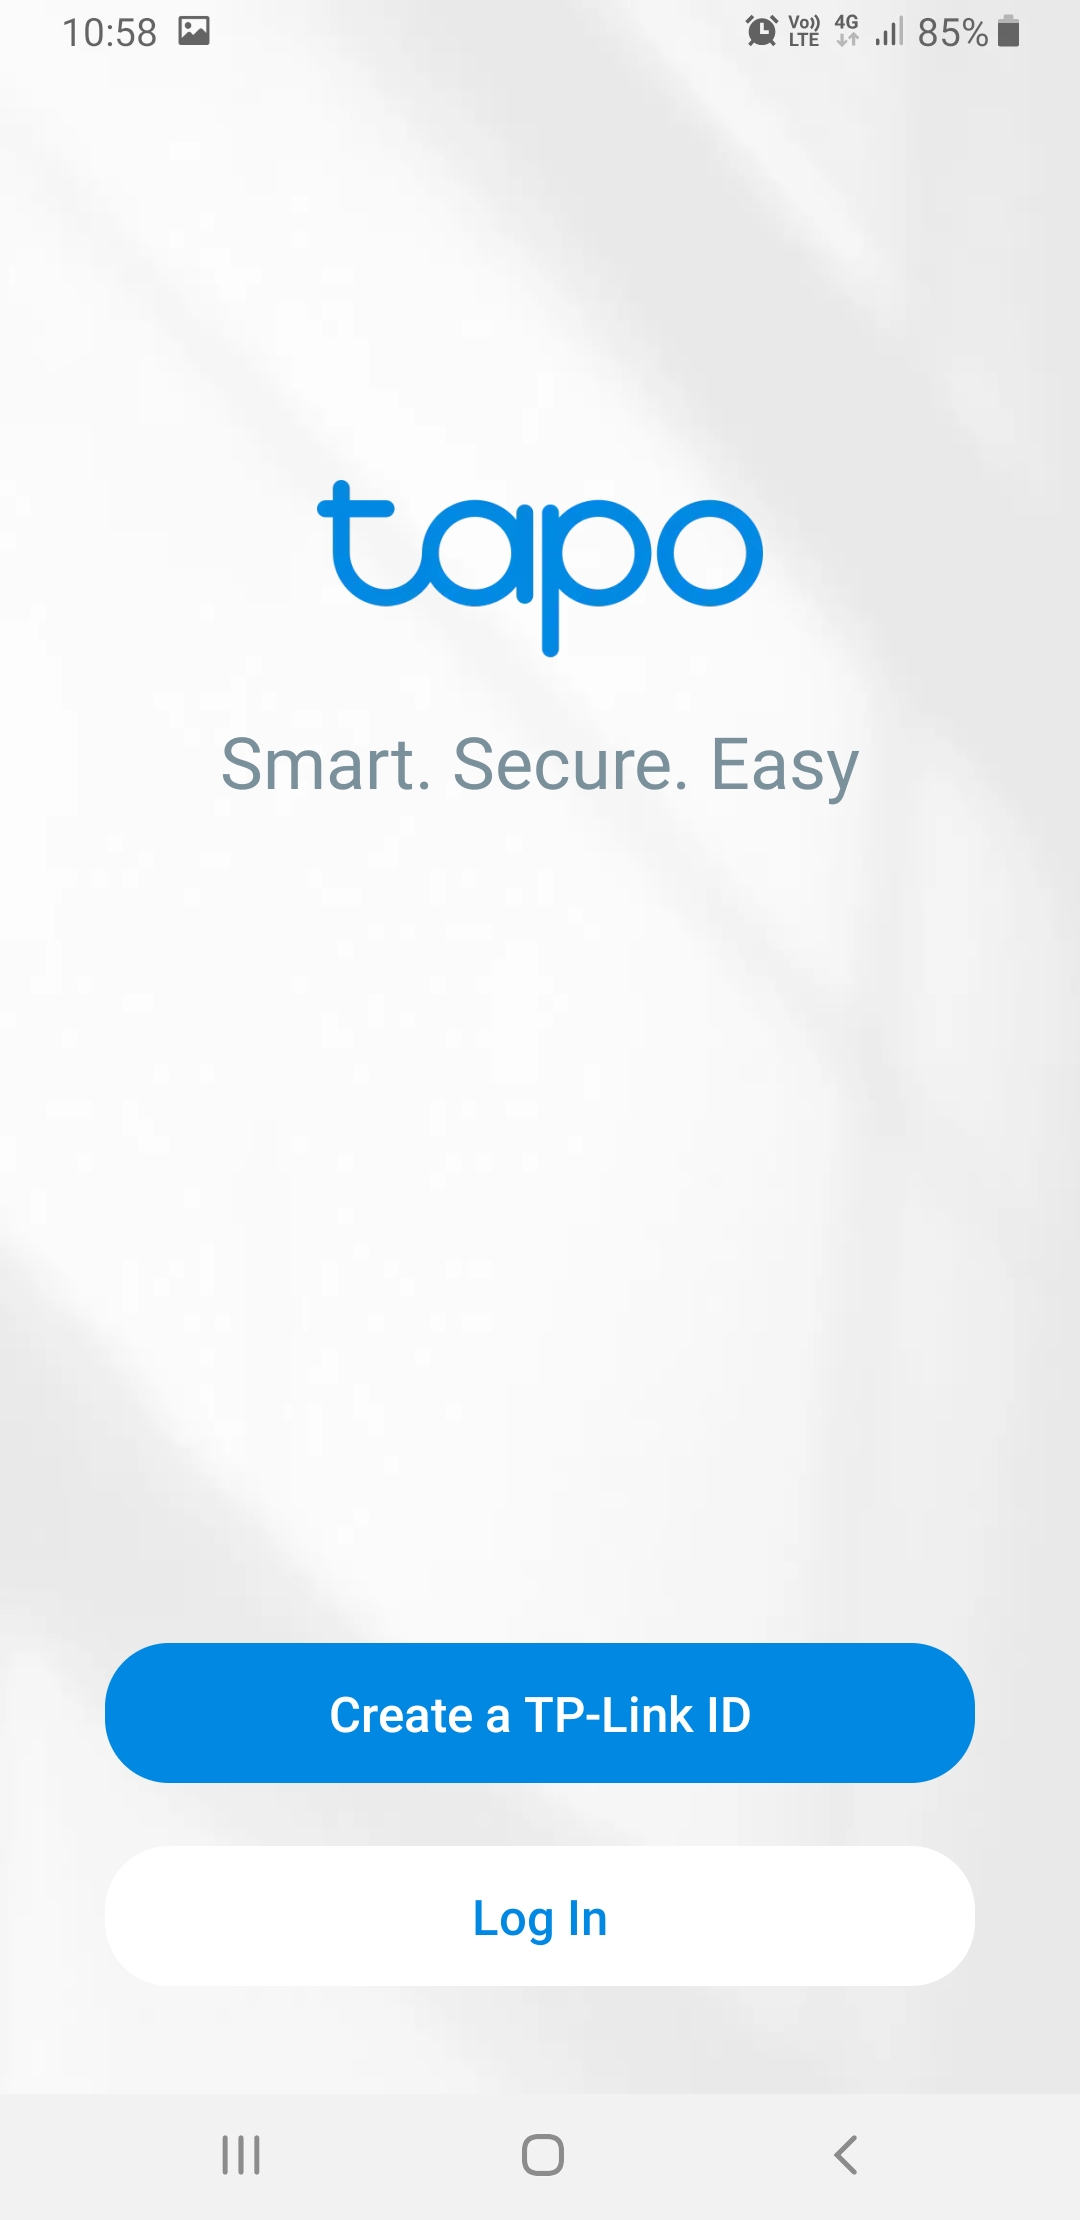
The next screen opens automatically. Tap the blue 'Create a TP-Link ID' button. This is not optional, and it must be done before the 'Log In' button will become active.
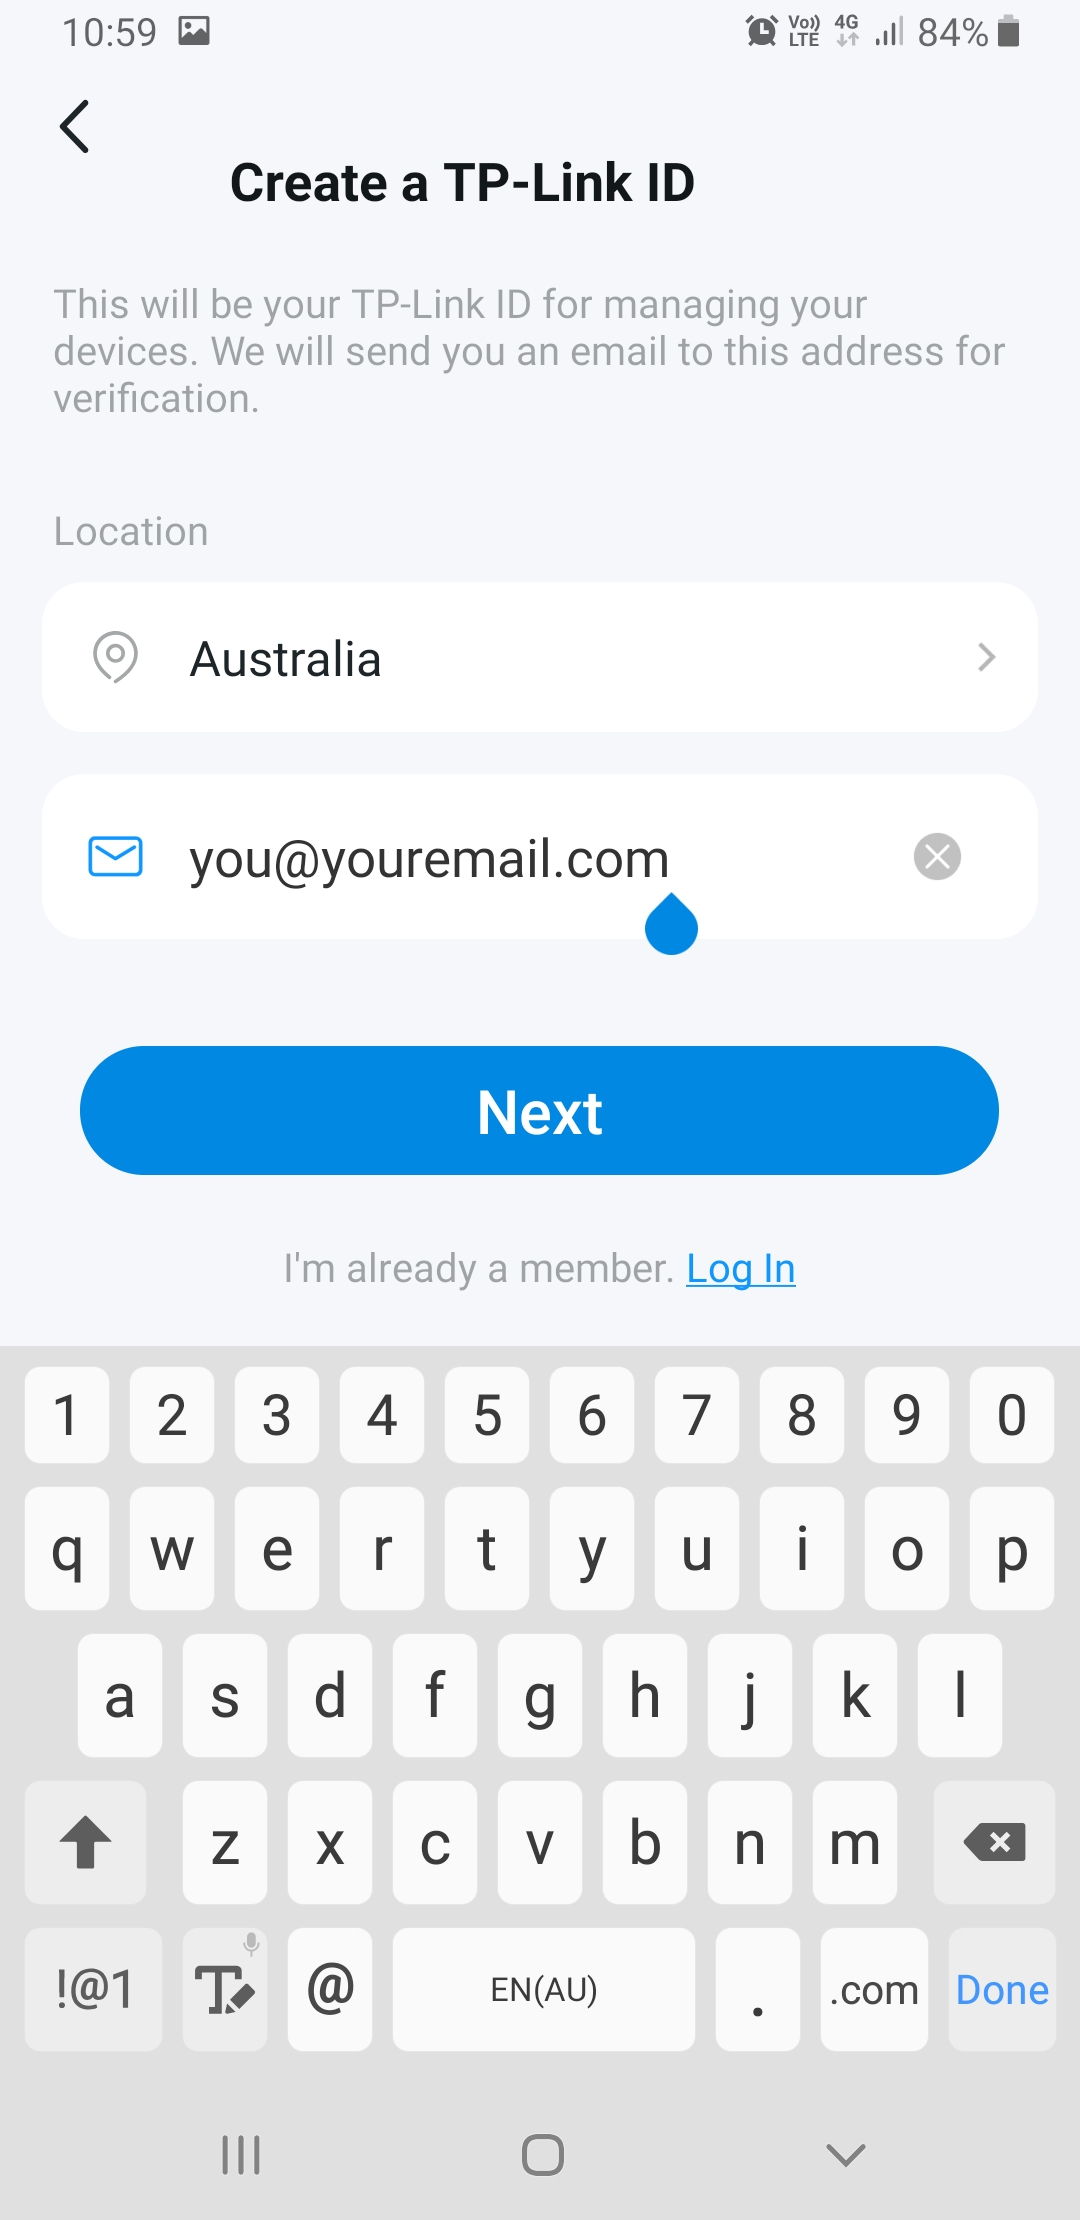
Add the details on the screen that follows: your chosen email address and your location. On the subject of location, turn on your device's location now to save some hassle later. Tap the blue 'Next' under the email entry.
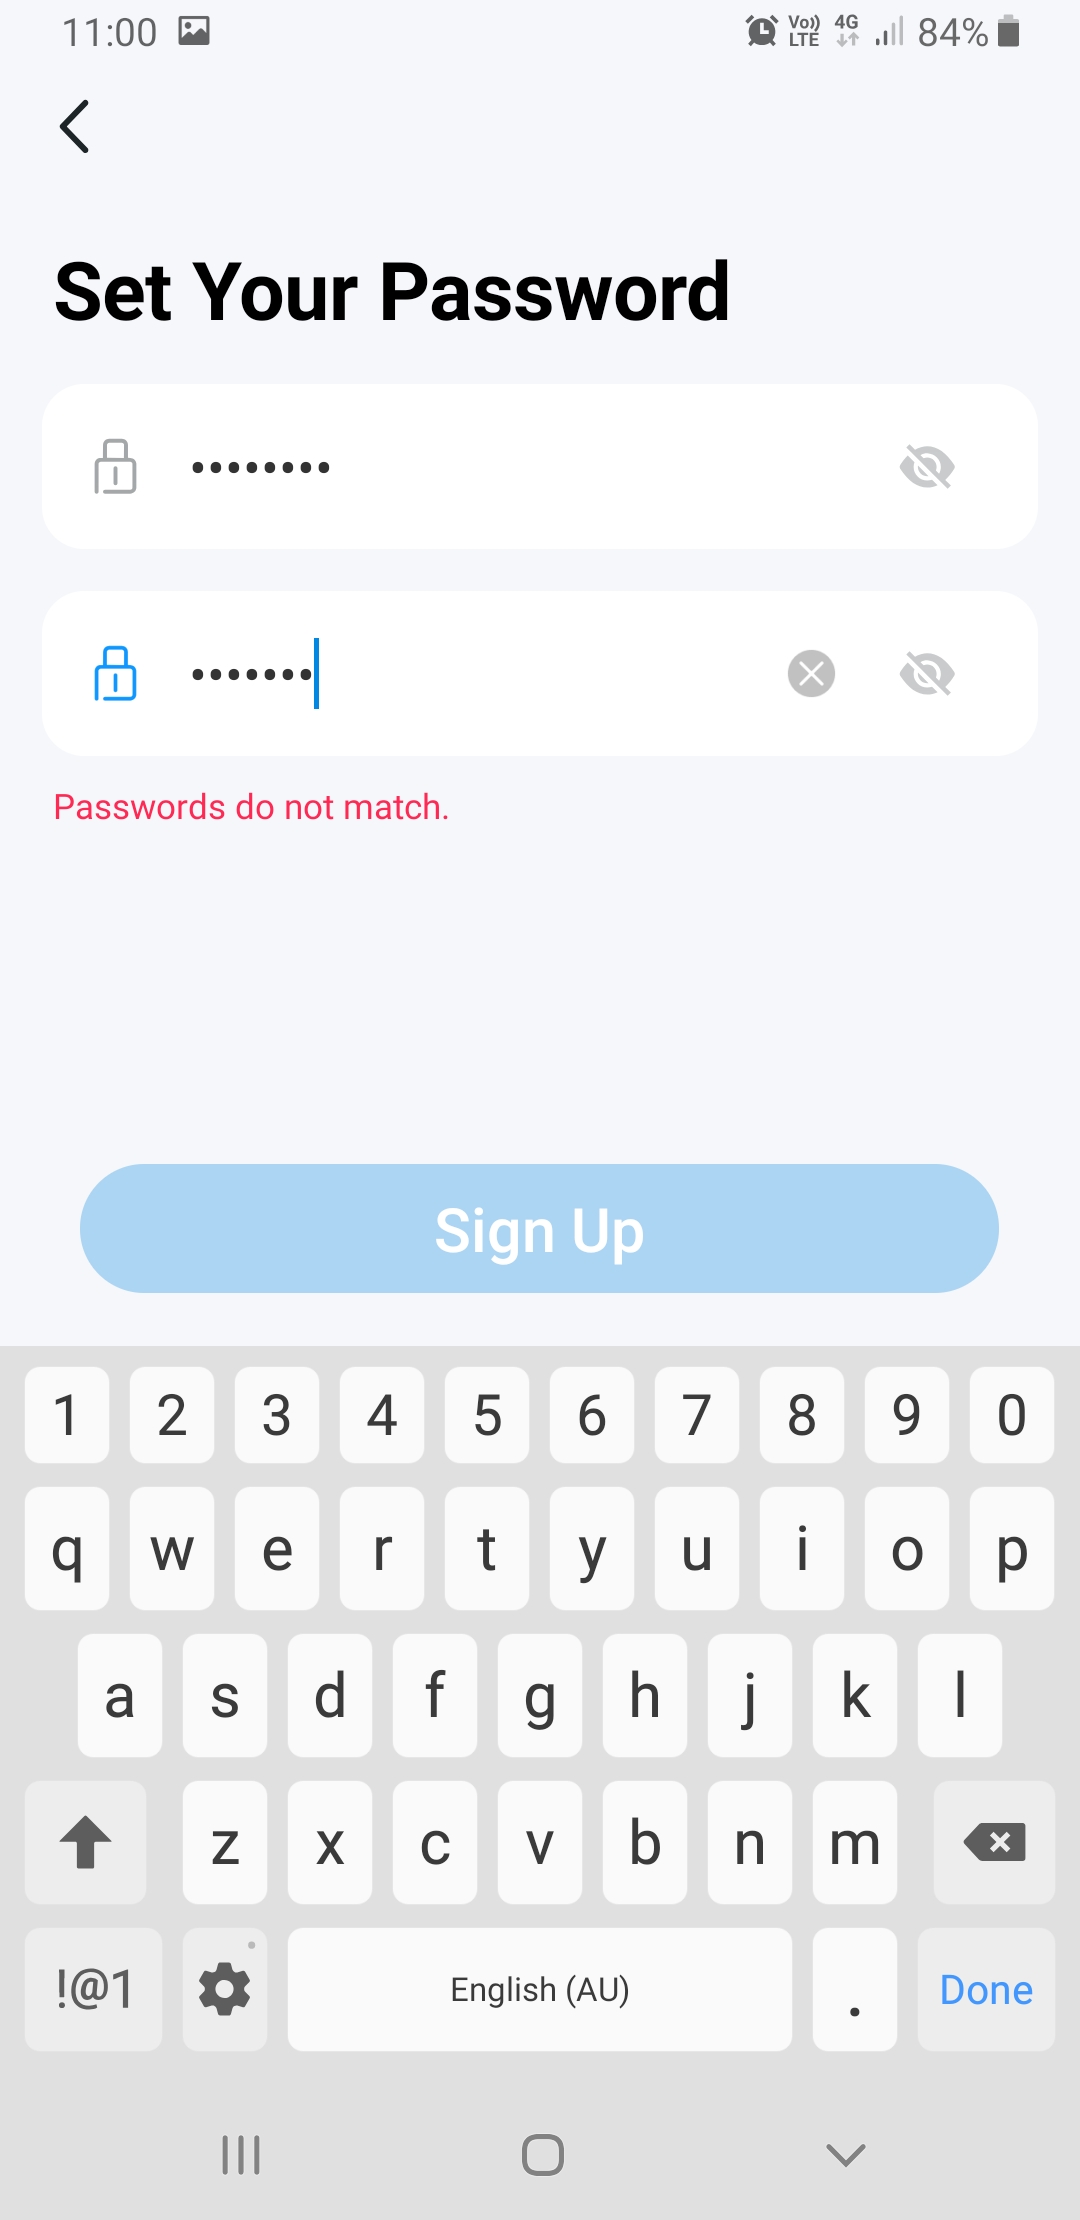
The next screen prompts you to enter a password. Tap the eye with a line through it (greyed out here) if you want to see your password as you enter it. The red 'Passwords do not match' text stays there until the passwords are the same, rather than appearing when you finish like many such screens. Don’t freak out that you have started typing wrong - it won't be correct until it's complete.
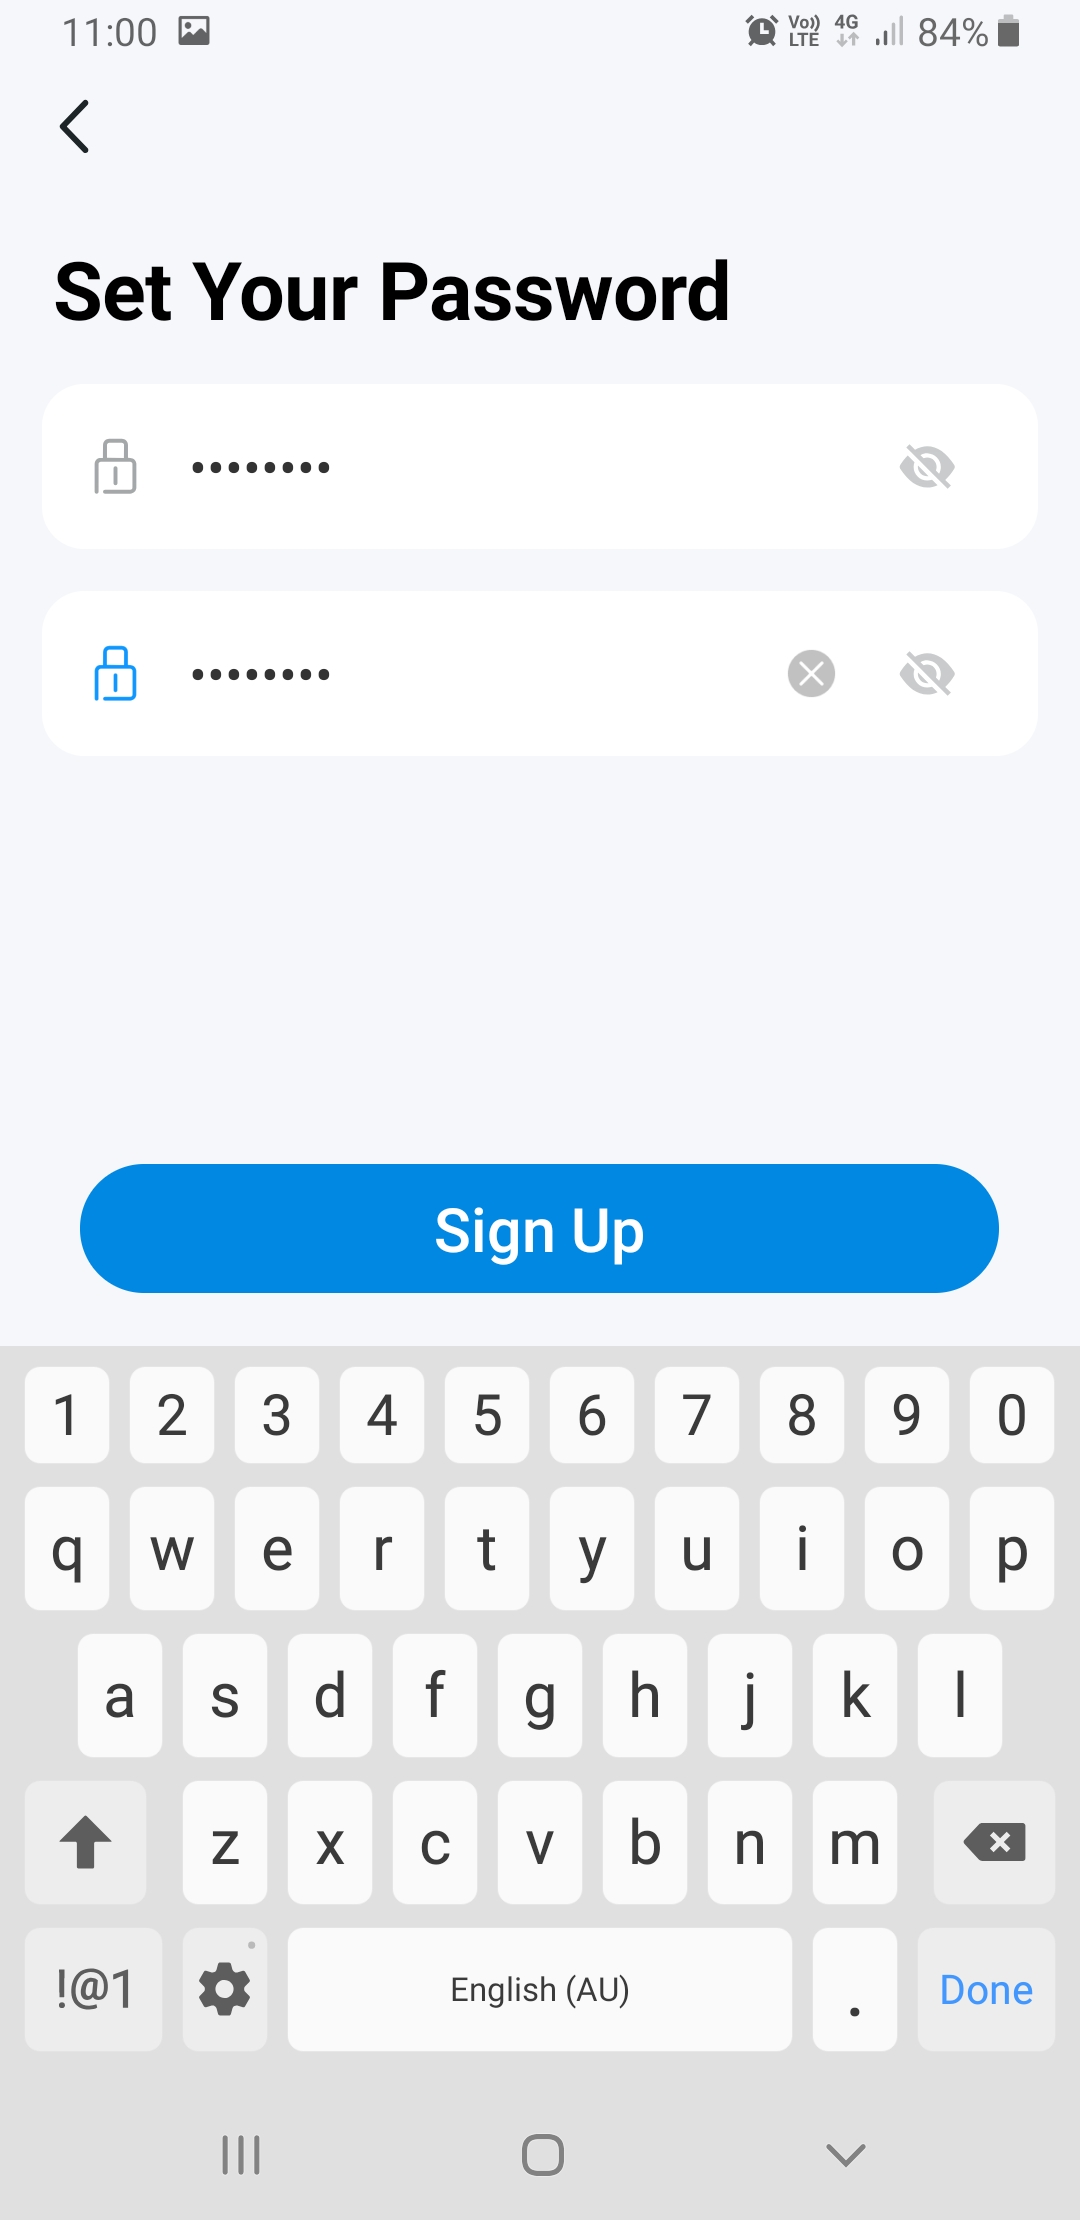
When the passwords match, the 'Sign Up' button turns blue, and you can tap it.
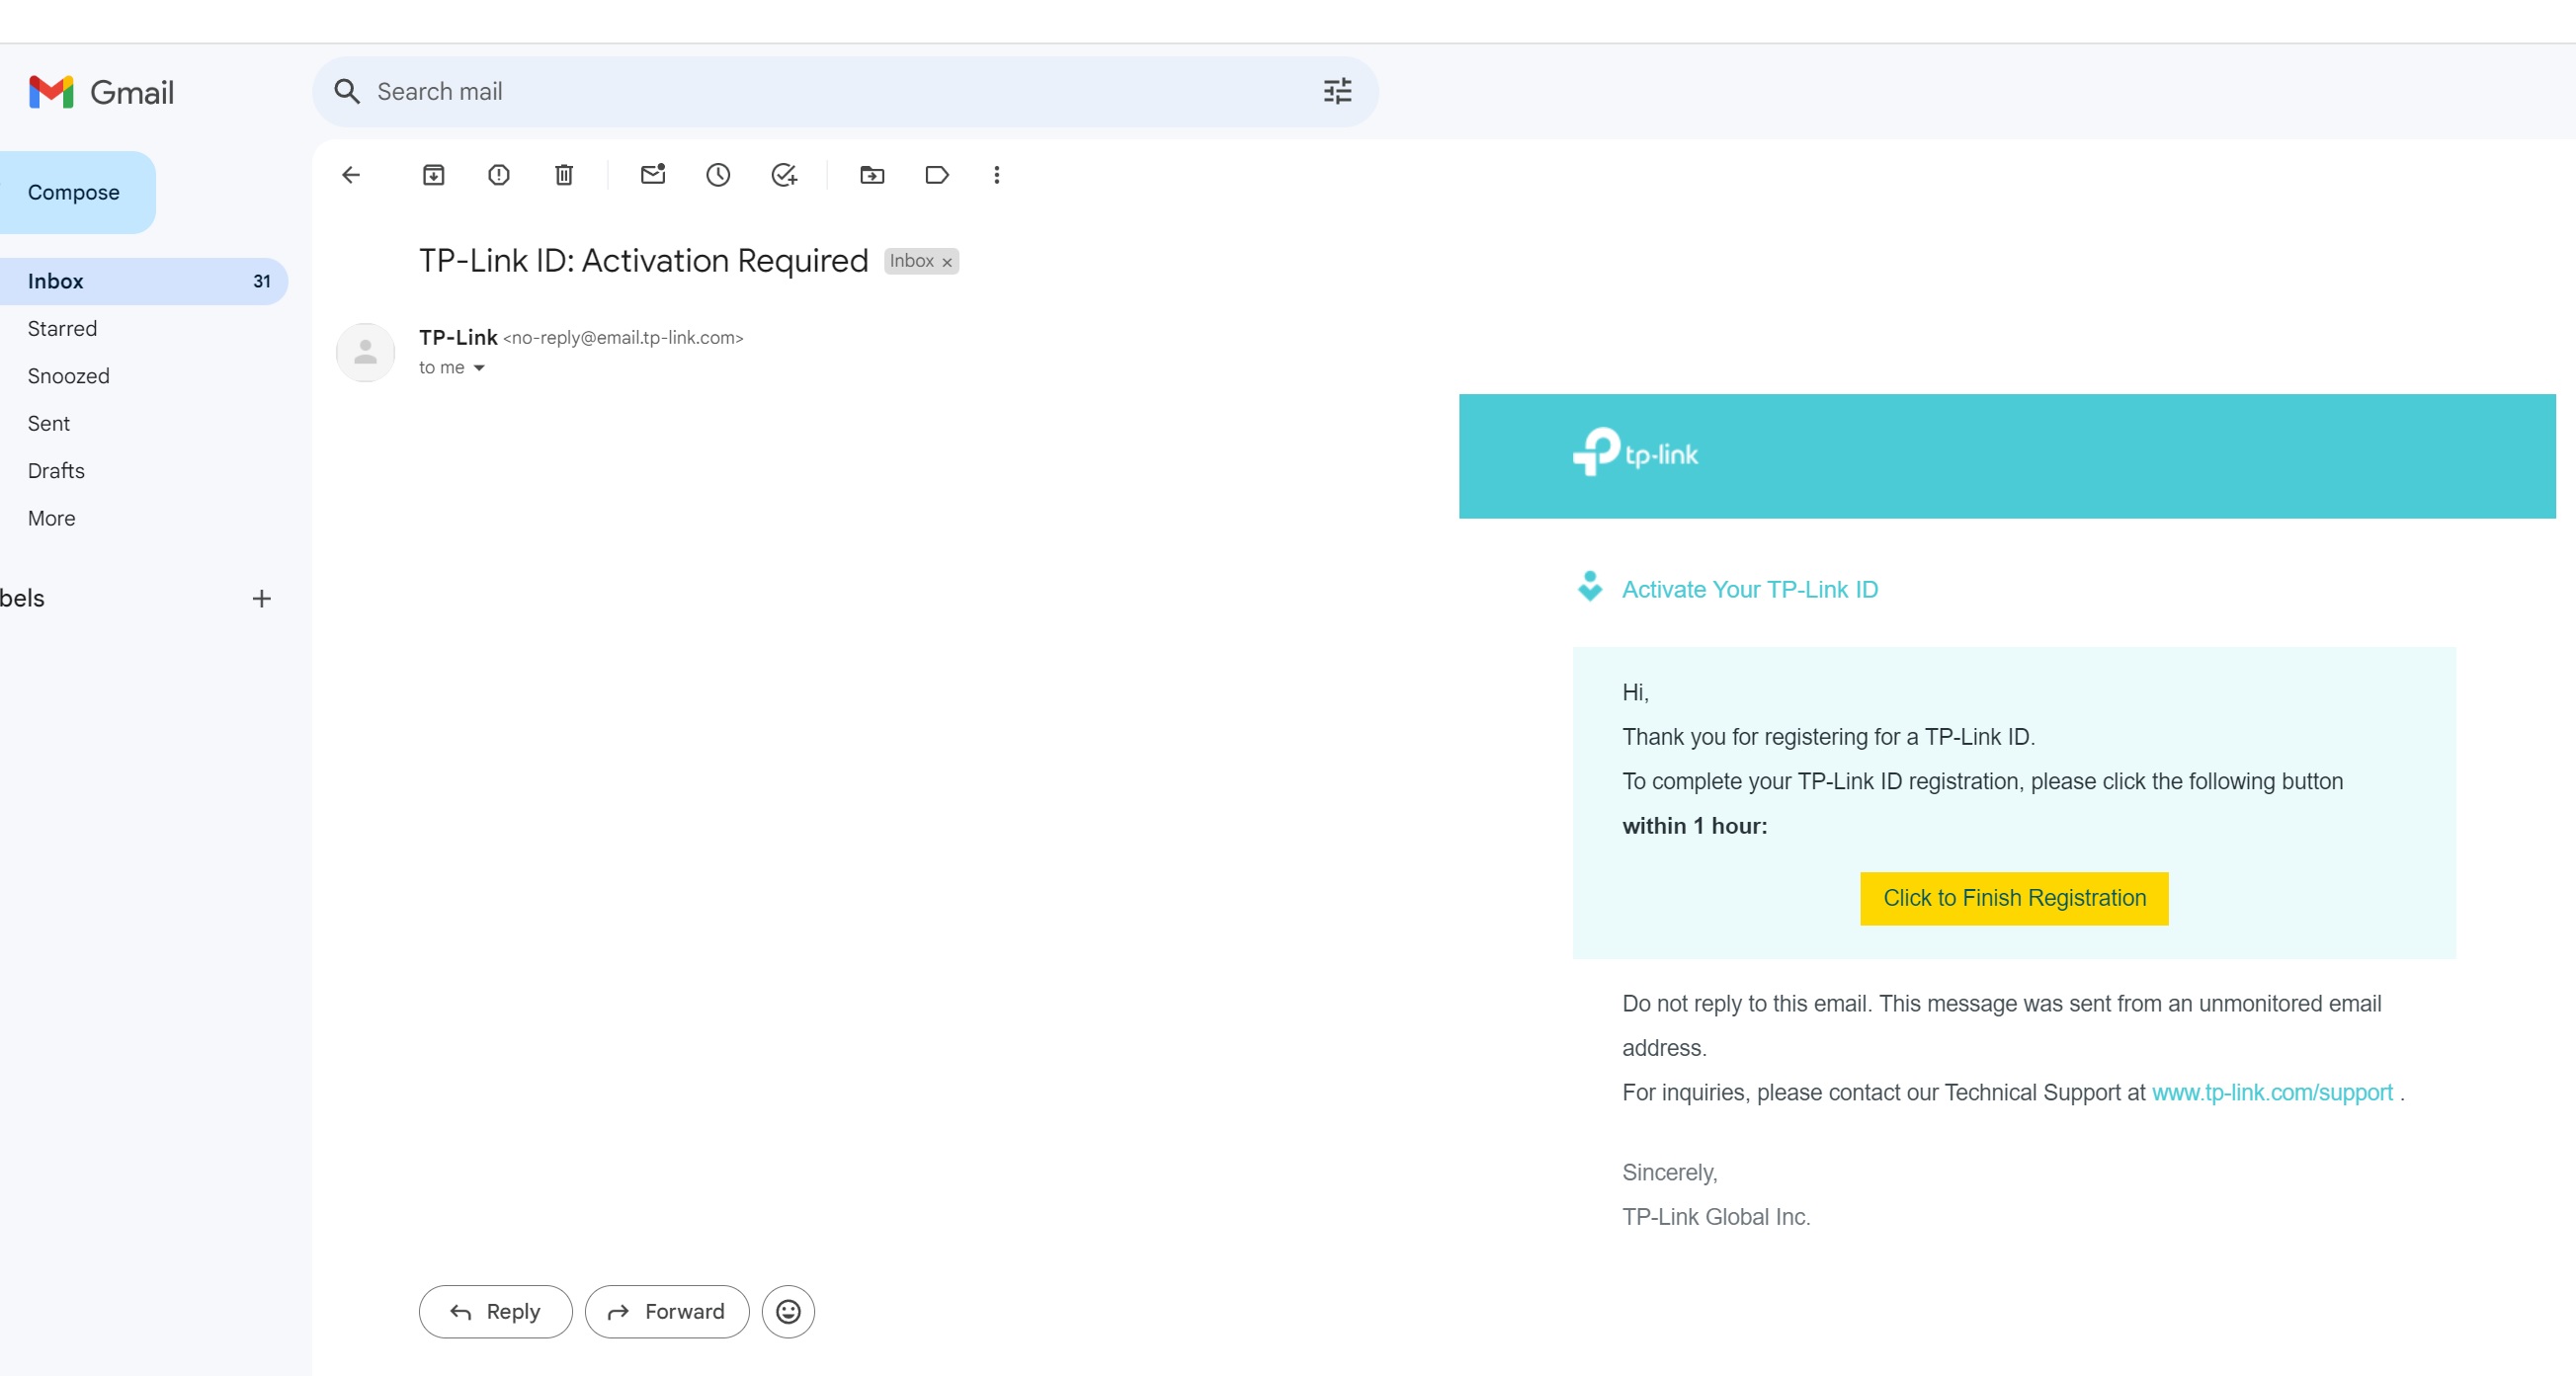
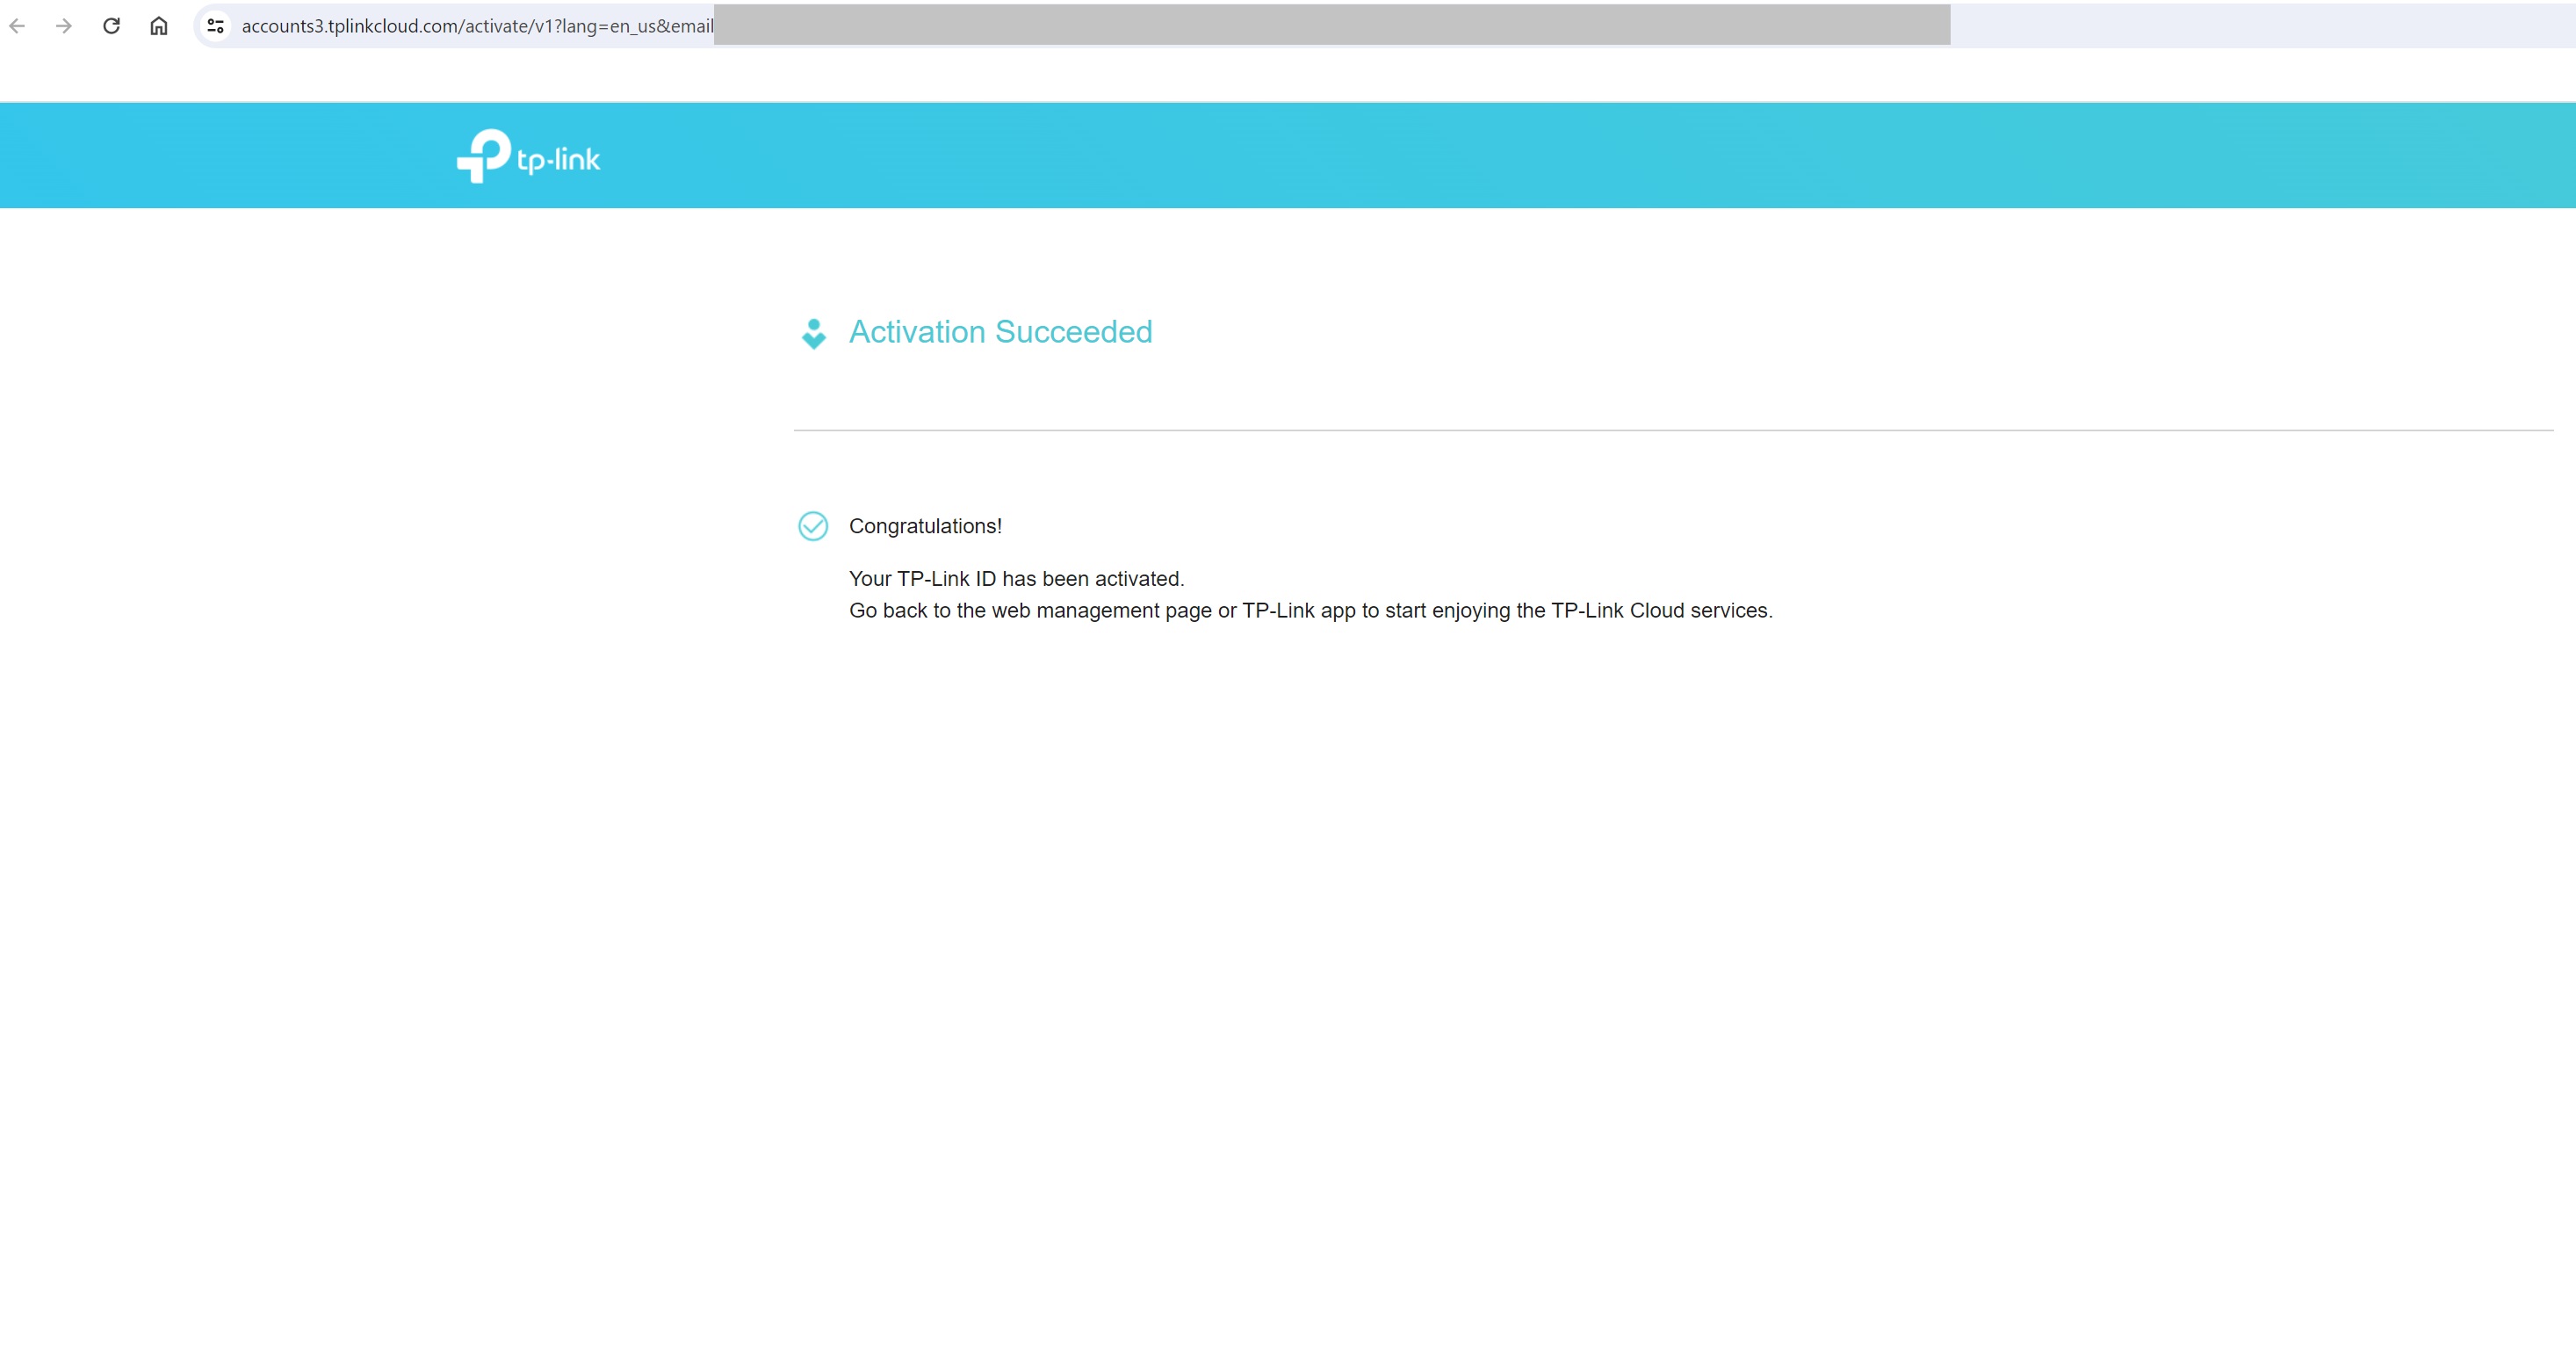
Before you can do anything else, an activation email is sent to the email you just used to register for your ID. Click the yellow link within the TP-Link email body.
If the following screen appears, you should have a functional app.
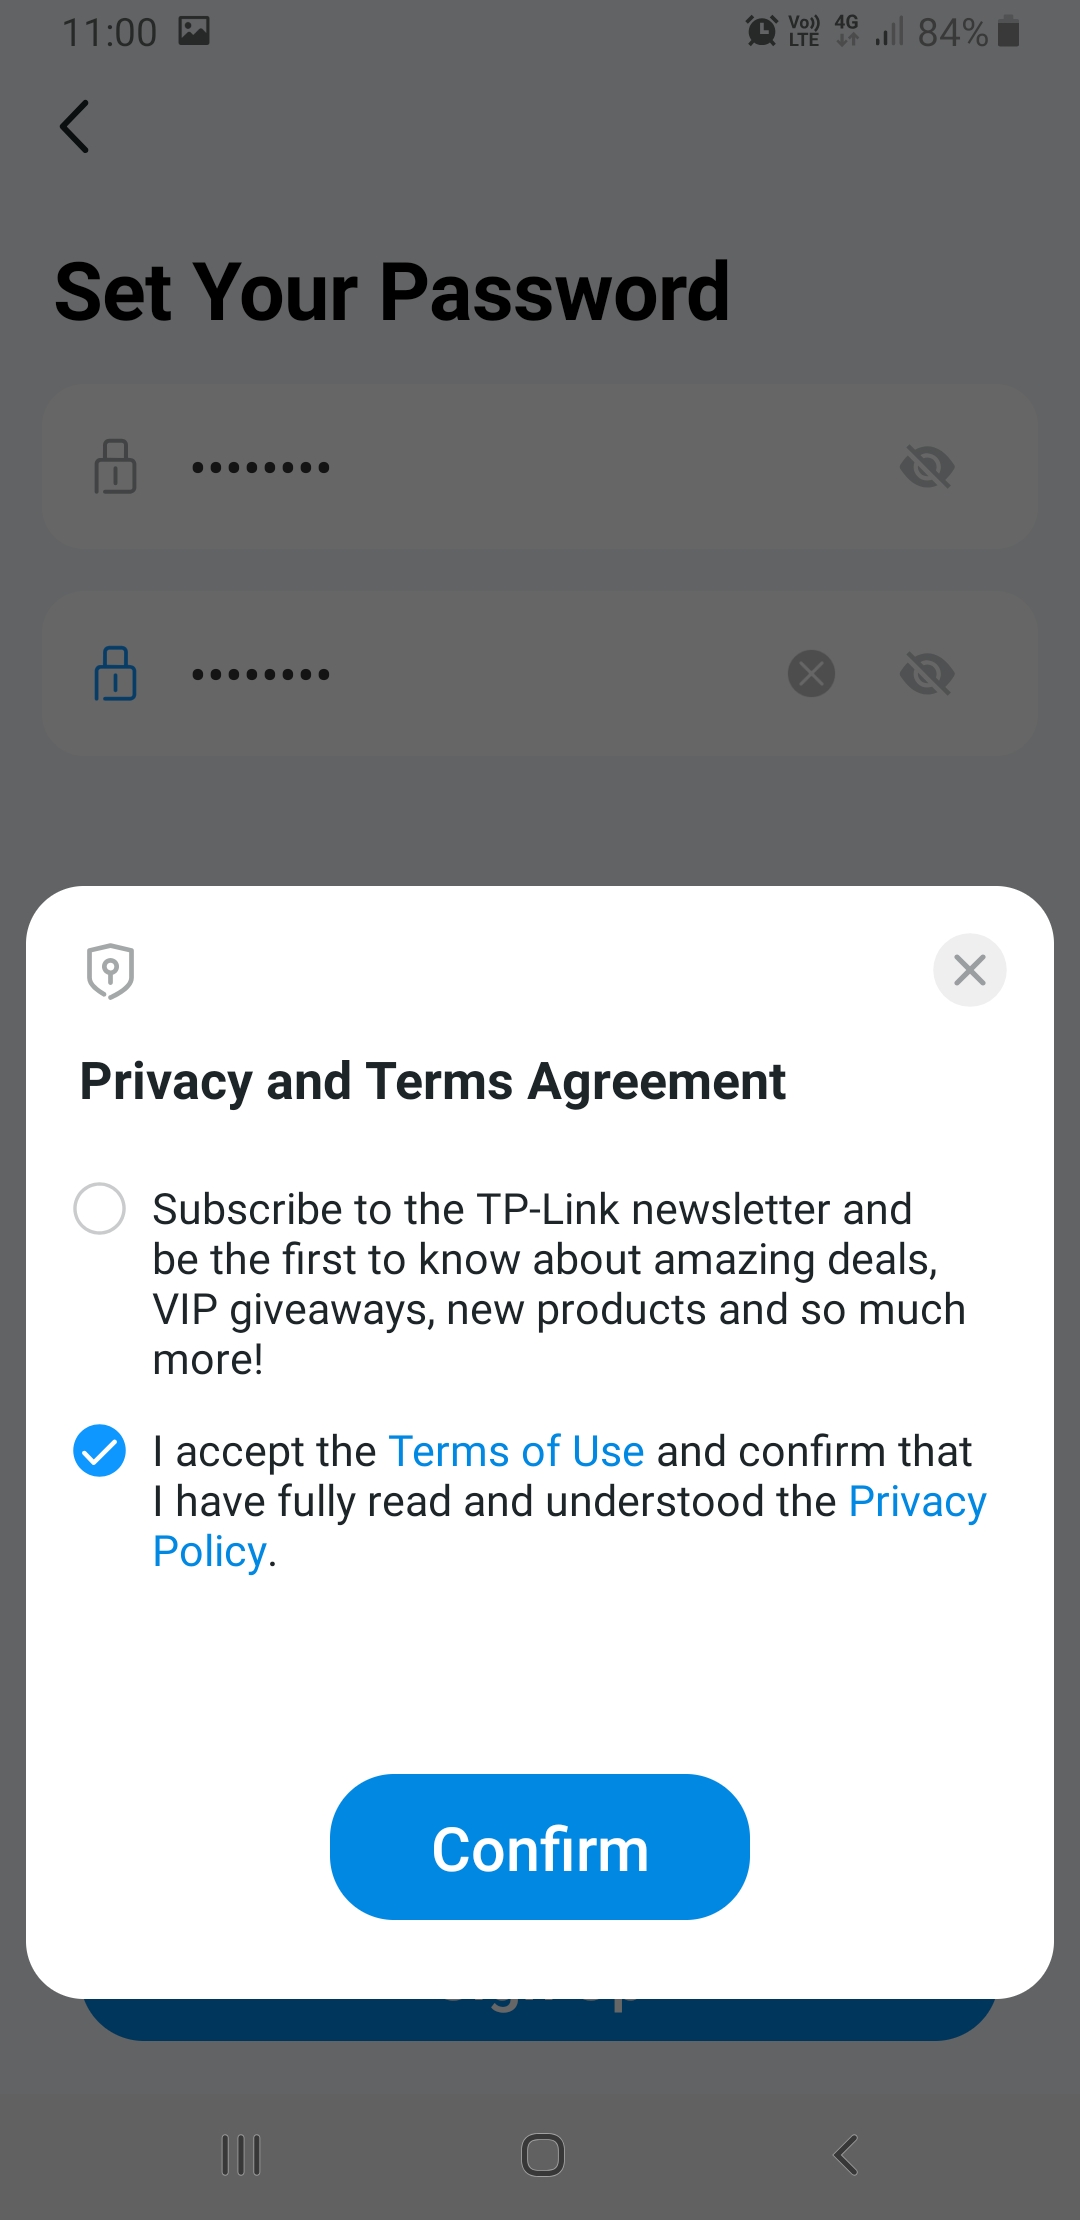
You will immediately be prompted to agree to privacy and terms agreements. The first button is a newsletter signup and is optional. The second is the terms of use and you cannot proceed without agreeing to this one. Tap the blue 'Confirm' button.
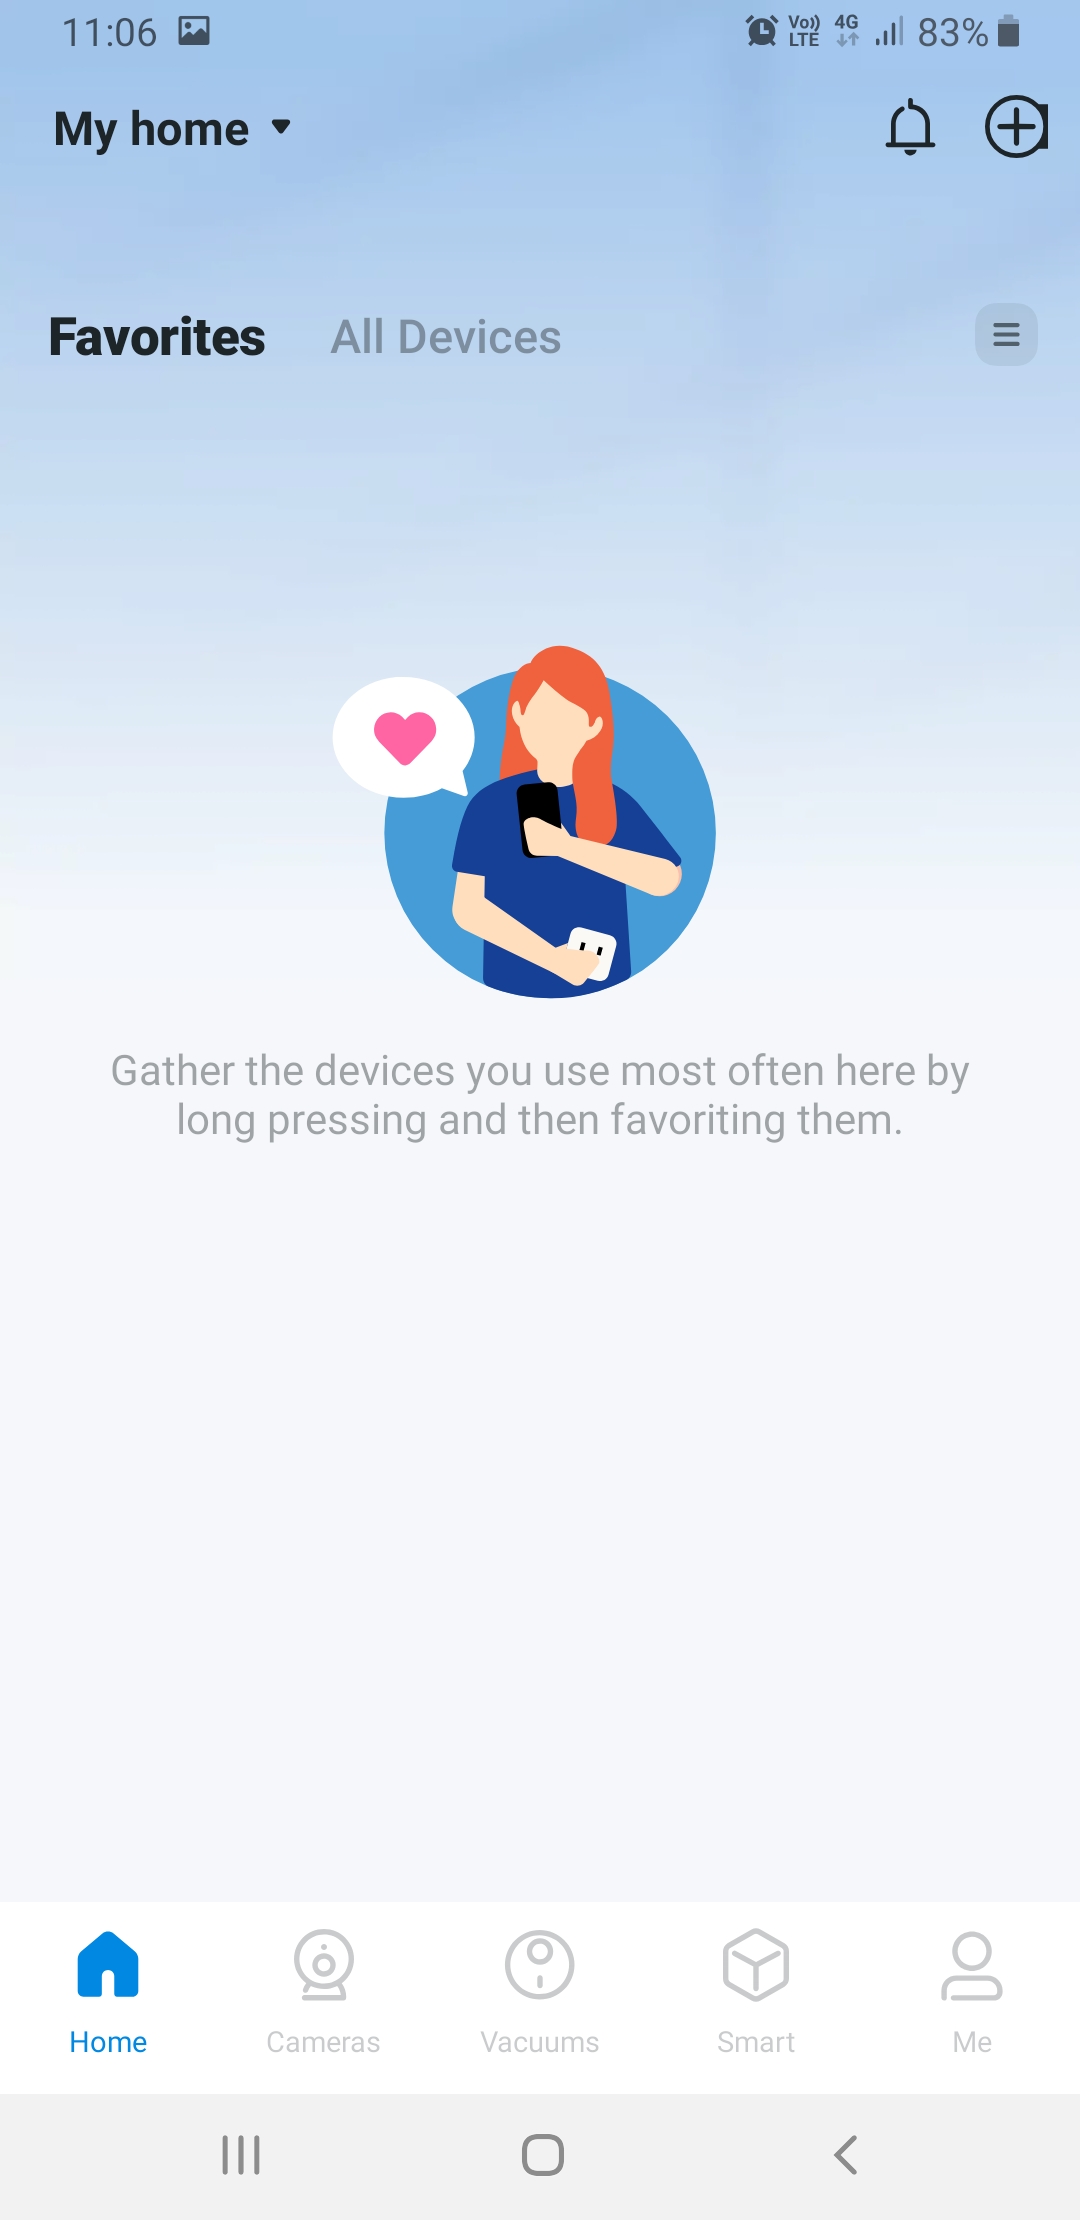
This is the home screen you should be presented with.
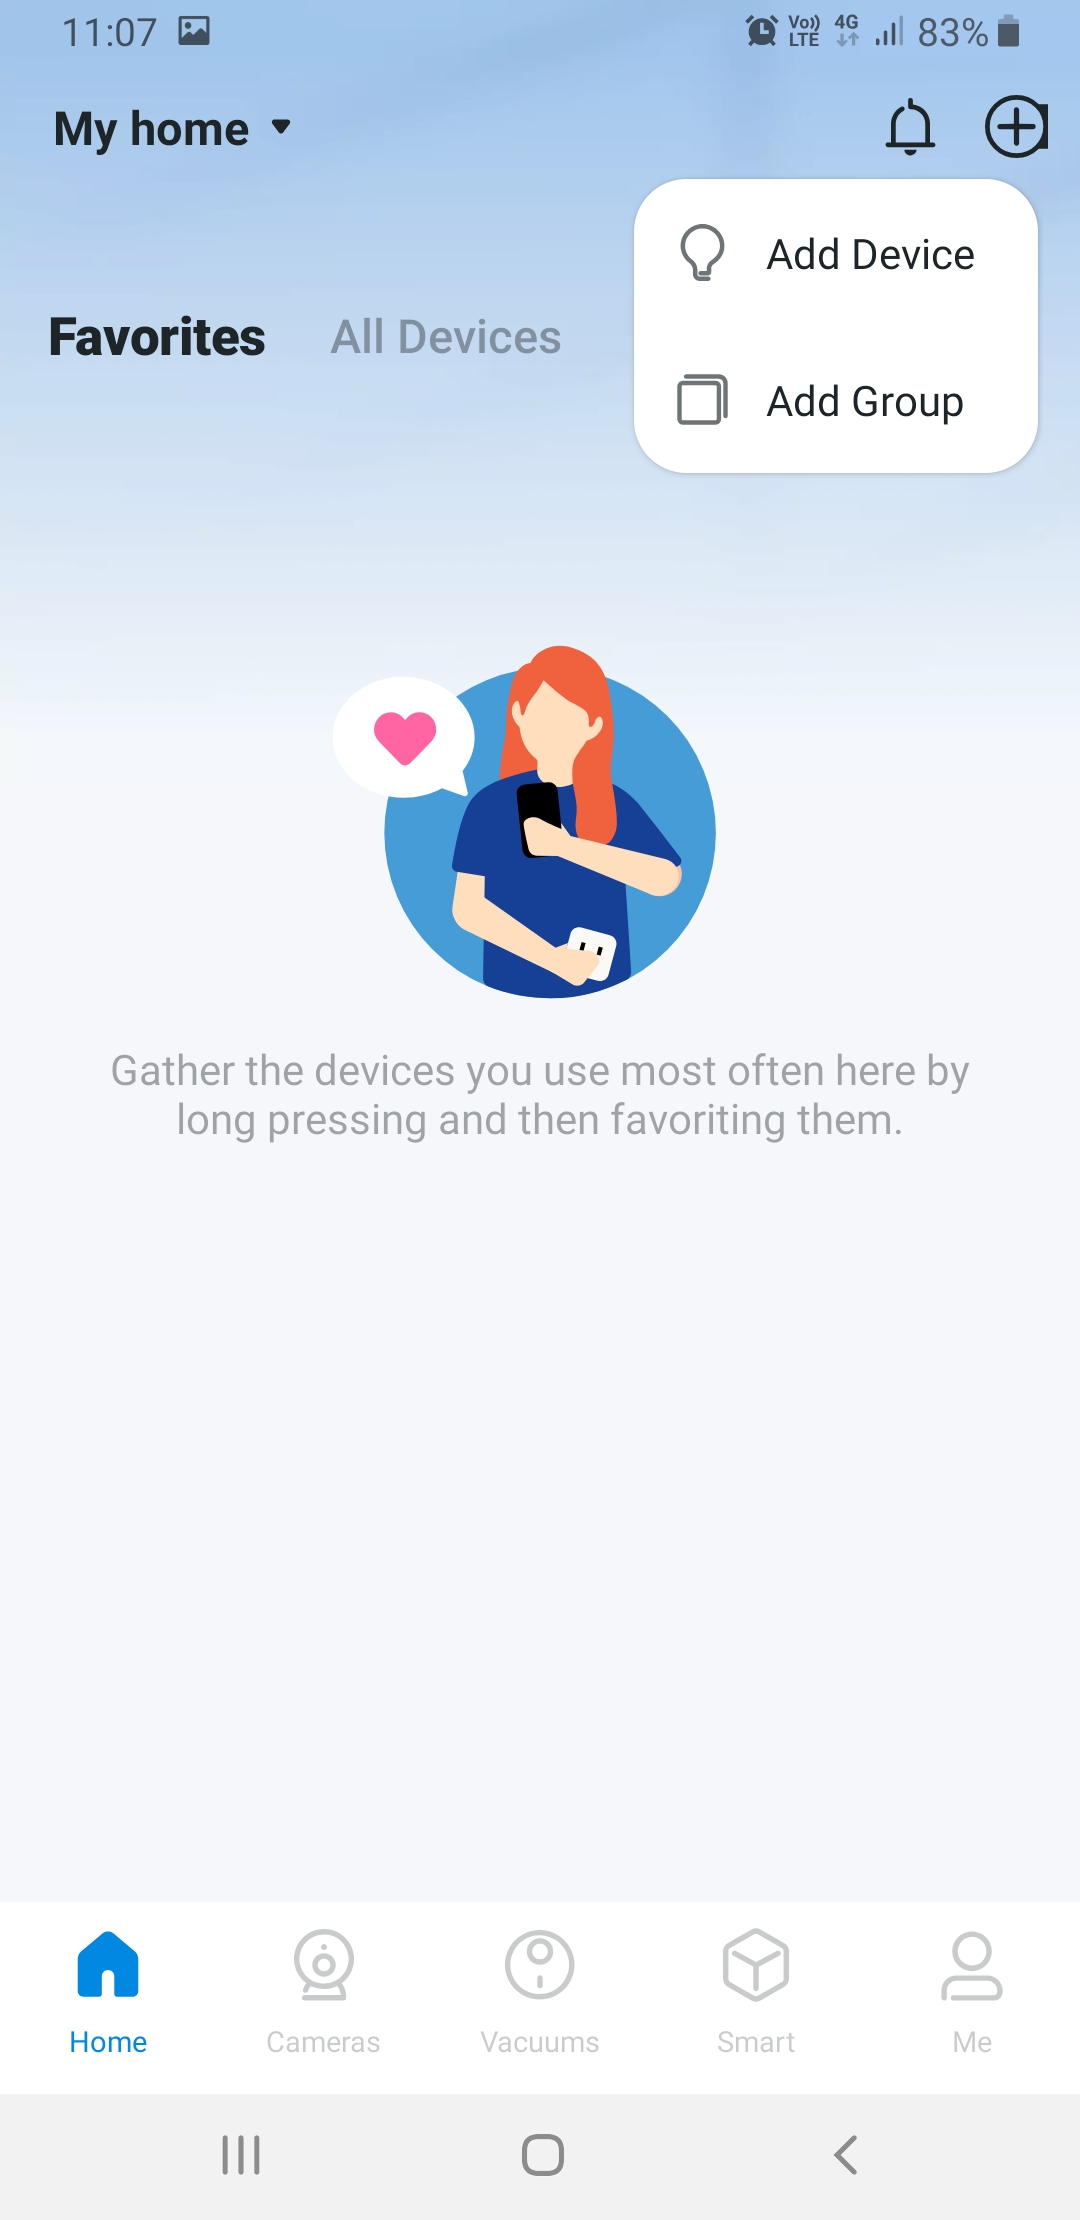
Open the Tapo app, if it is not open already, to the home screen. Tap the + symbol at the top right, and tap 'Add Device' from the menu that appears.
Inside the box for the Tapo H100 Hub, you will find the Hub itself, a warranty document, and a quick start guide. The quick start guide has little information besides 'see the app' but it does explain the LED indicator meanings. There is also a 'Sync' button on the side of the Hub, which has several functions described in the quick start guide.
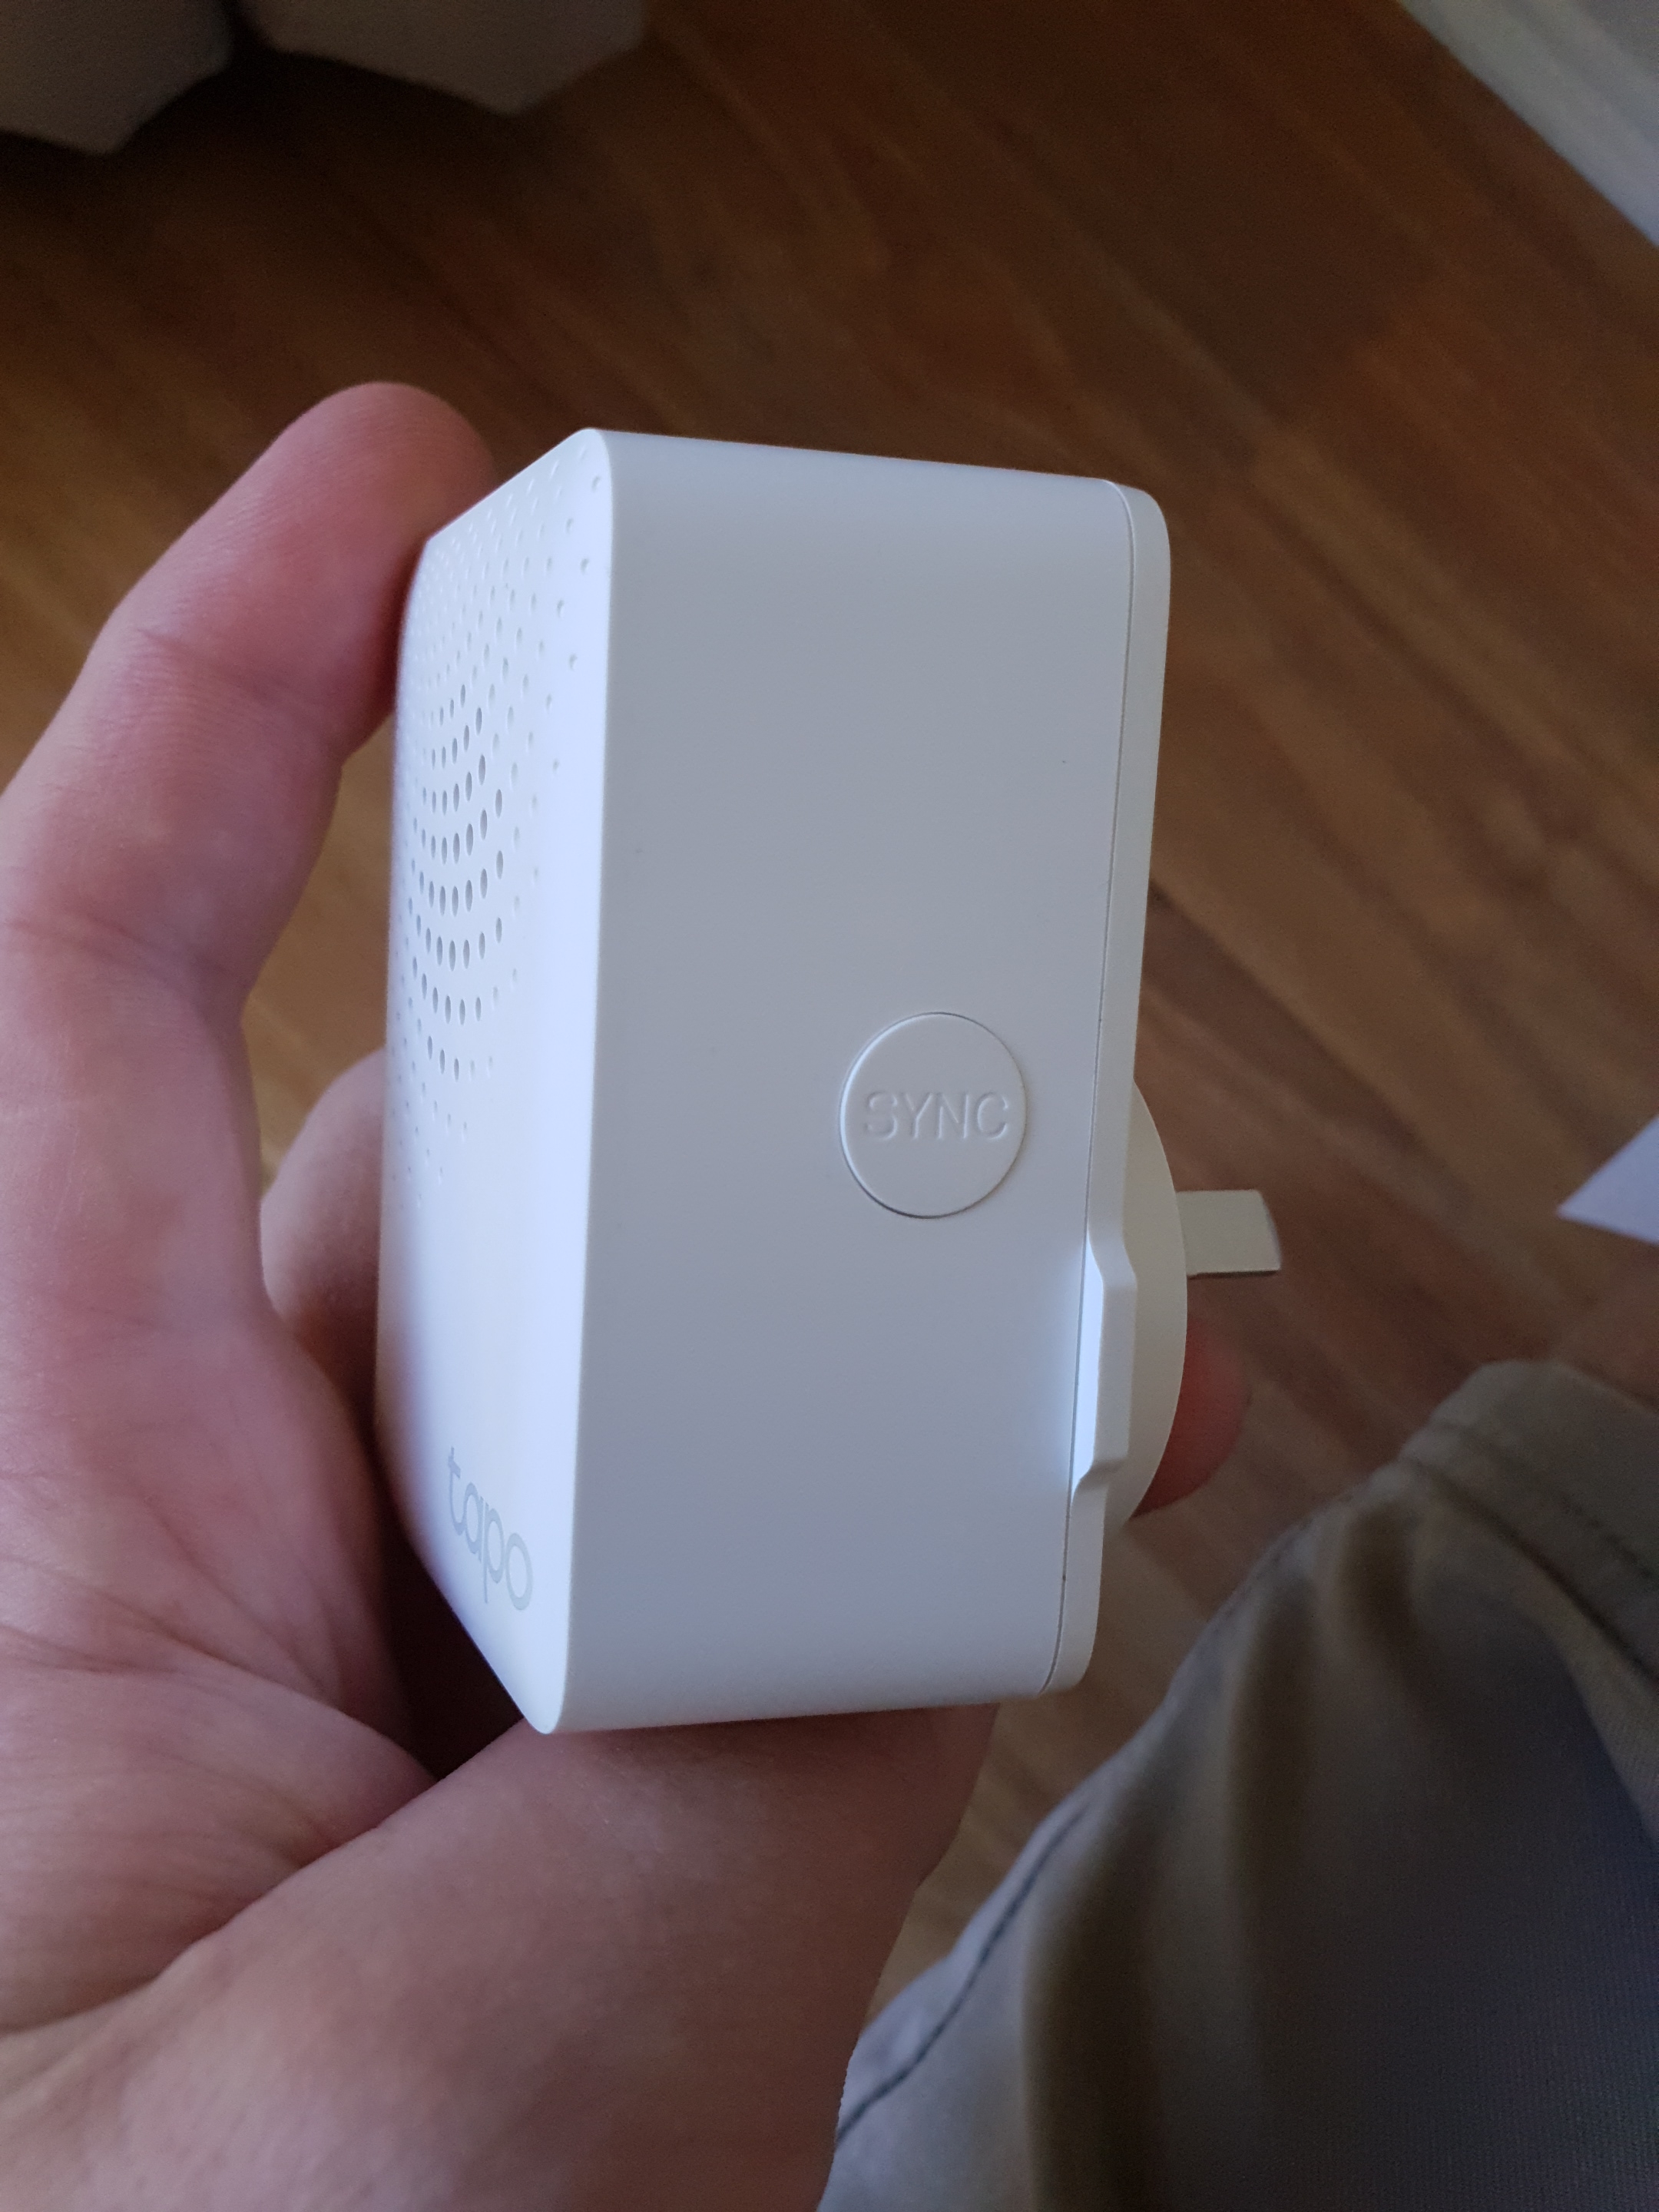
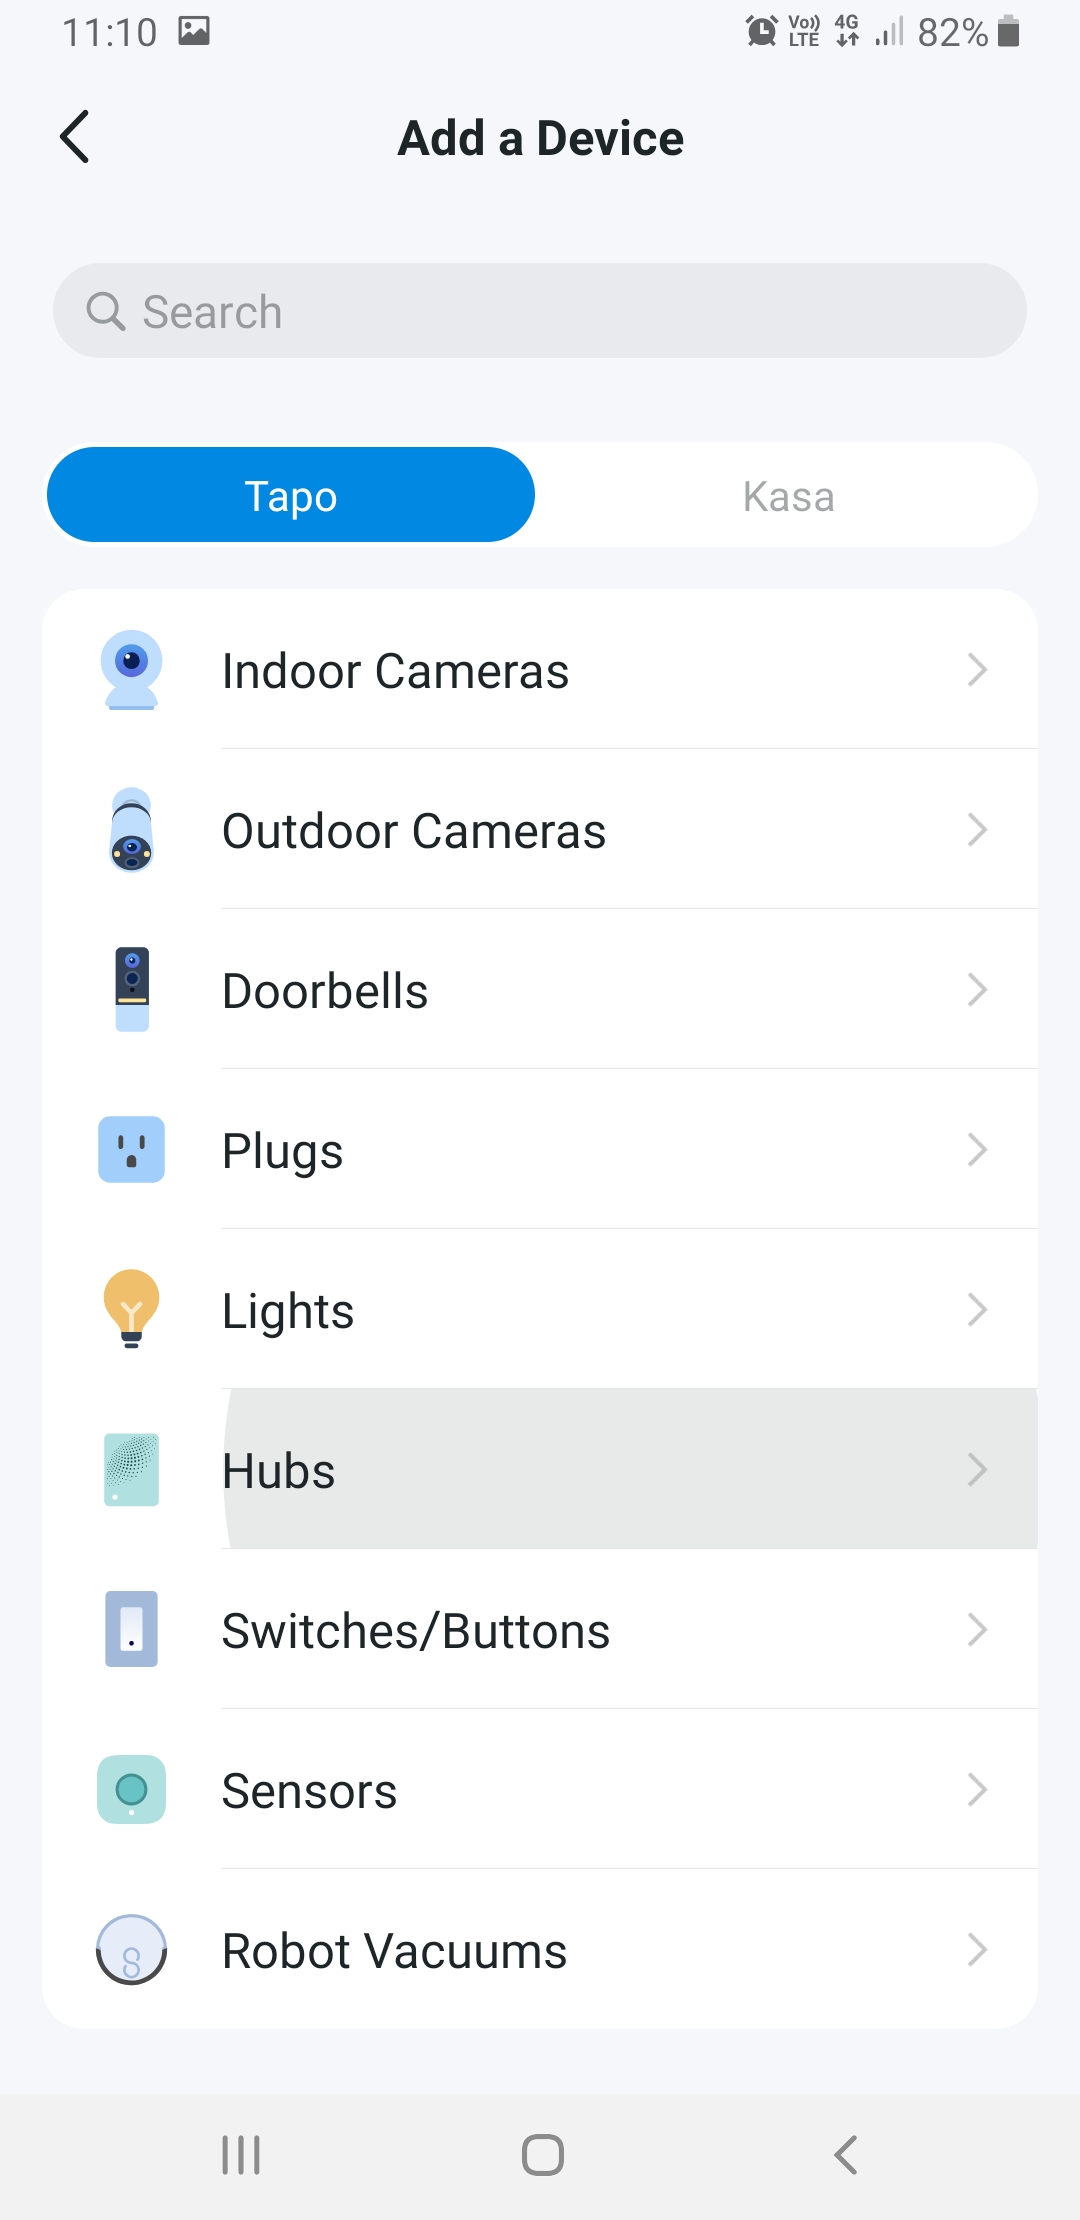
Plug the Hub into a power point, and look at the LED indicator at the bottom left. It should be alternating between blue and orange. If it is not, press the 'Sync' button once. Go back to your phone, and look at the 'Add device' menu you brought up earlier. There should be a category list. Tap 'Hubs'.
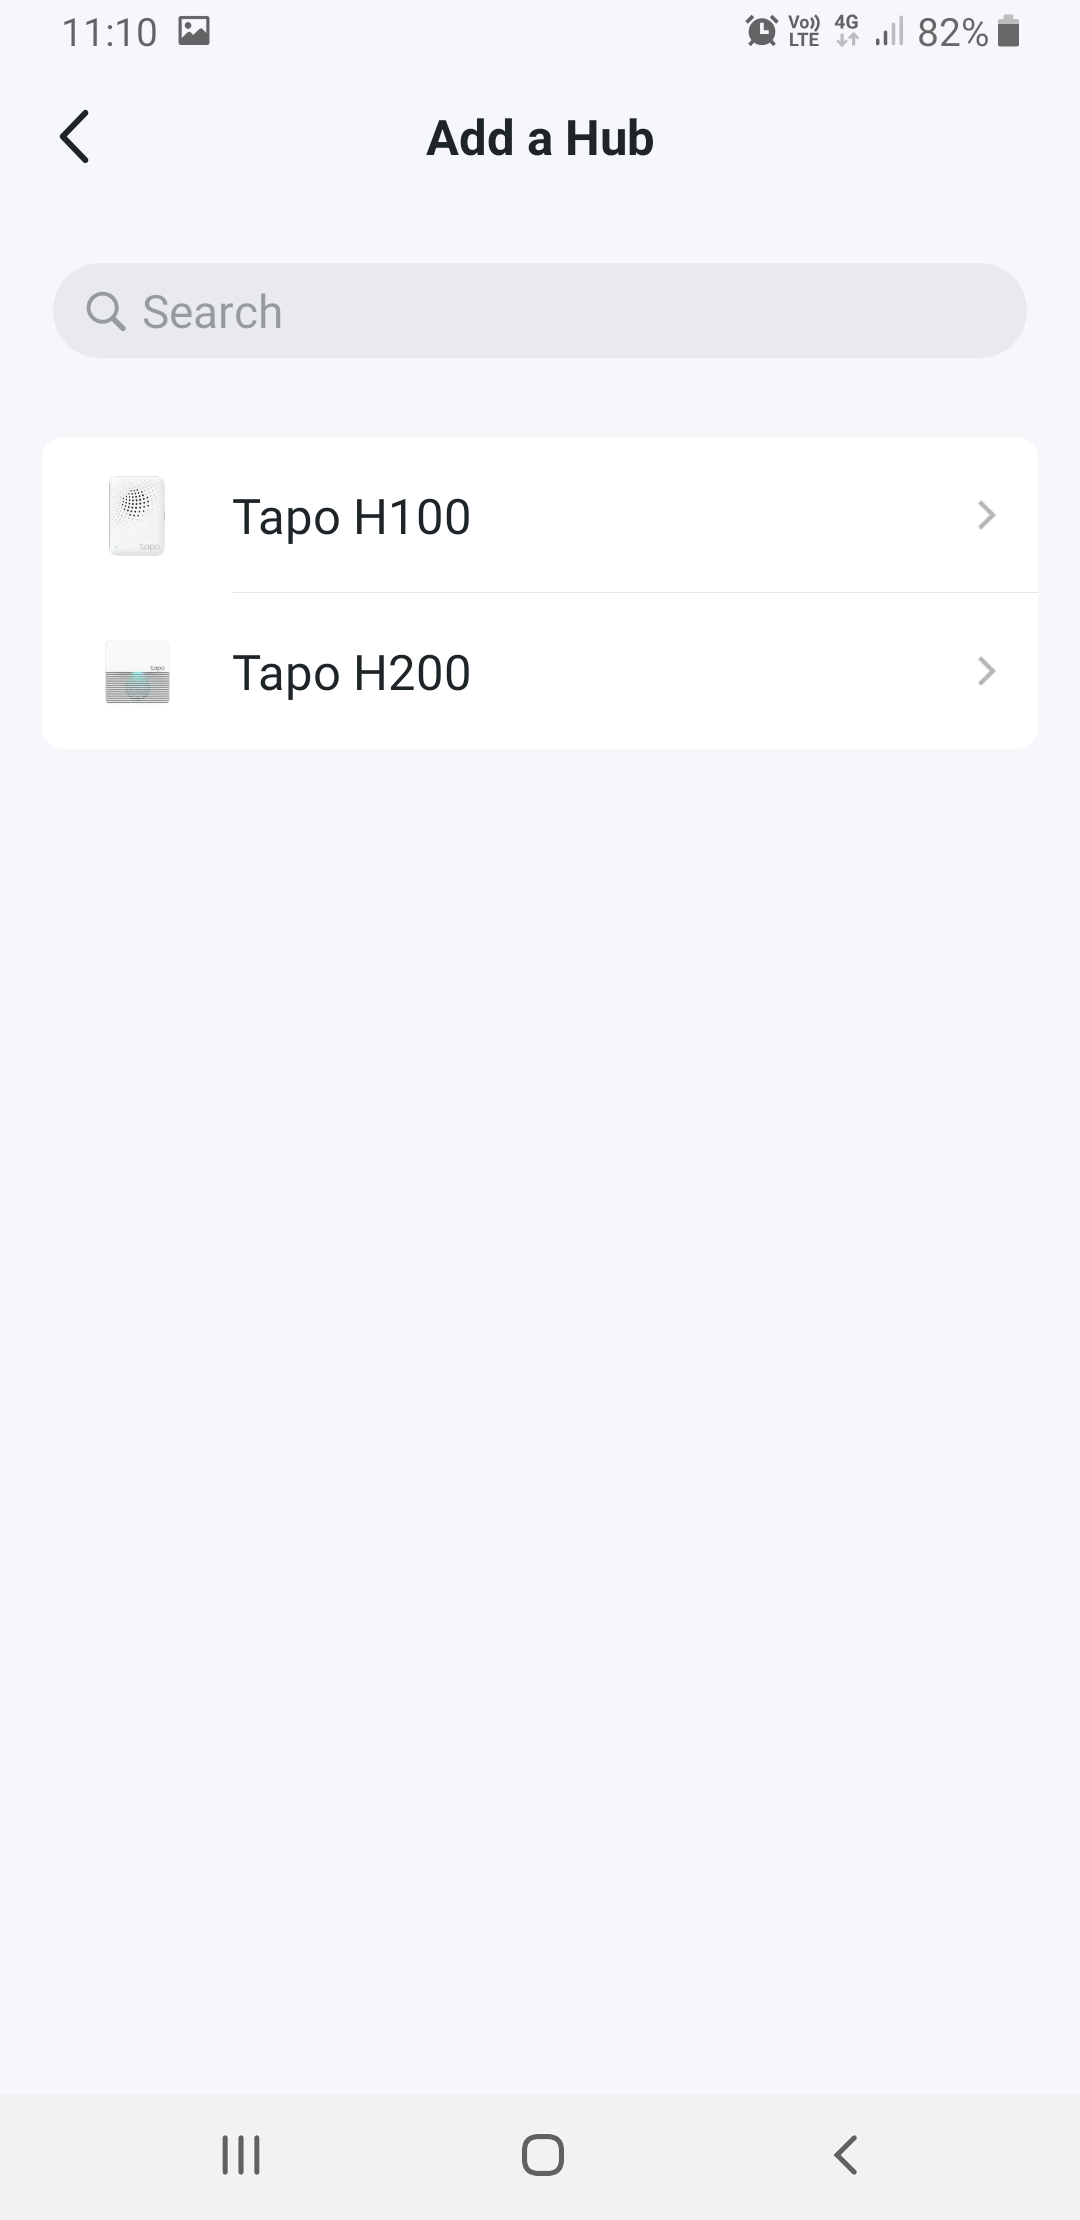
On the next screen, you can choose which model of Hub you have. The one pictured in this guide is the H100.
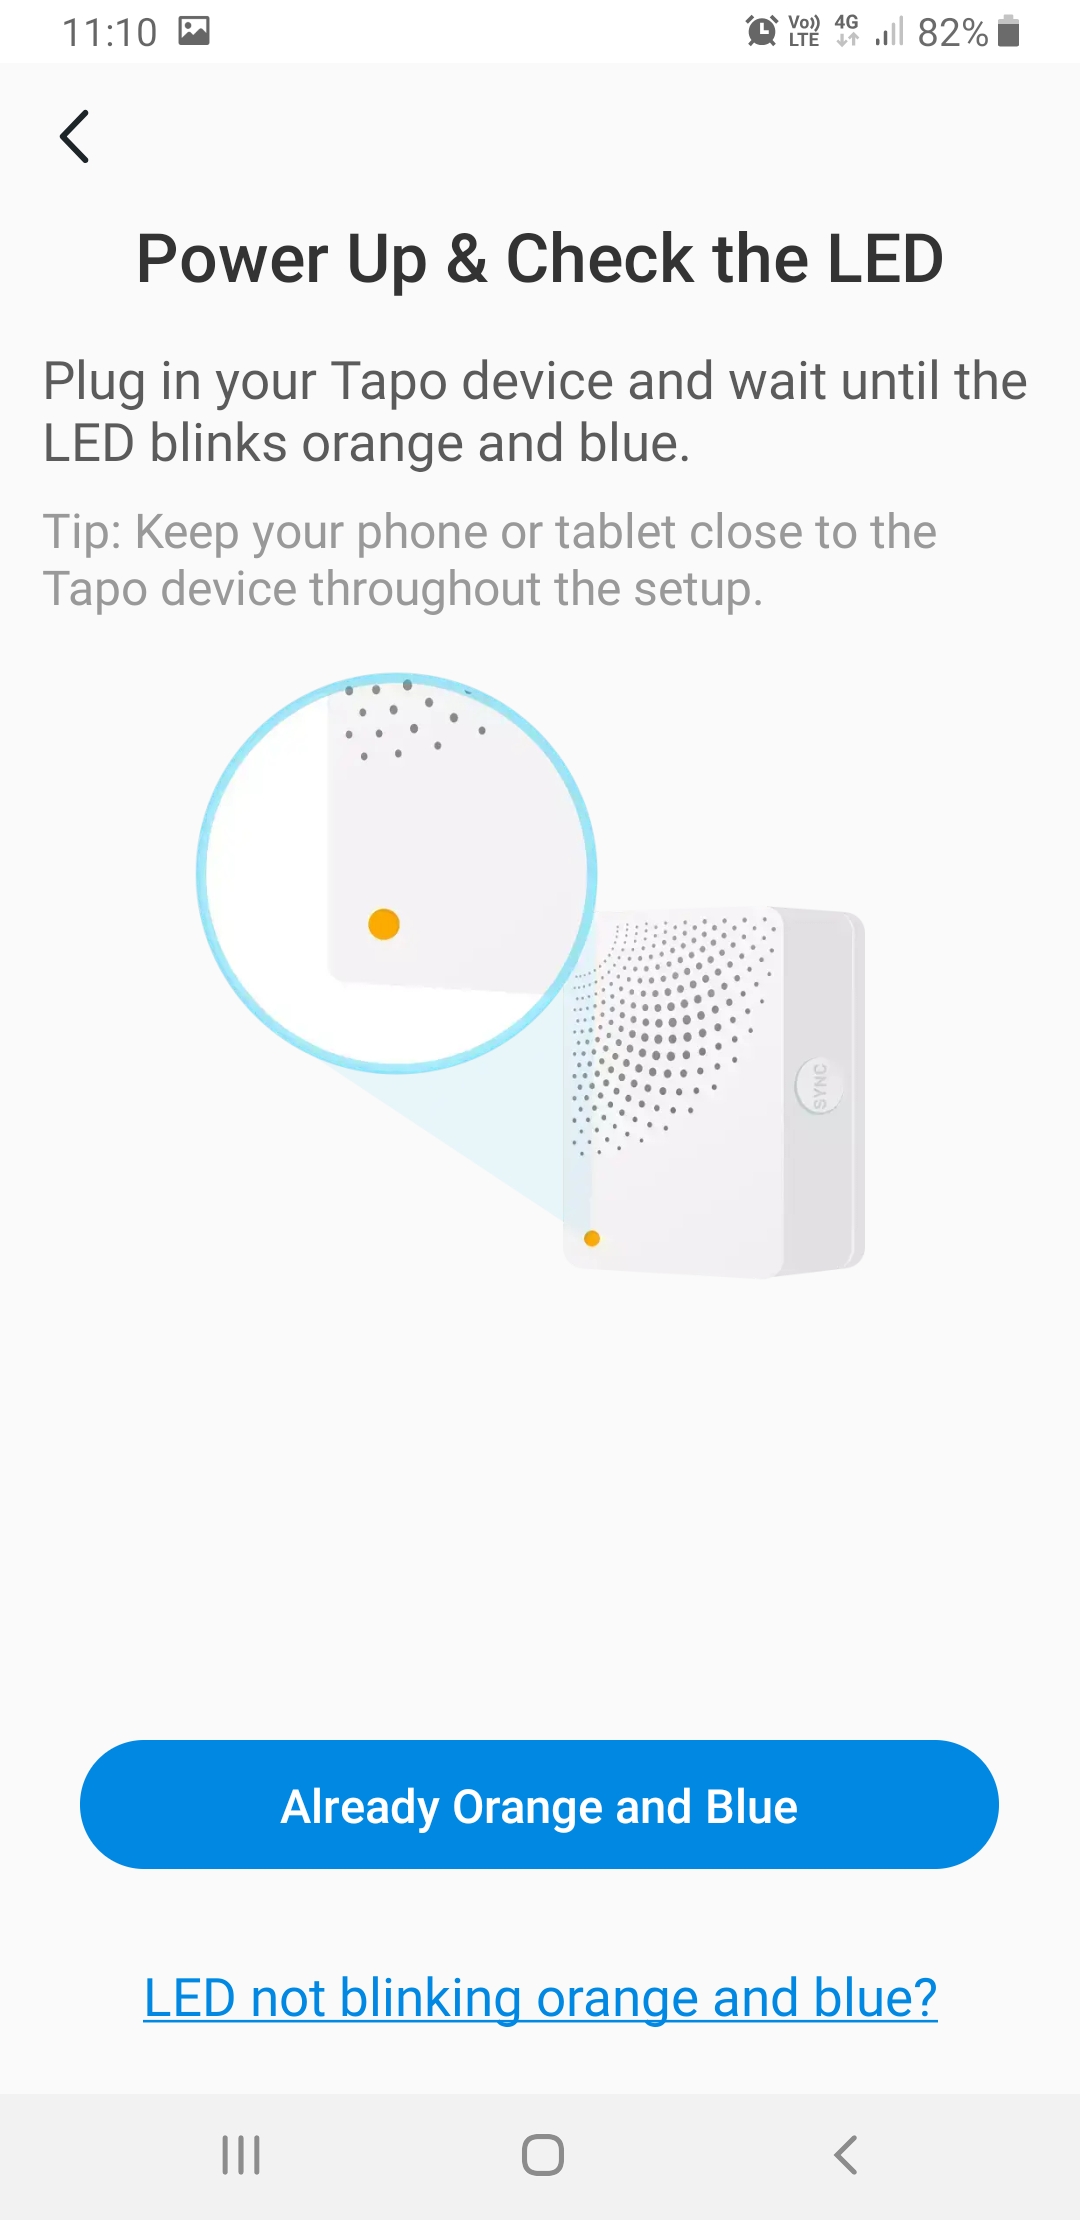
The screen that is brought up by this action asks you to check the LED on the front of the Hub. There is a blue button to press if the LED is already flashing orange and blue. If it is not, which is generally if pairing mode has timed out after the Hub was powered up, tap the blue text instead, and you will be given instructions on how to put the Hub back into pairing mode.
After tapping on 'Already Orange and Blue' or after following the instructions to enable pairing mode, you may be prompted to turn on Location and Wireless on your phone if they are not already, and give the app permission to access them.
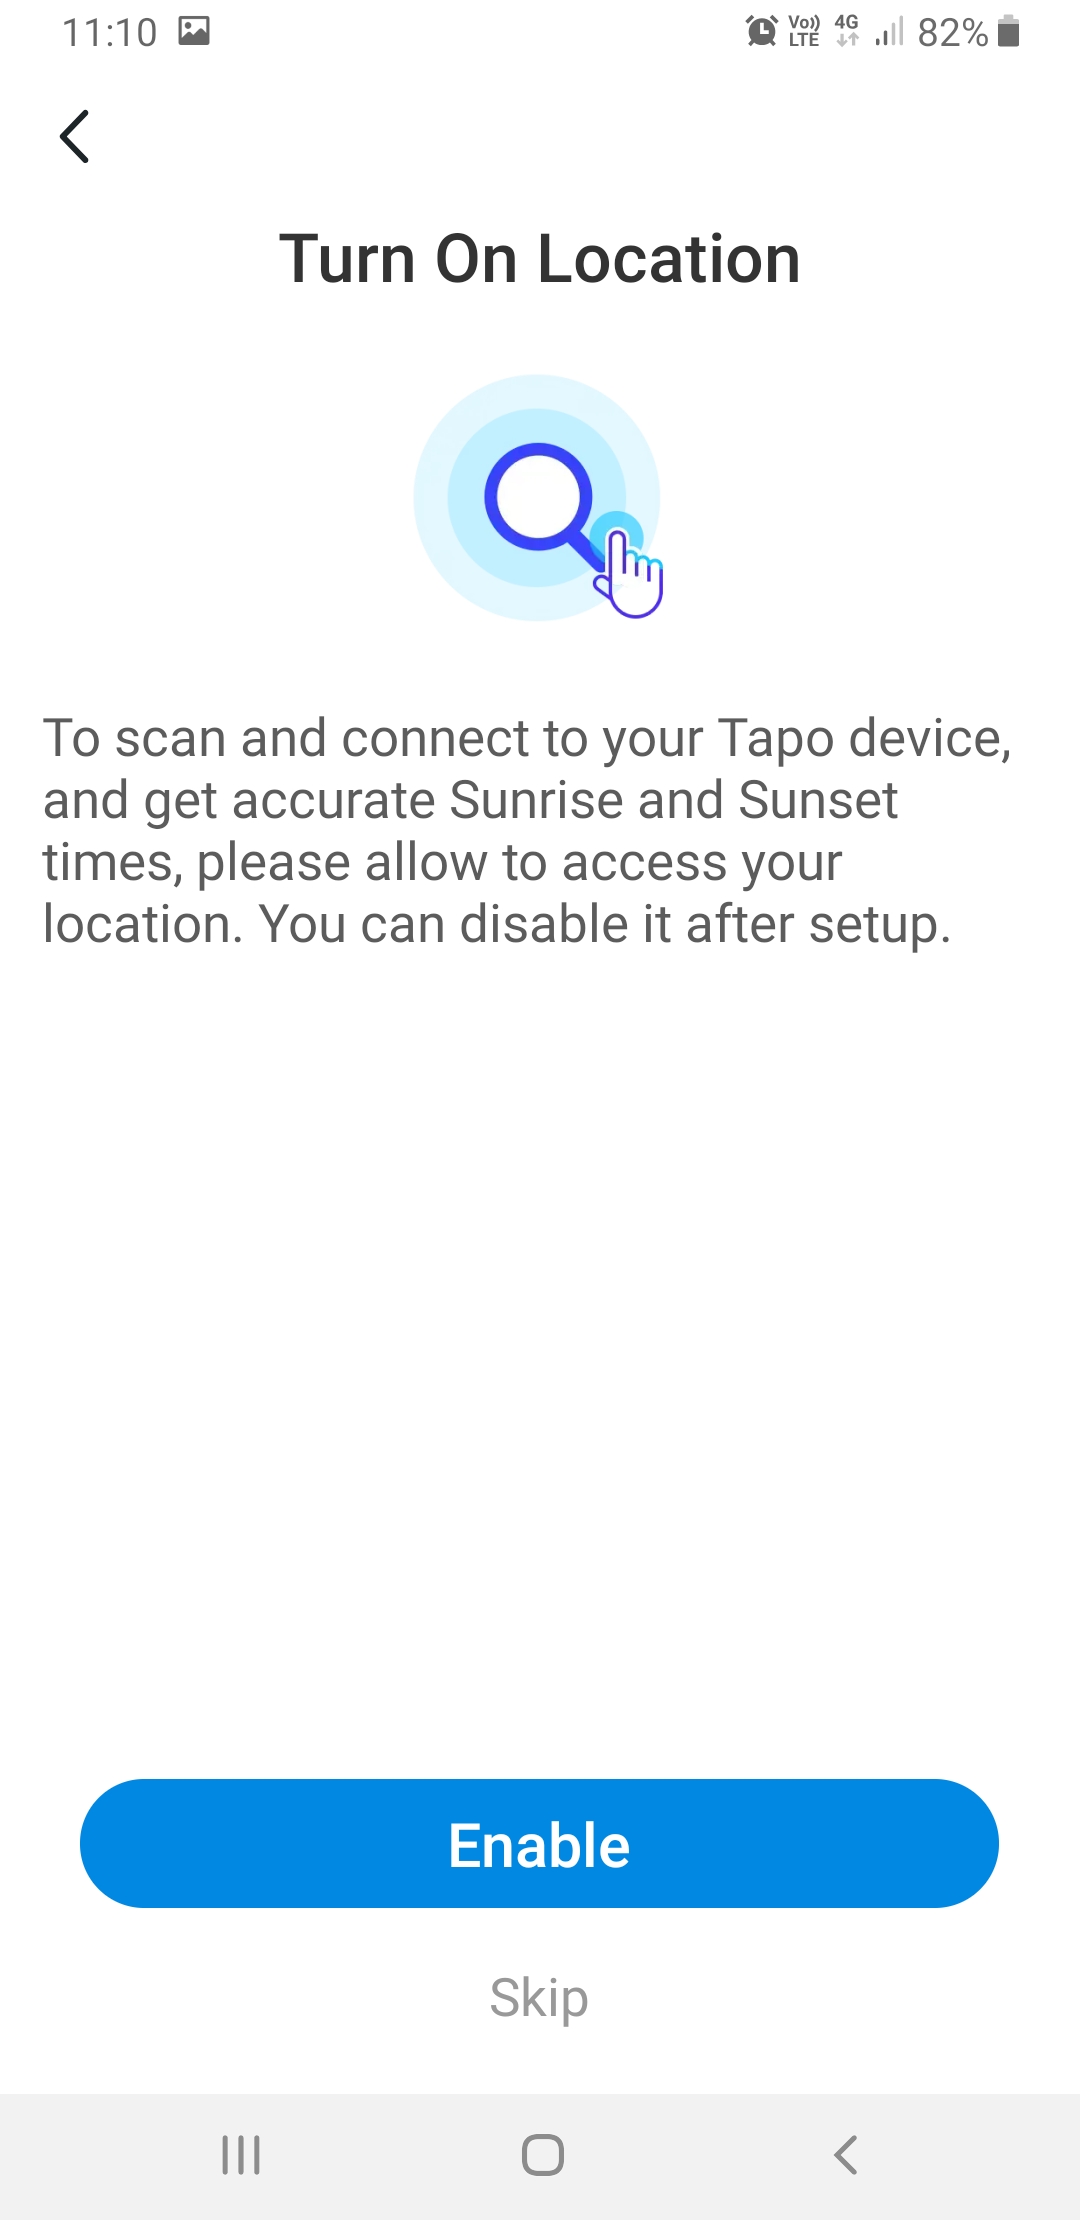
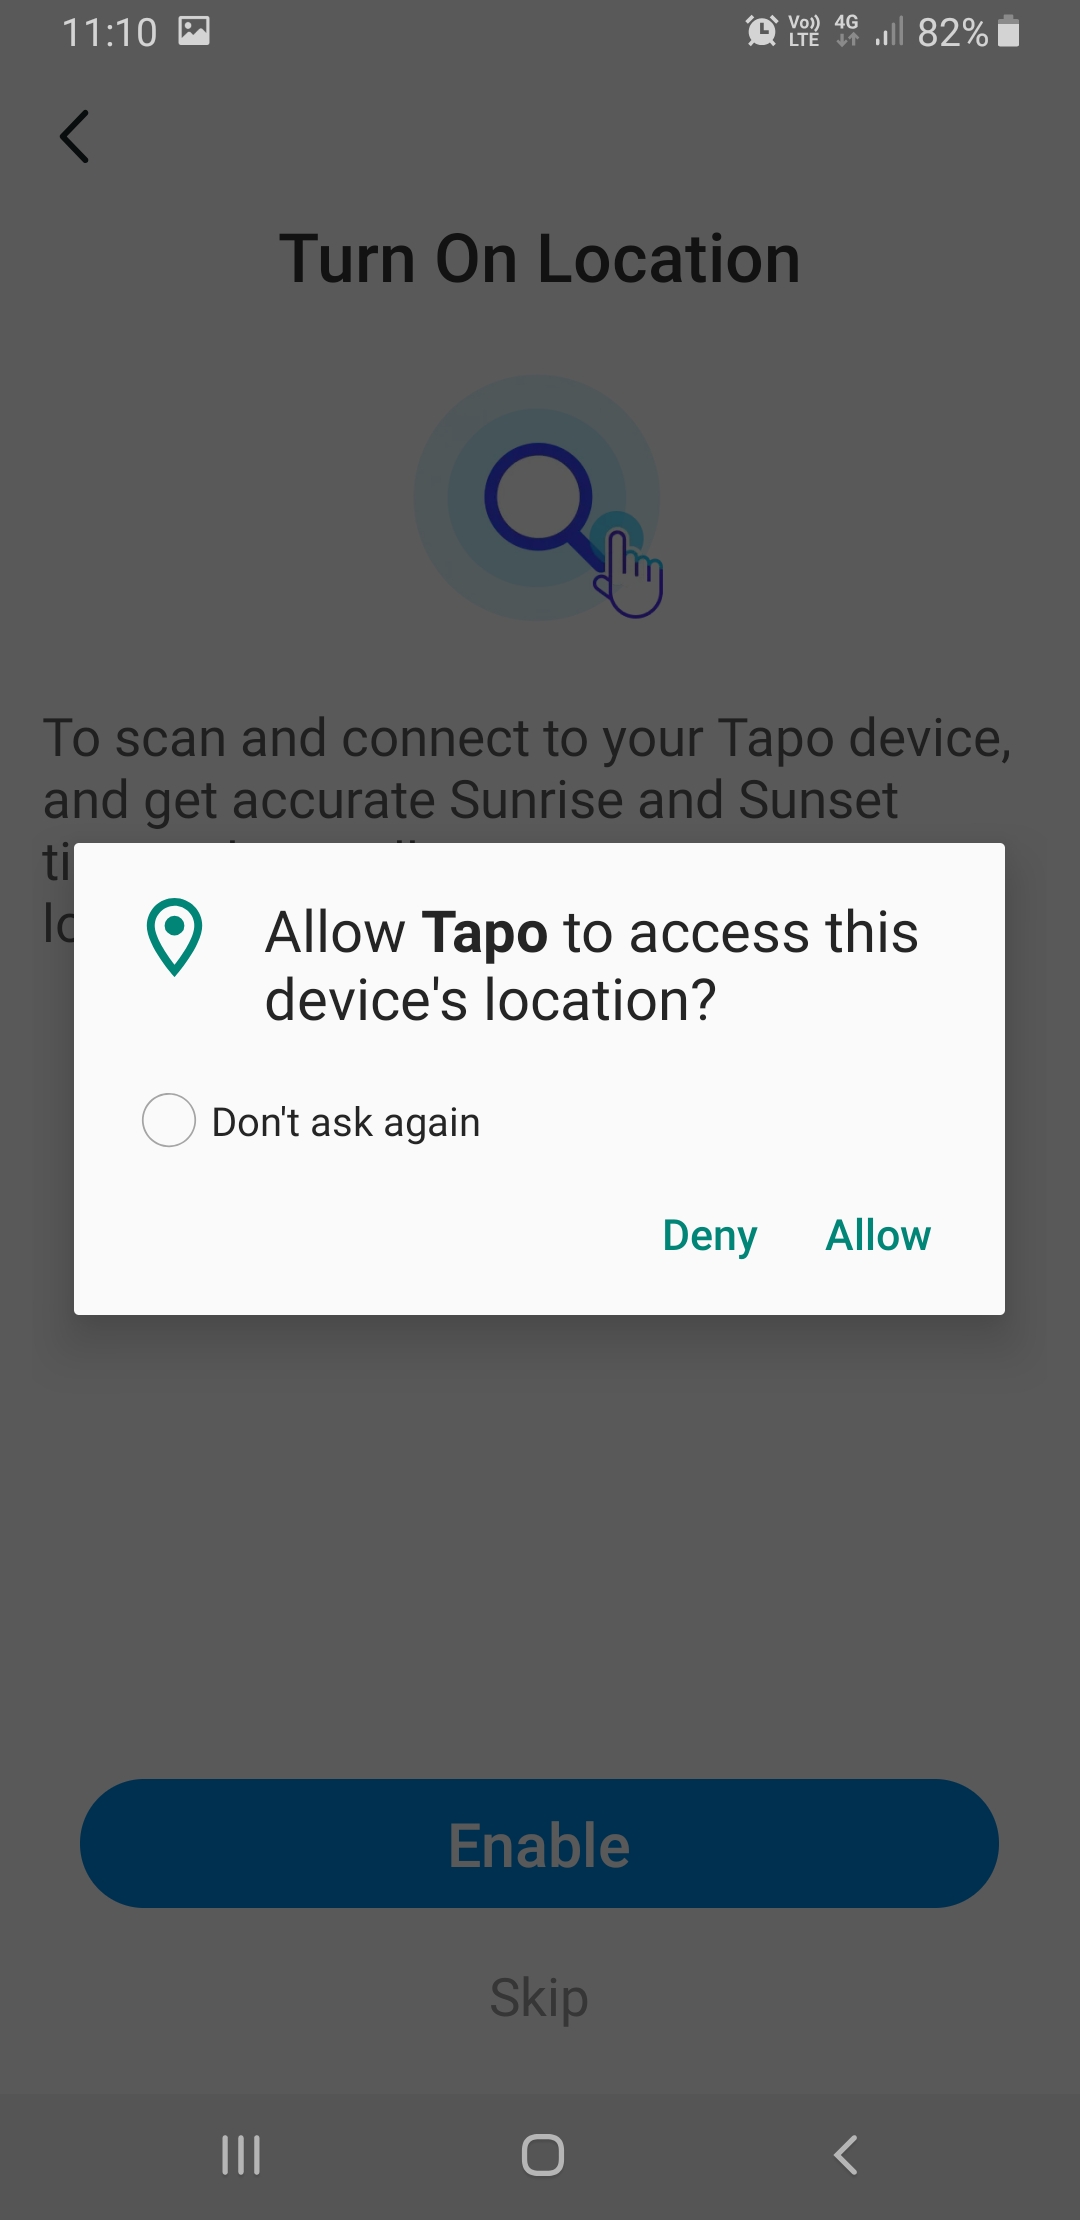
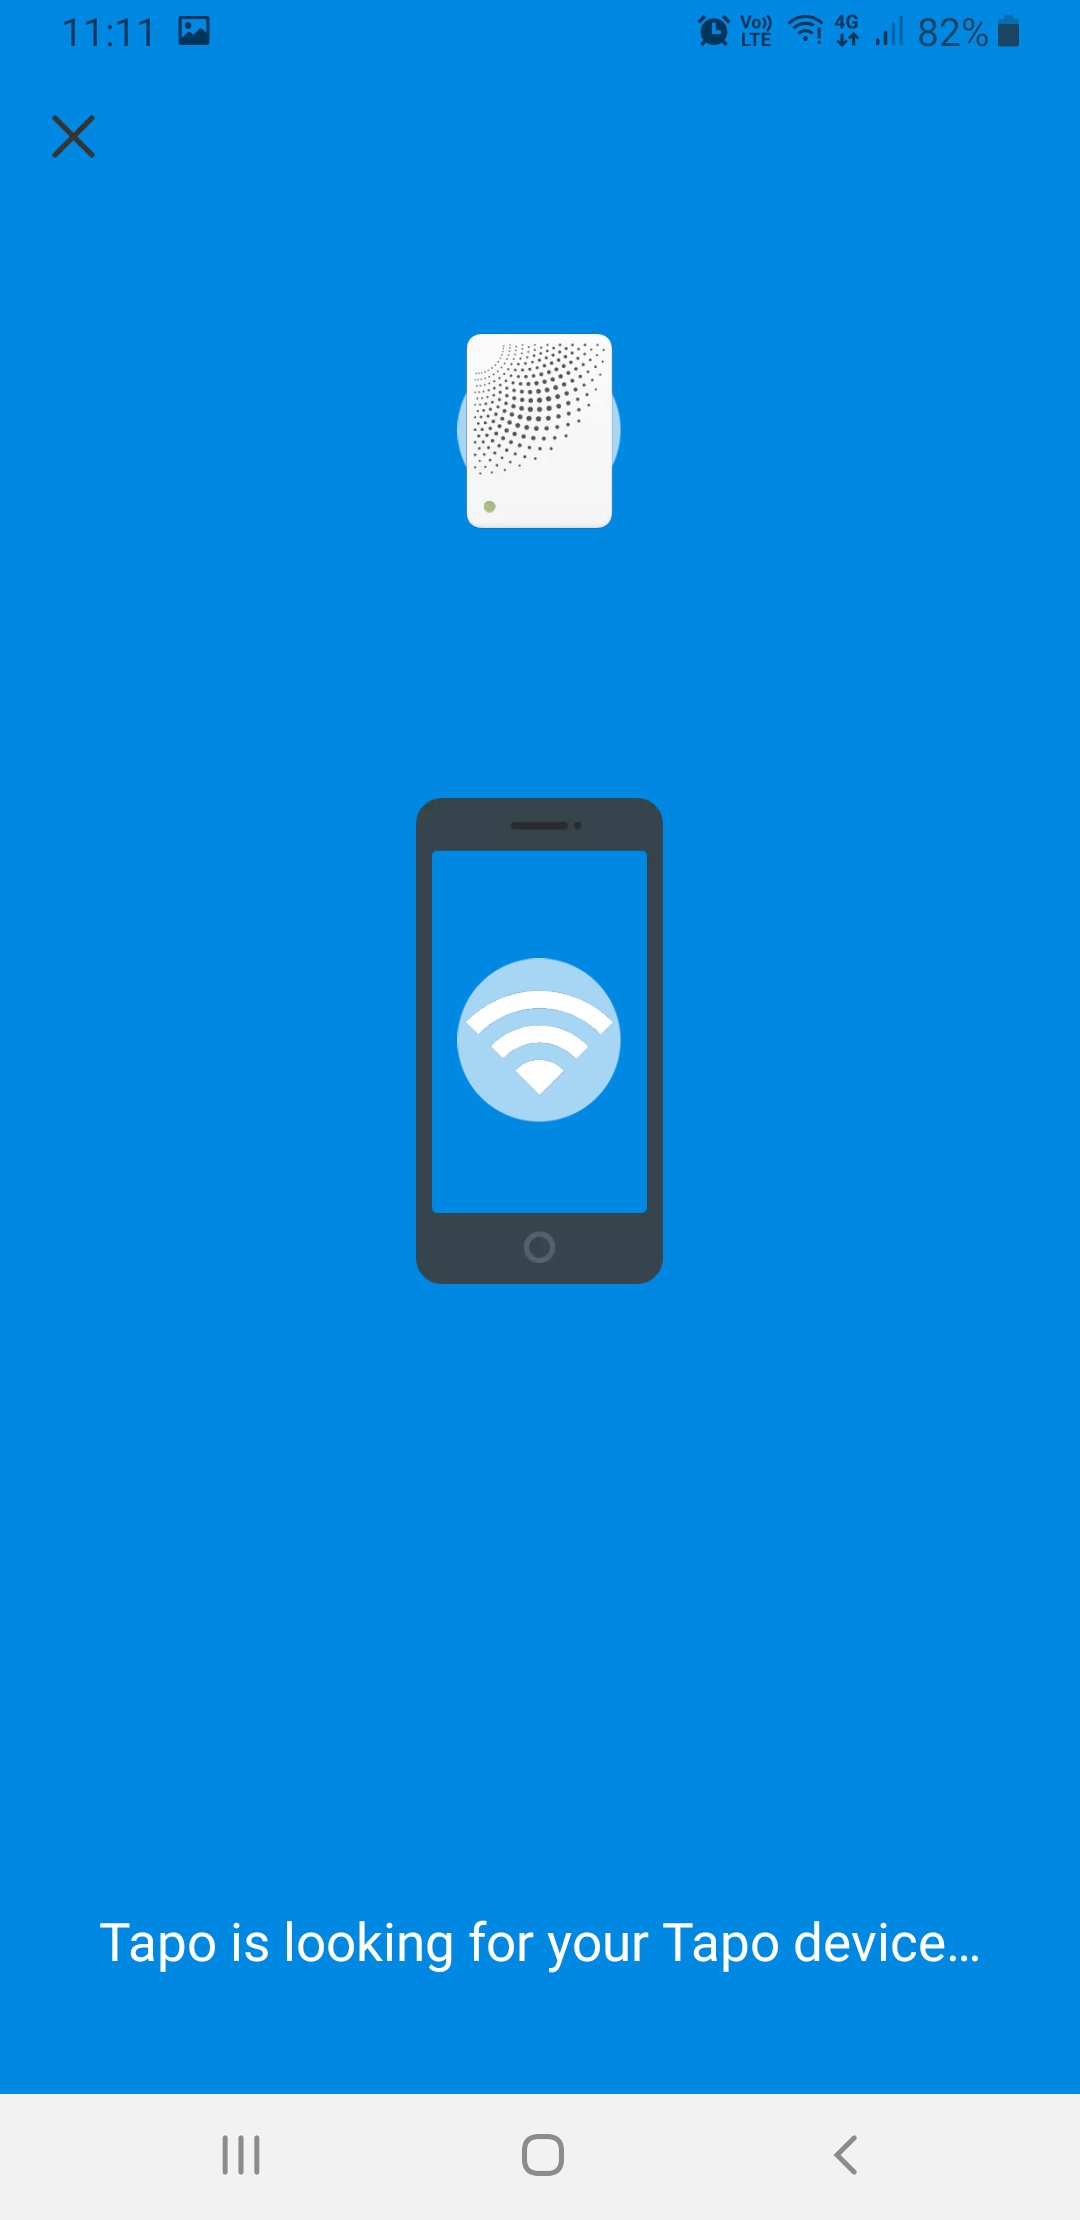
Now you should see this screen, indicating the pairing is happening:
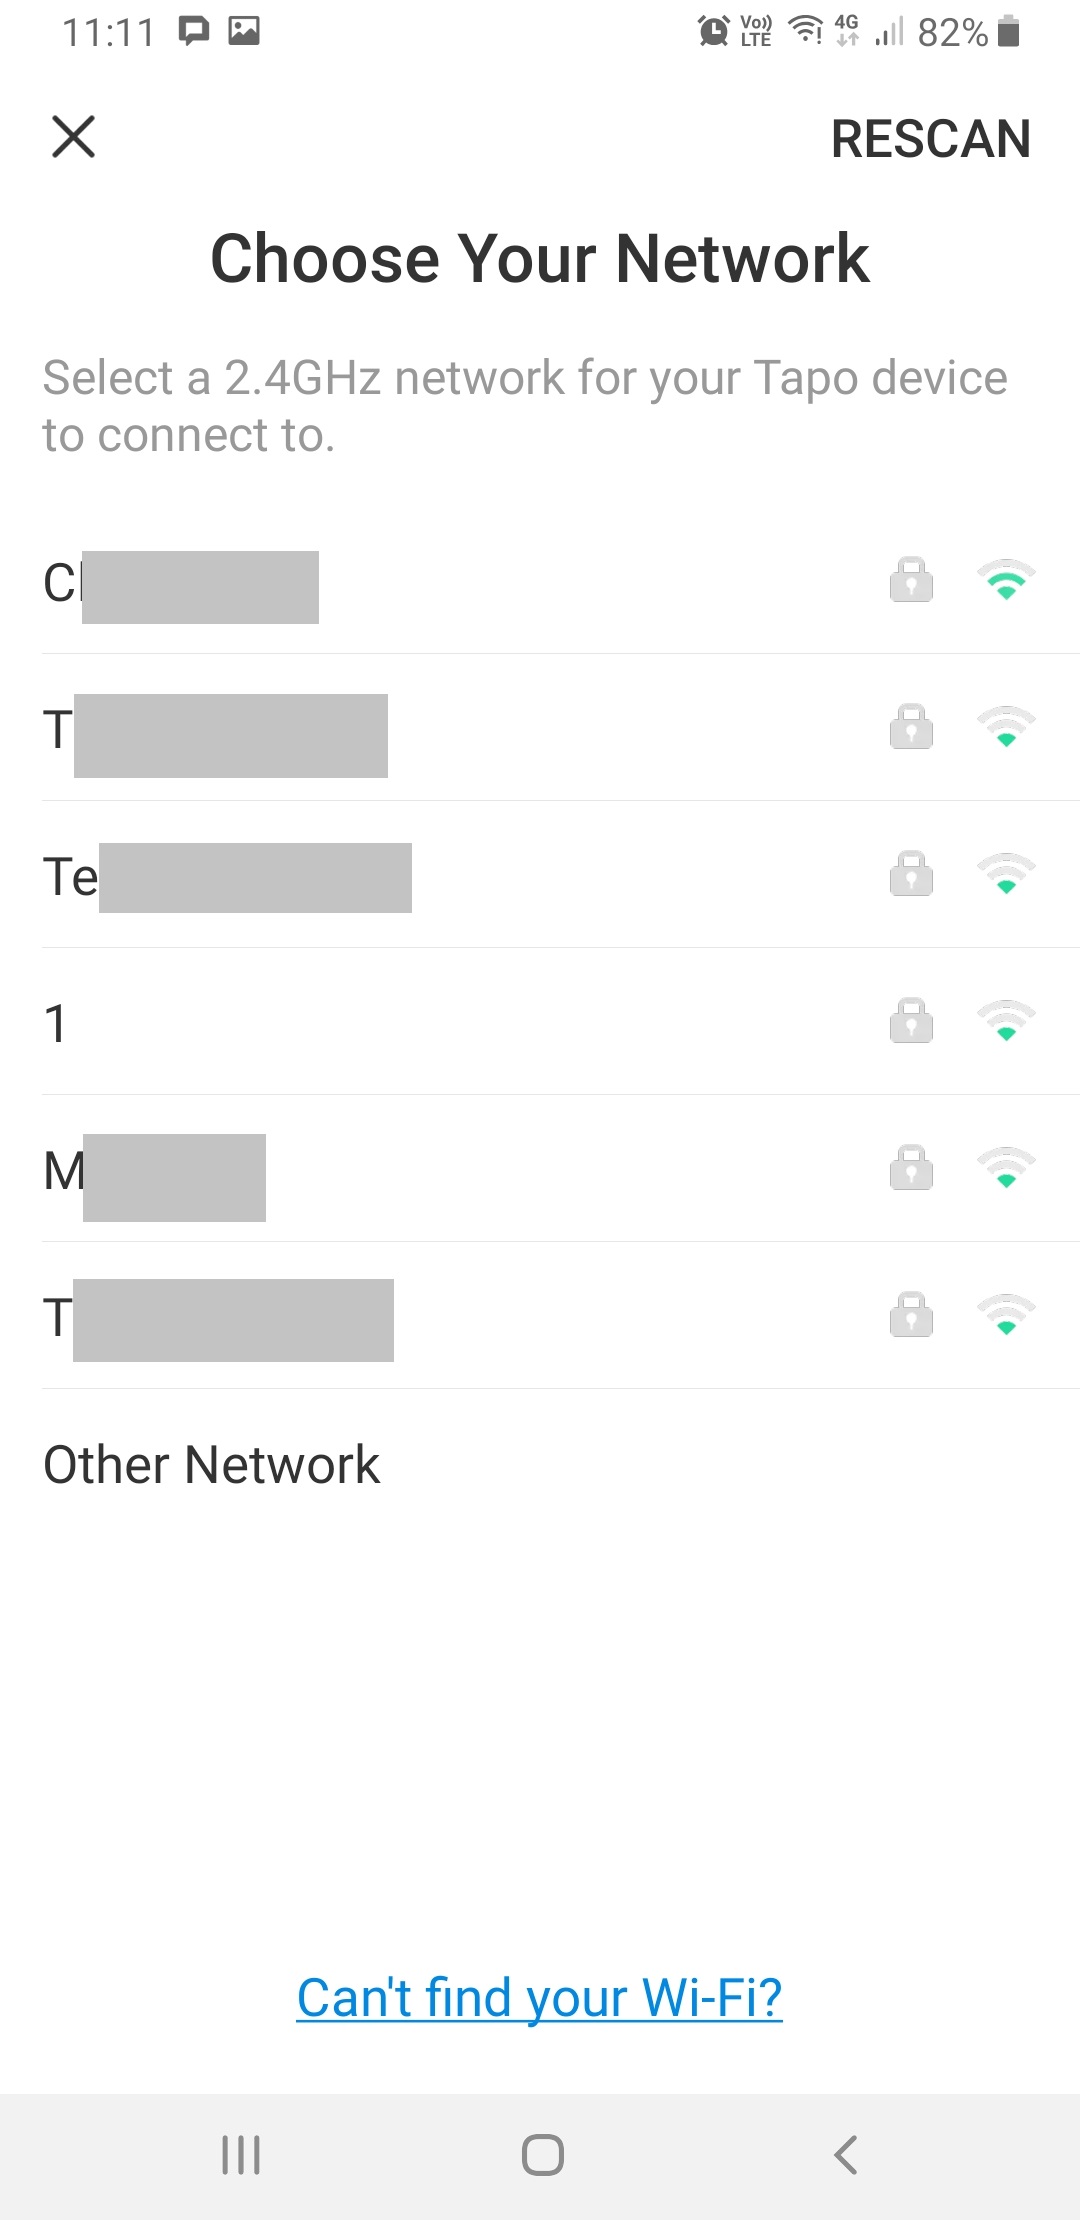
When the Hub has paired, you will be prompted to choose a home network to connect it to. The grey marks here are by us blocking out the names of the networks both at the test property (which is a staff member's house) and the neighbours, for privacy, but your screen will have a similar-looking list minus the marks.
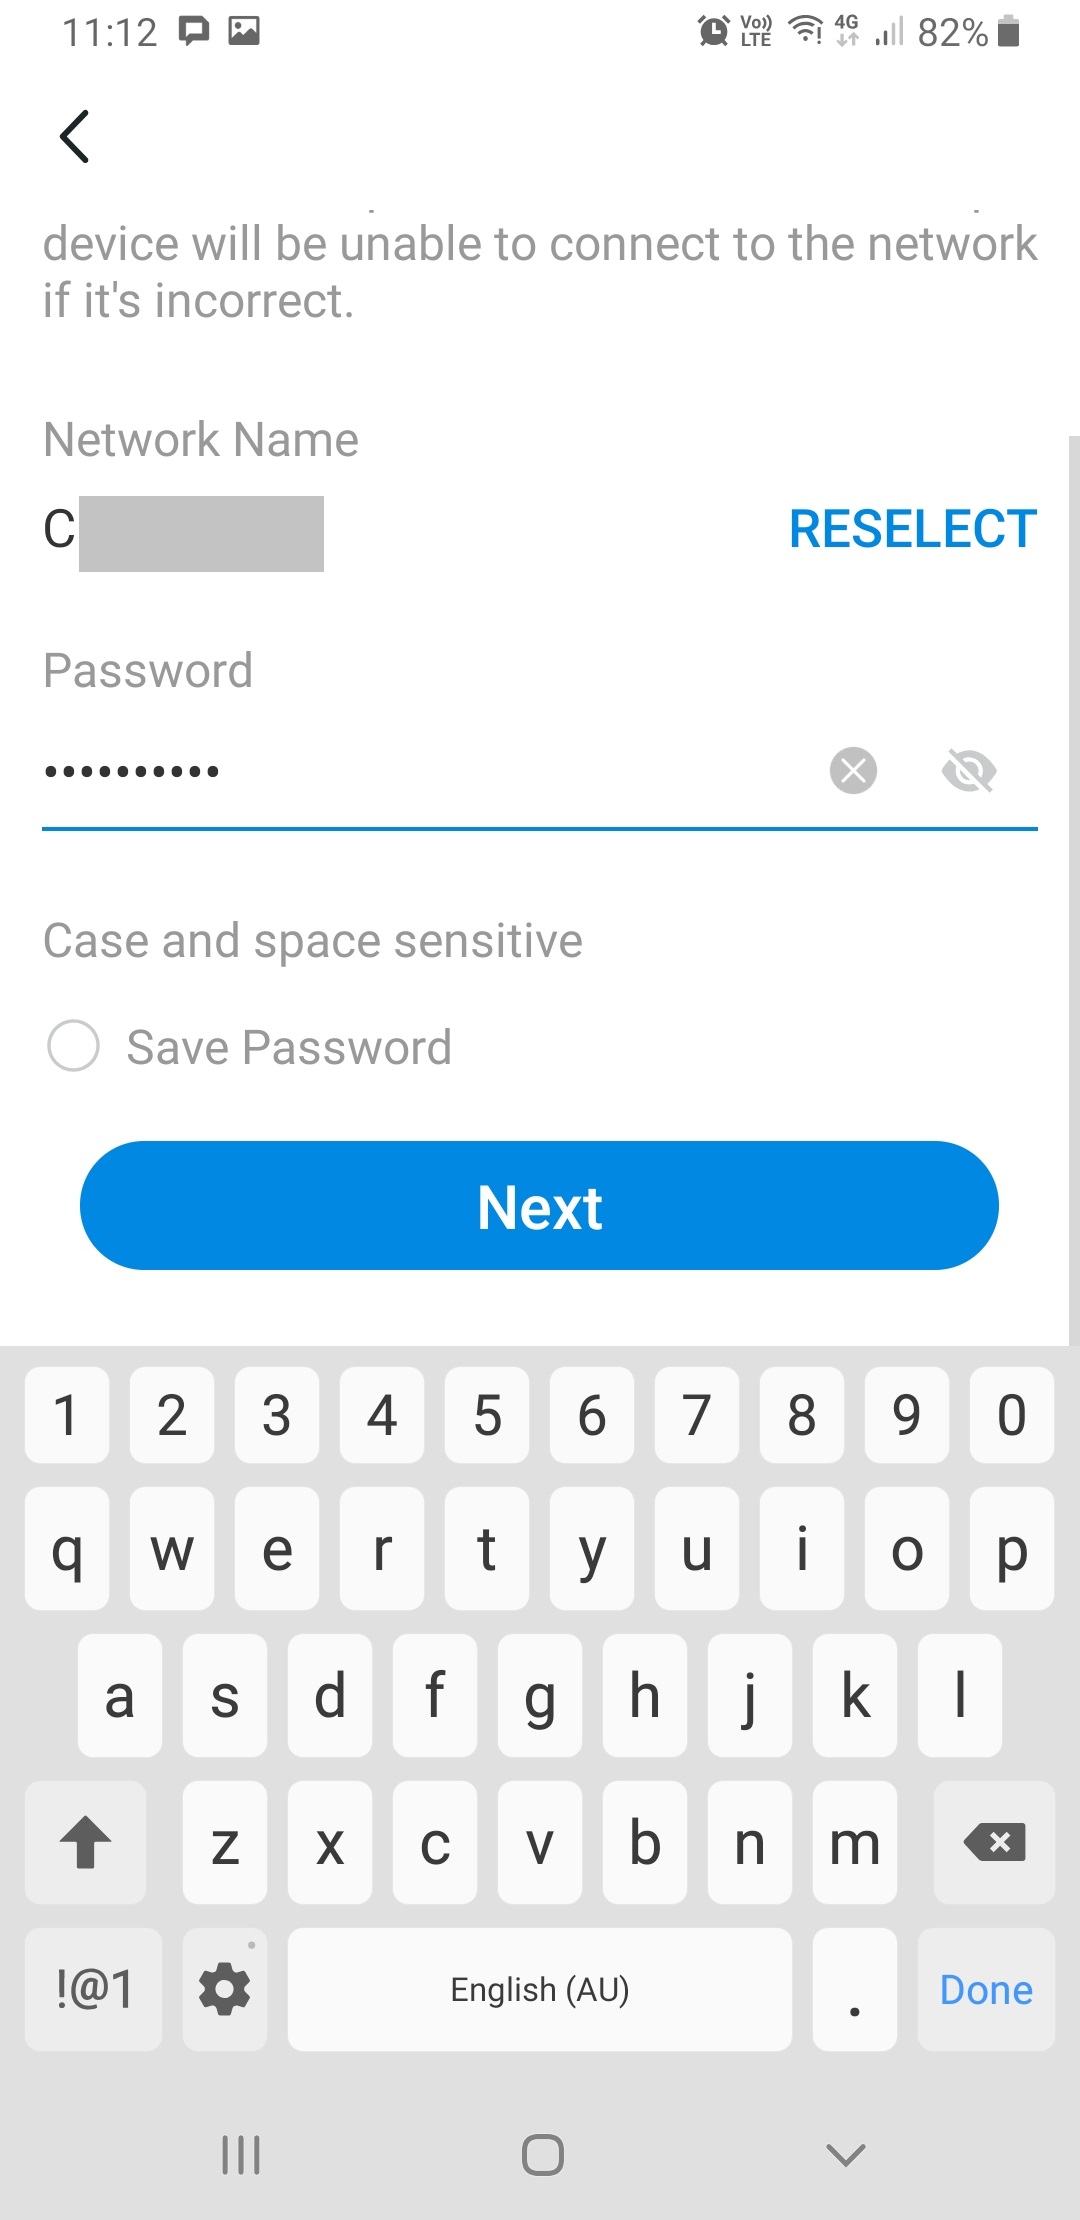
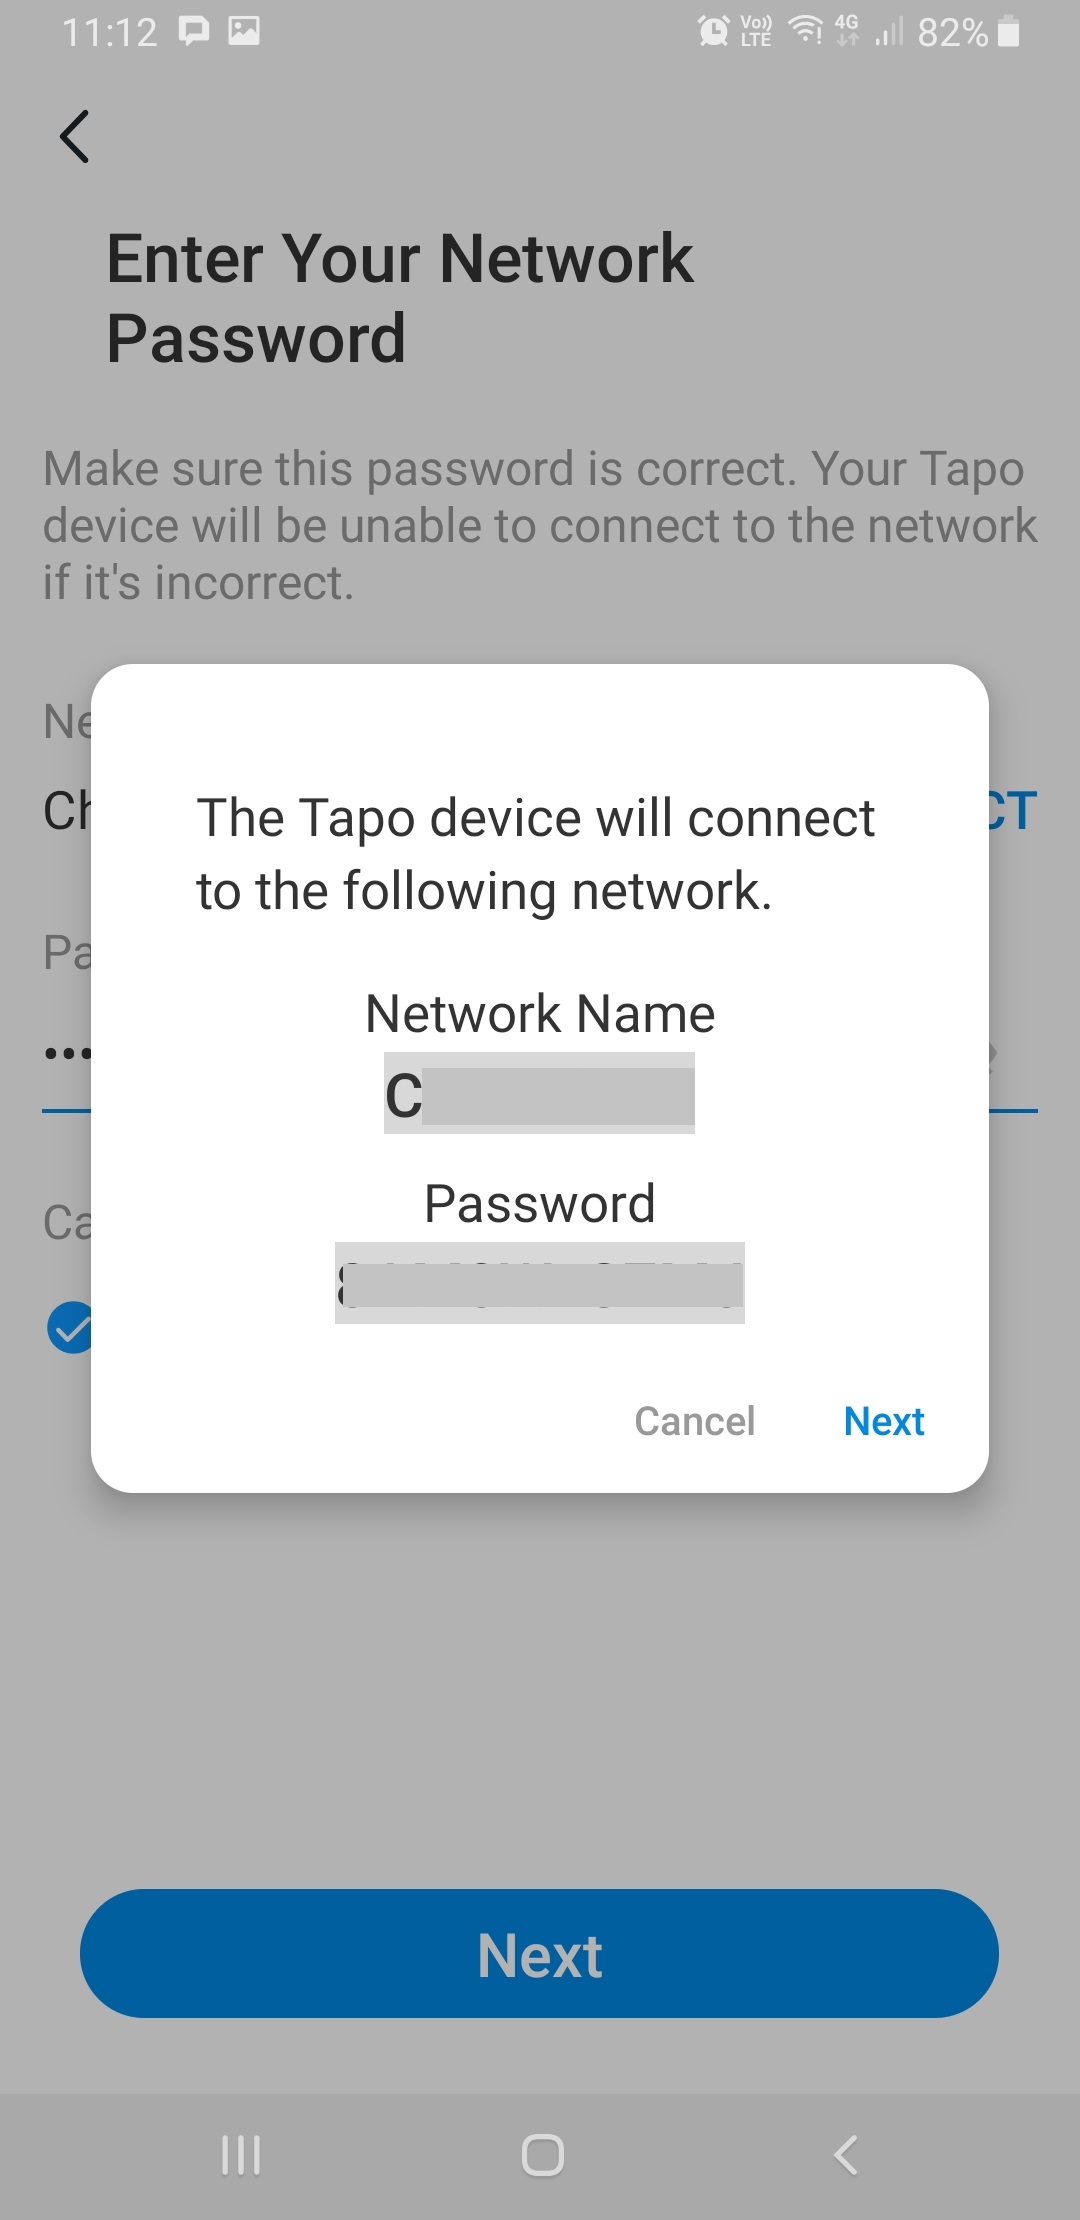
Once you choose your own network, you will need to enter the network password. This is nothing to do with Tapo. Rather, it is the password for your home network that you usually enter to connect a phone or TV to WiFi. After you enter these details, you will get a confirmation screen. Check the information, then tap the blue 'Next' button just under and to the right of the password, not the big blue one at the bottom of the screen which is greyed over.
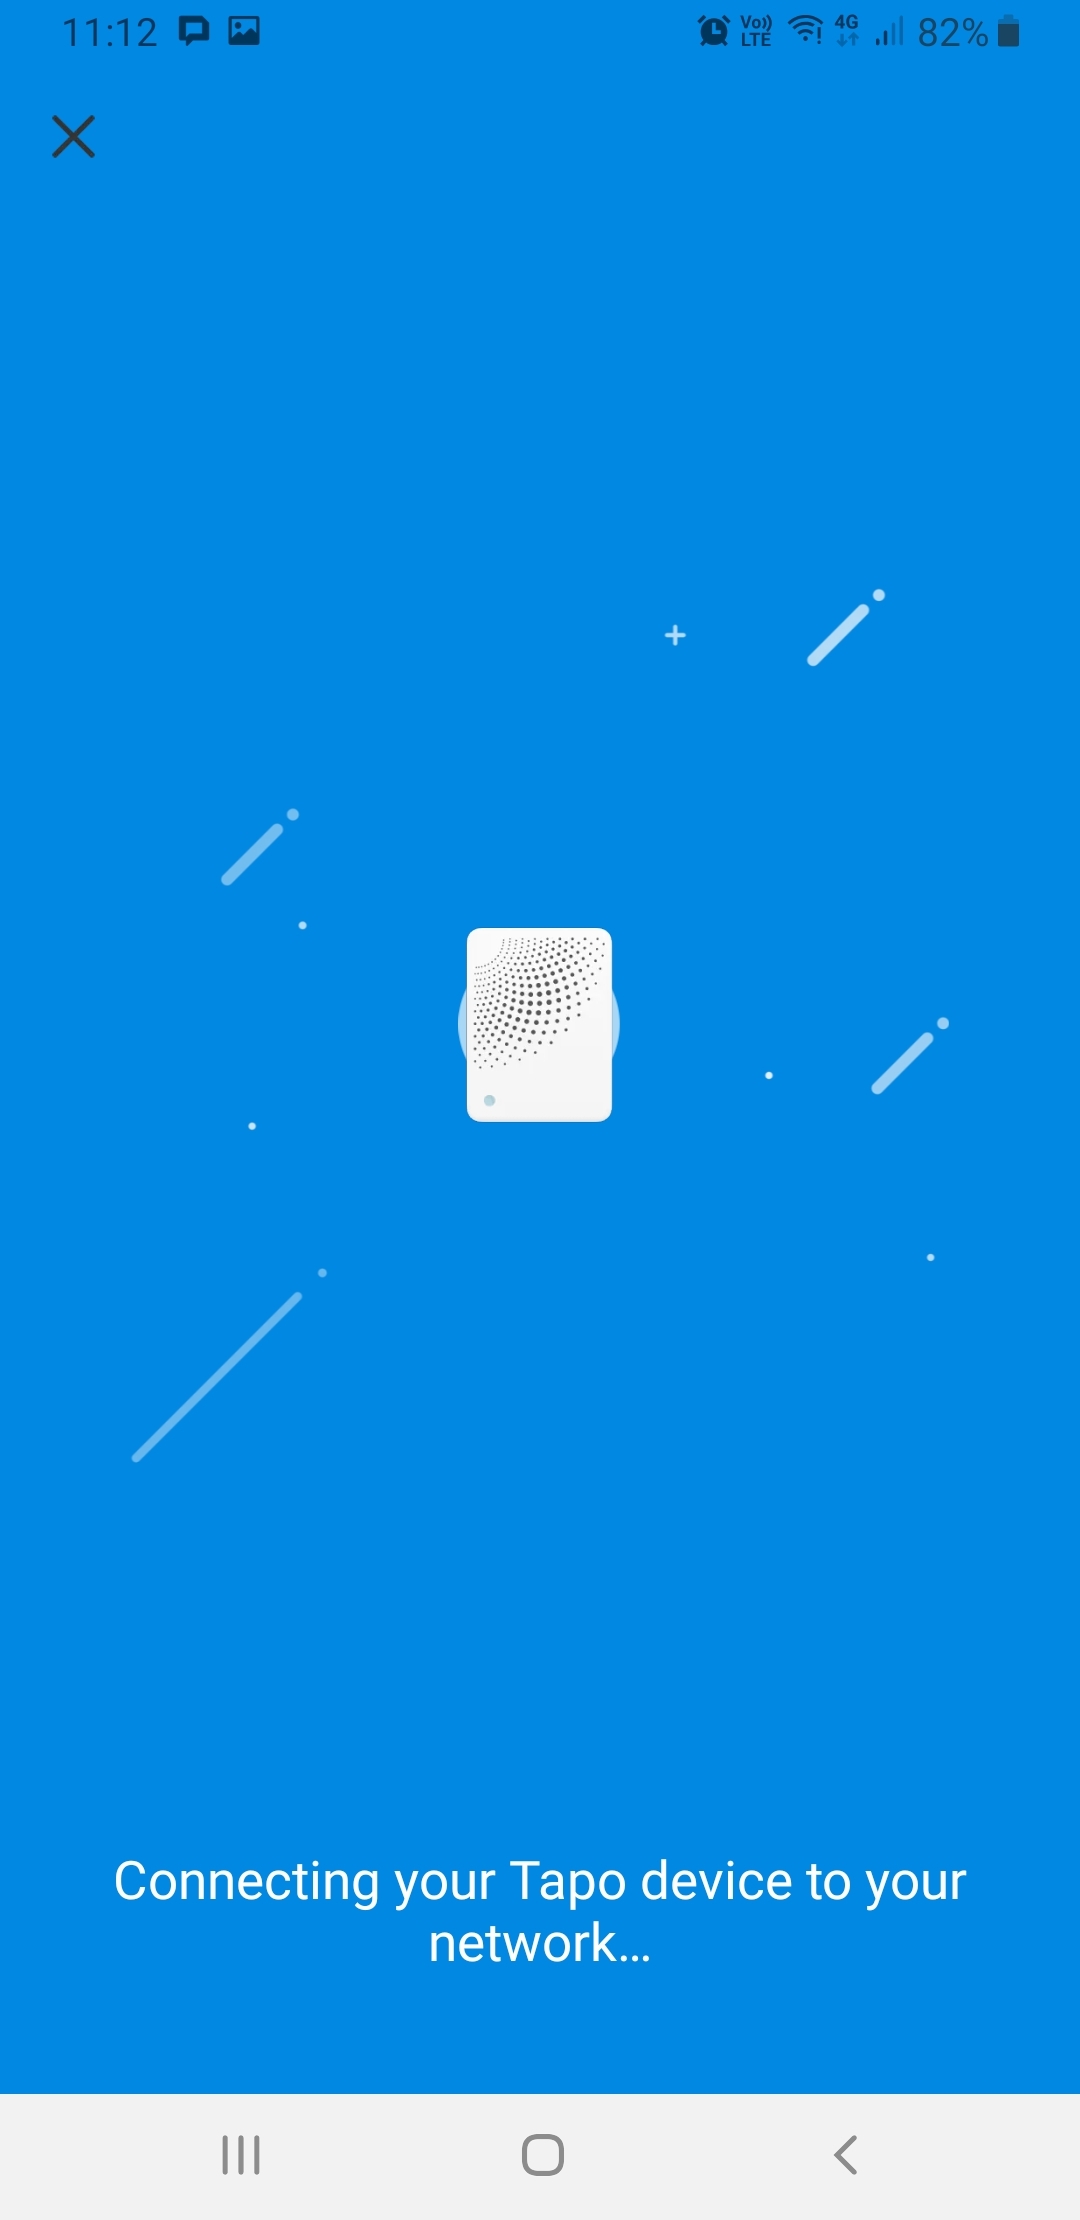
This screen should appear, which is the Tapo Hub connecting to your Wi-Fi.
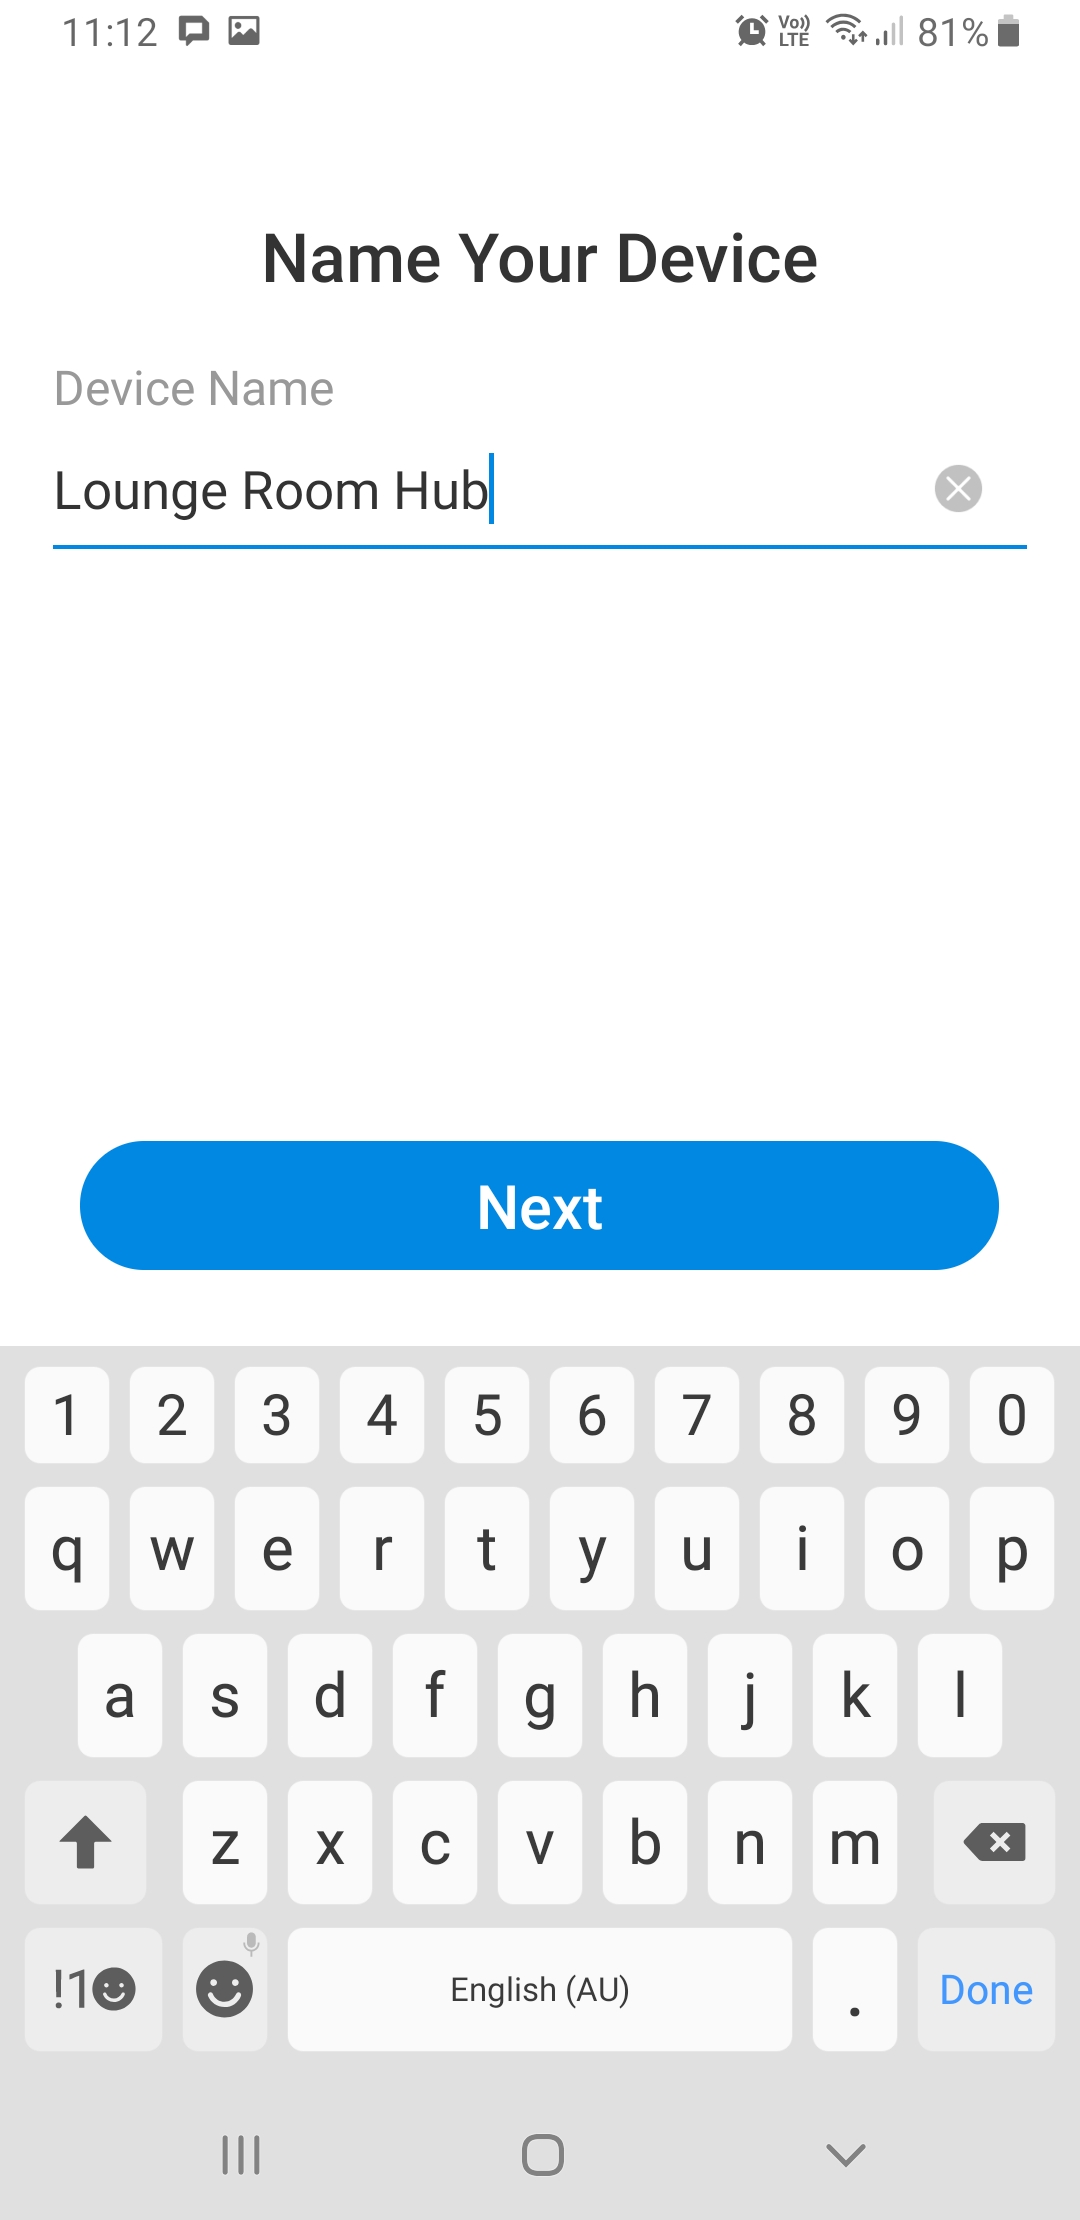
When it connects successfully, you will be prompted to name your Hub. 'Smart Hub' is the default, but we labelled ours 'Lounge Room Hub' after its location, in anticipation of installing another elsewhere in the house later on. Tap the big blue 'Next' button after typing in a name. You will also be prompted to choose an icon. The blue 'Next' button has moved further down the screen.
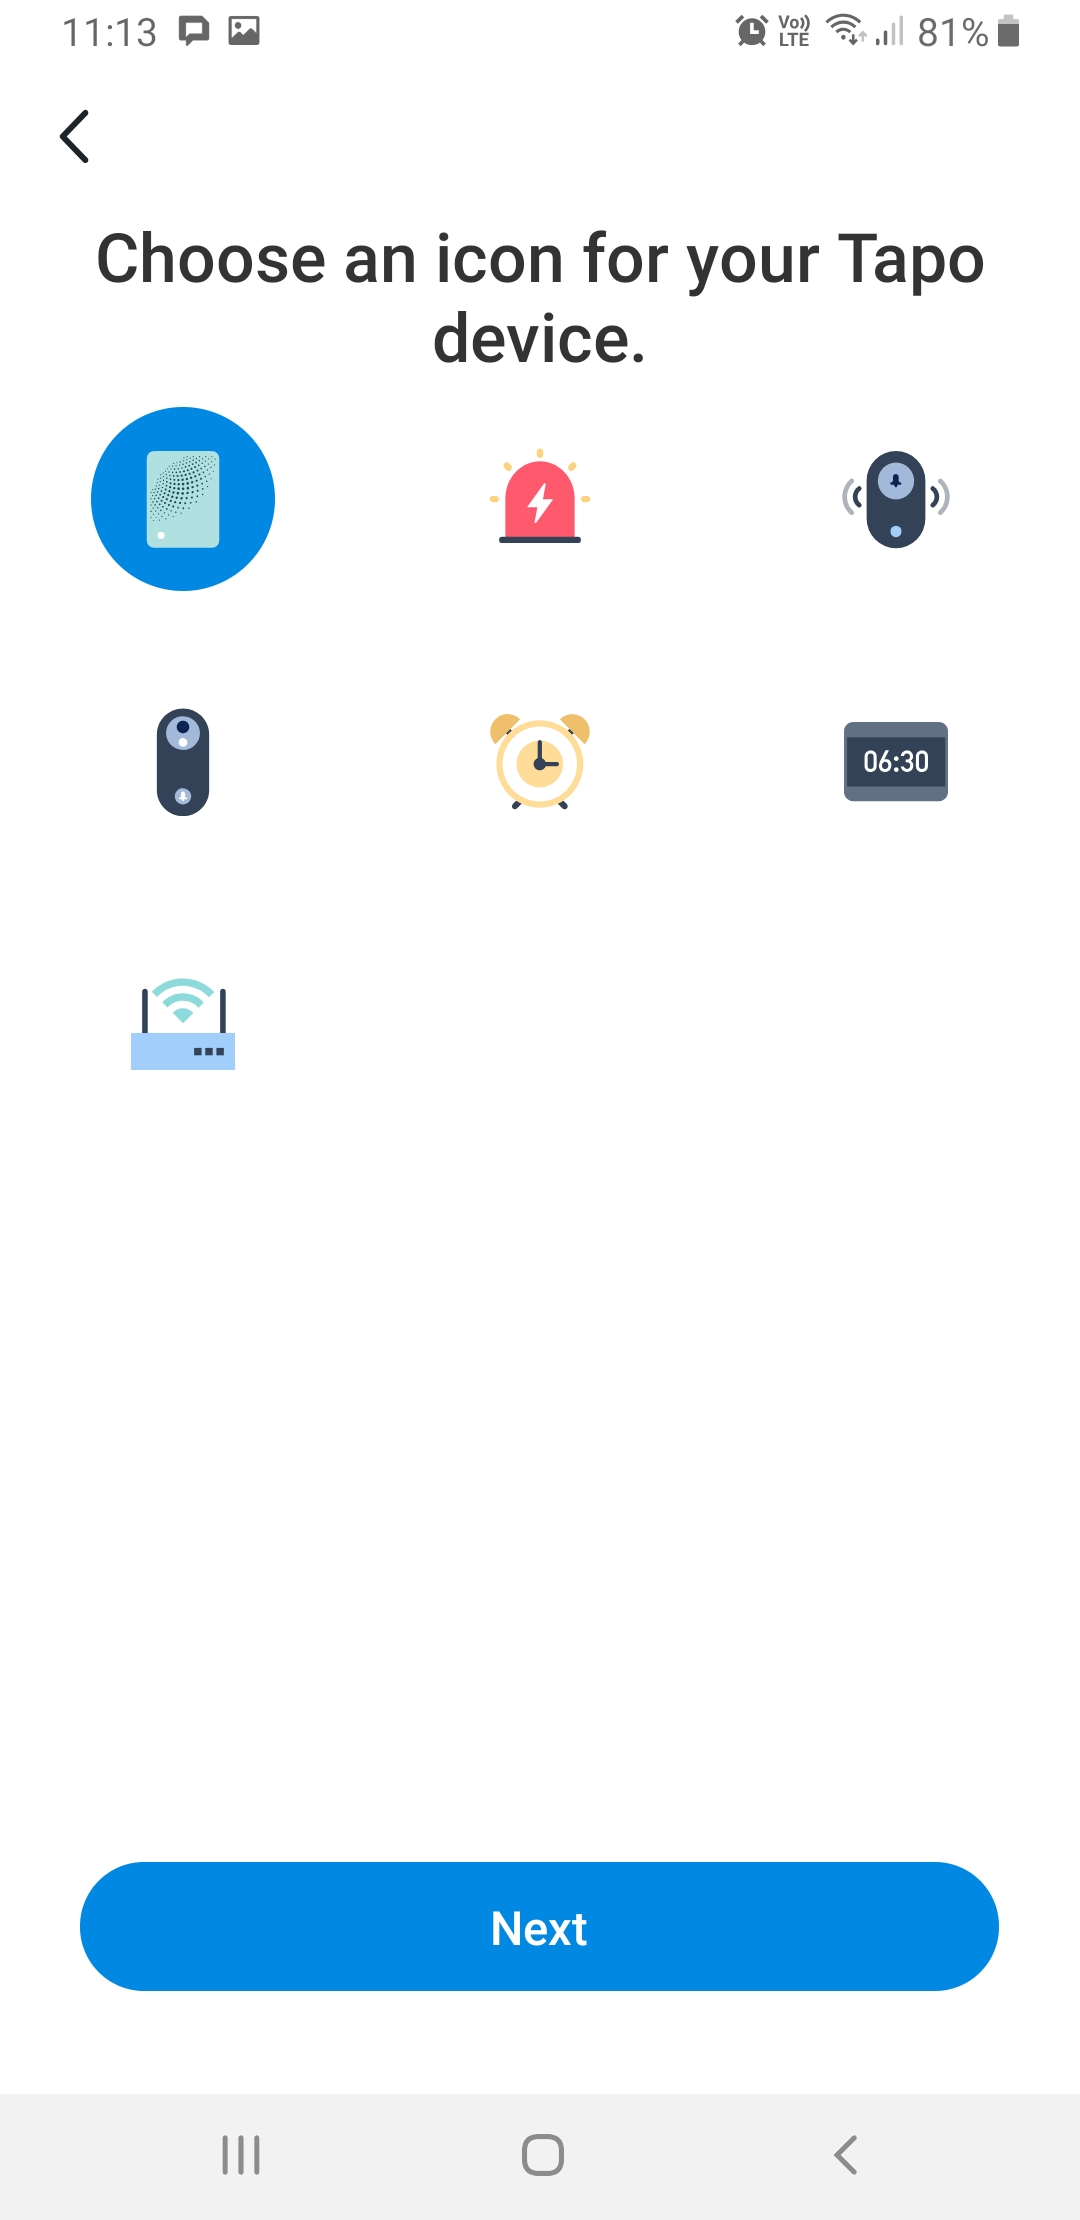
At this point, the Hub will look for firmware updates and display this screen:
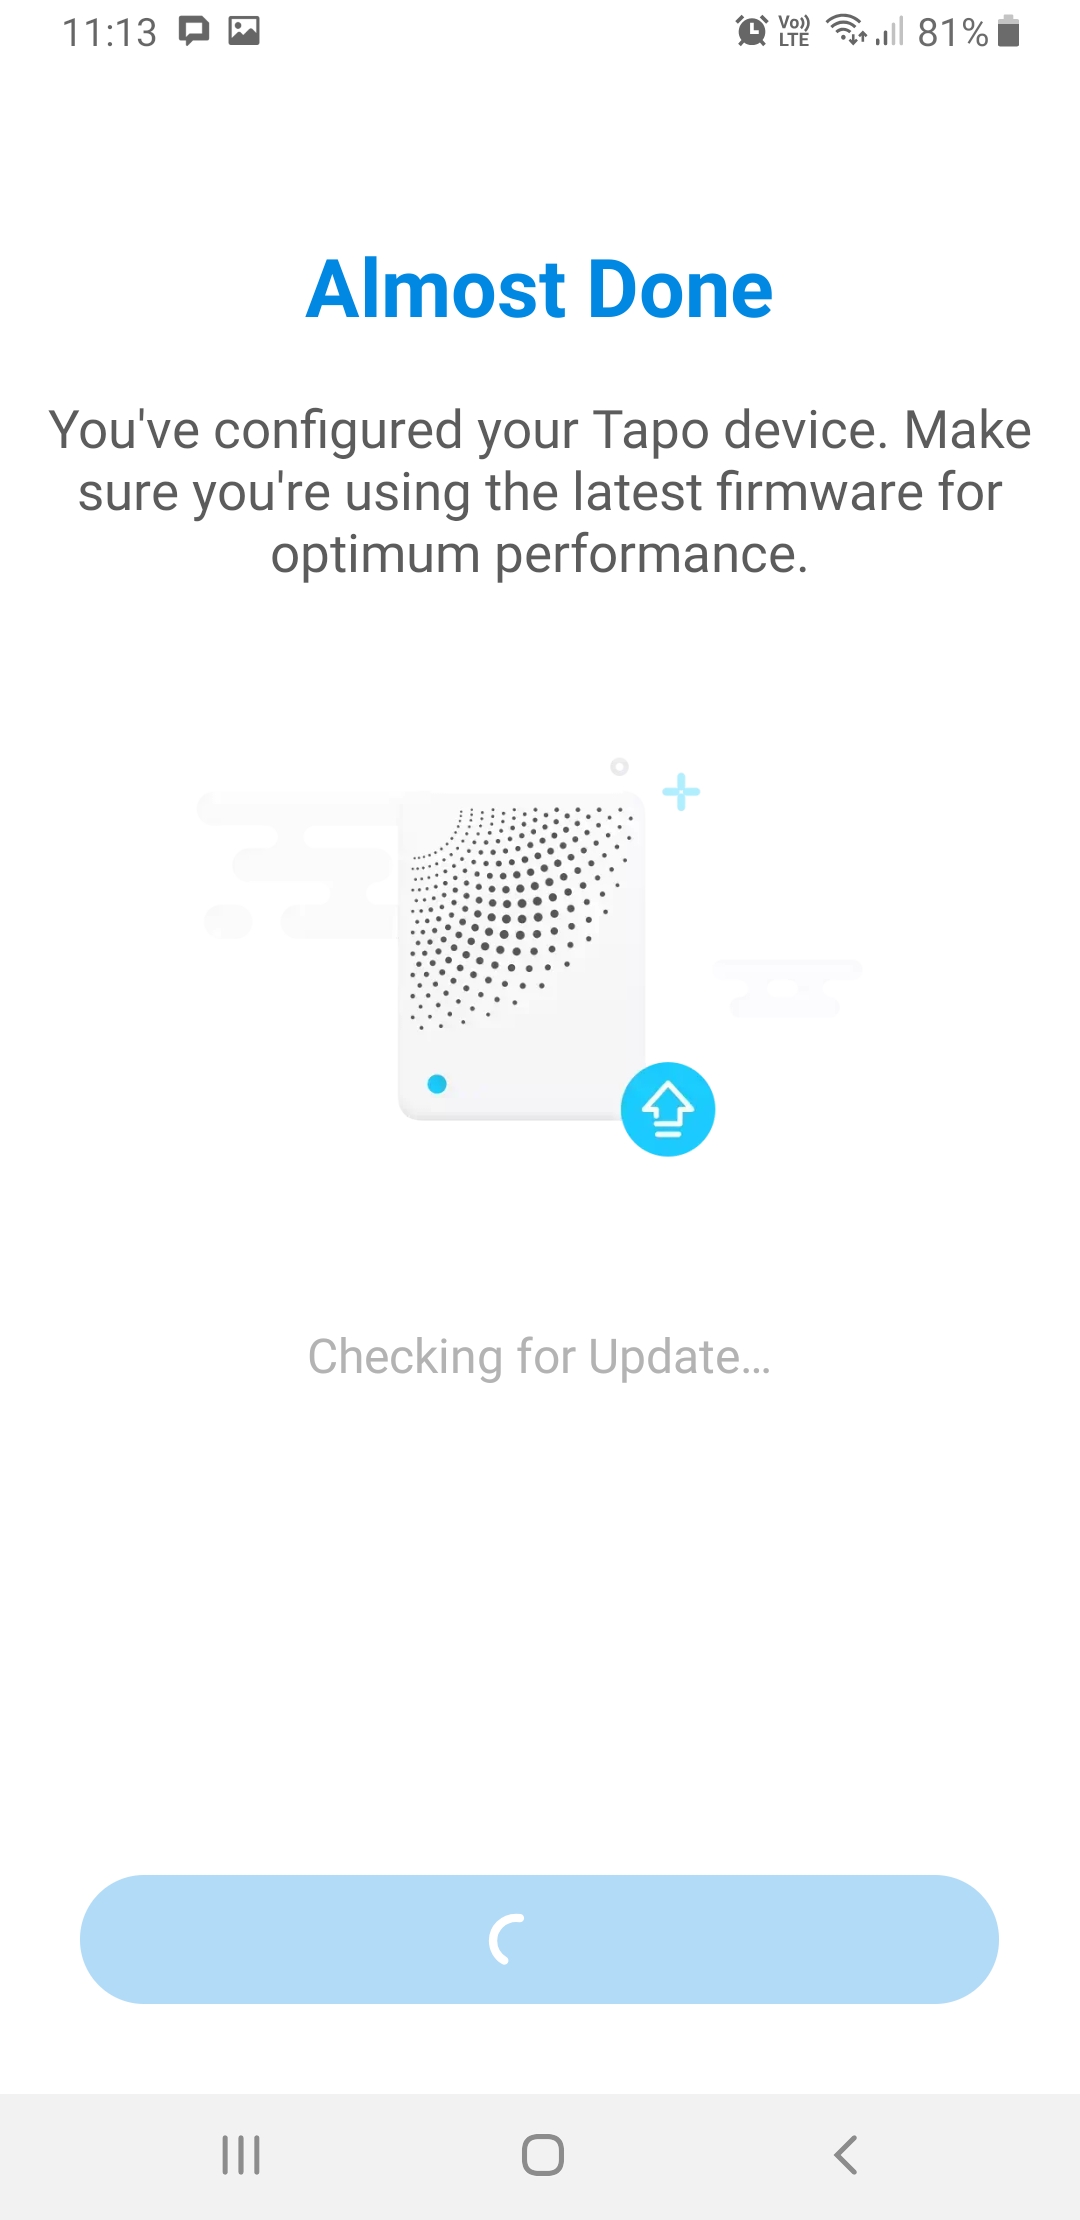
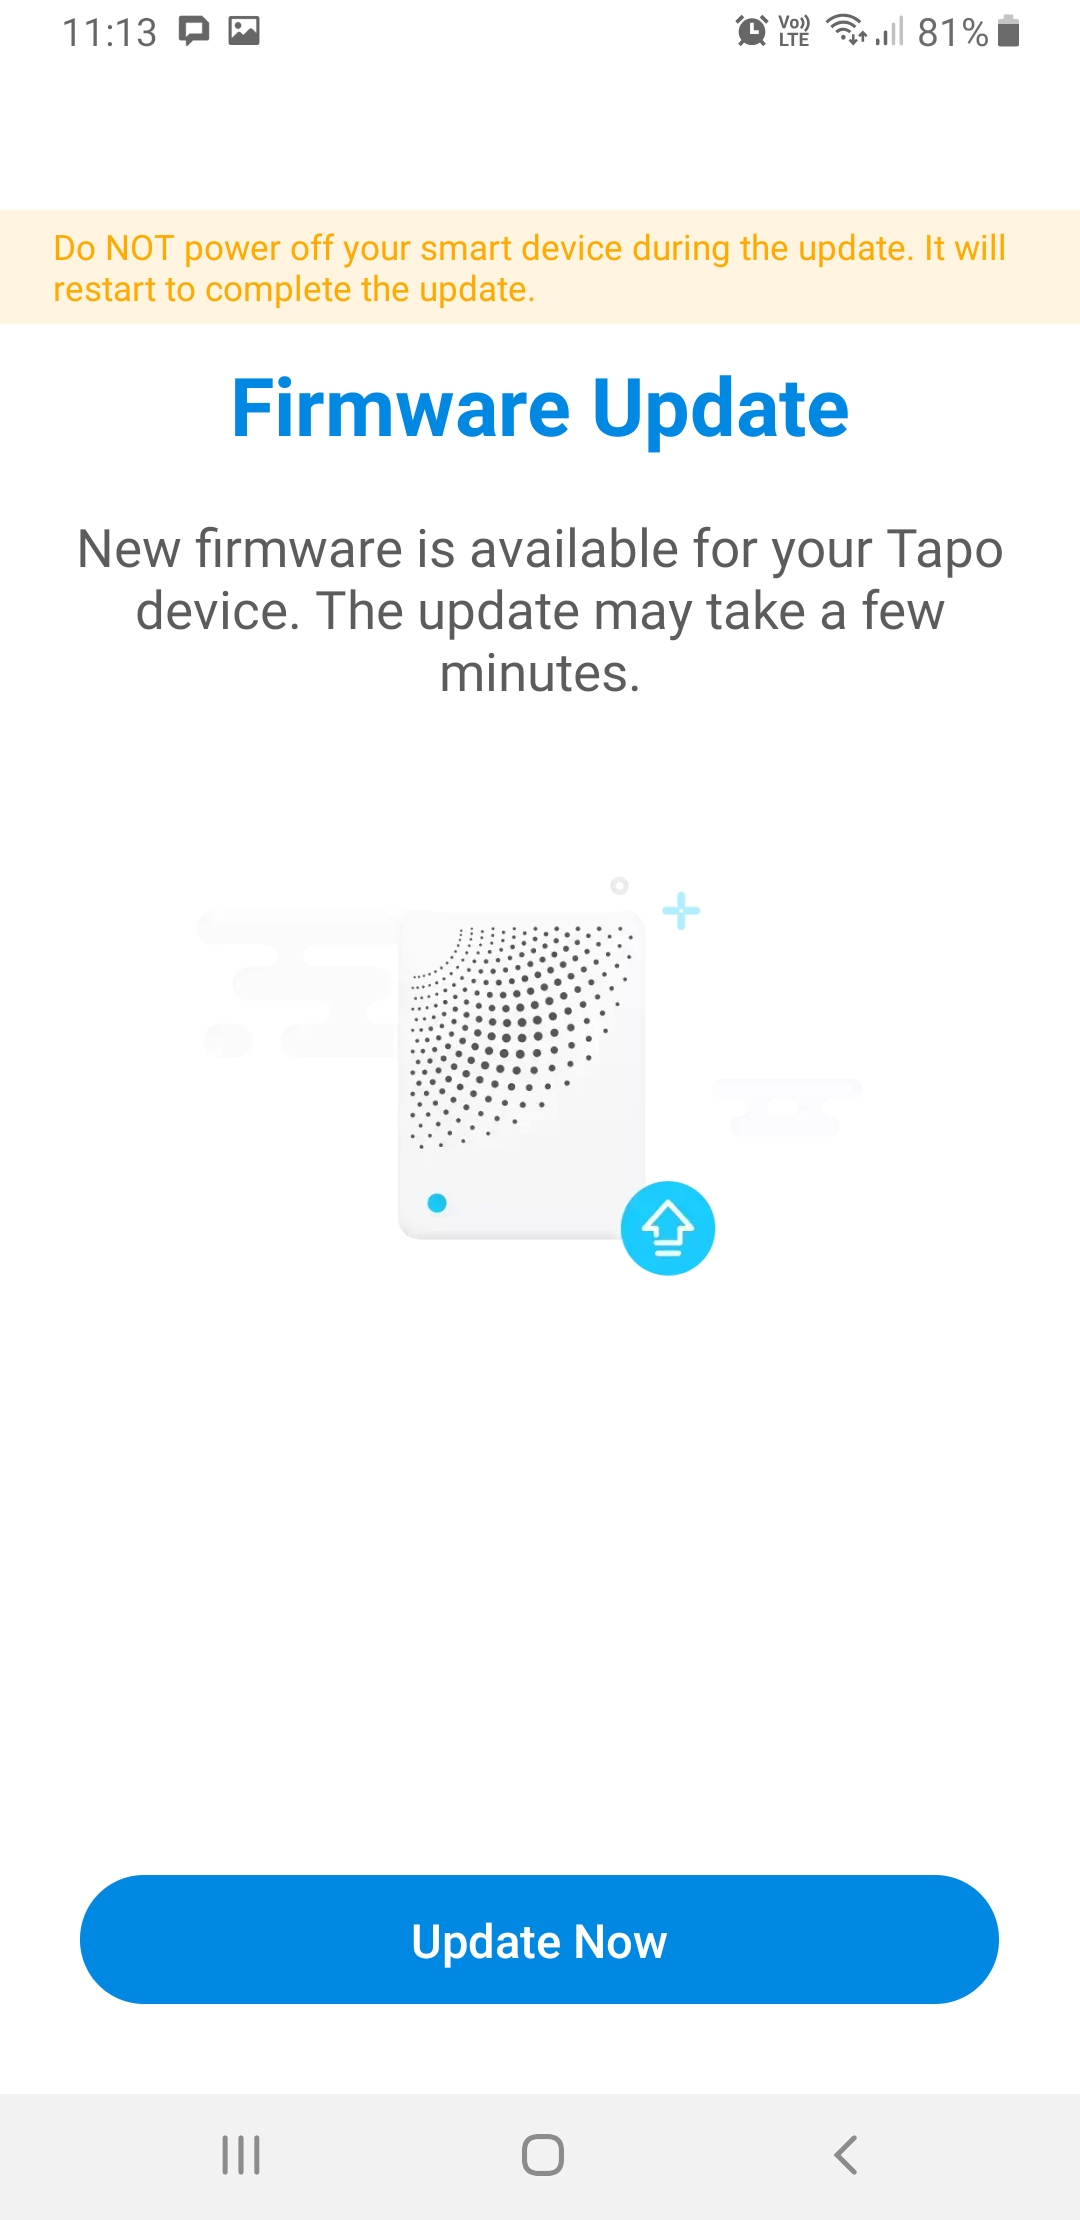
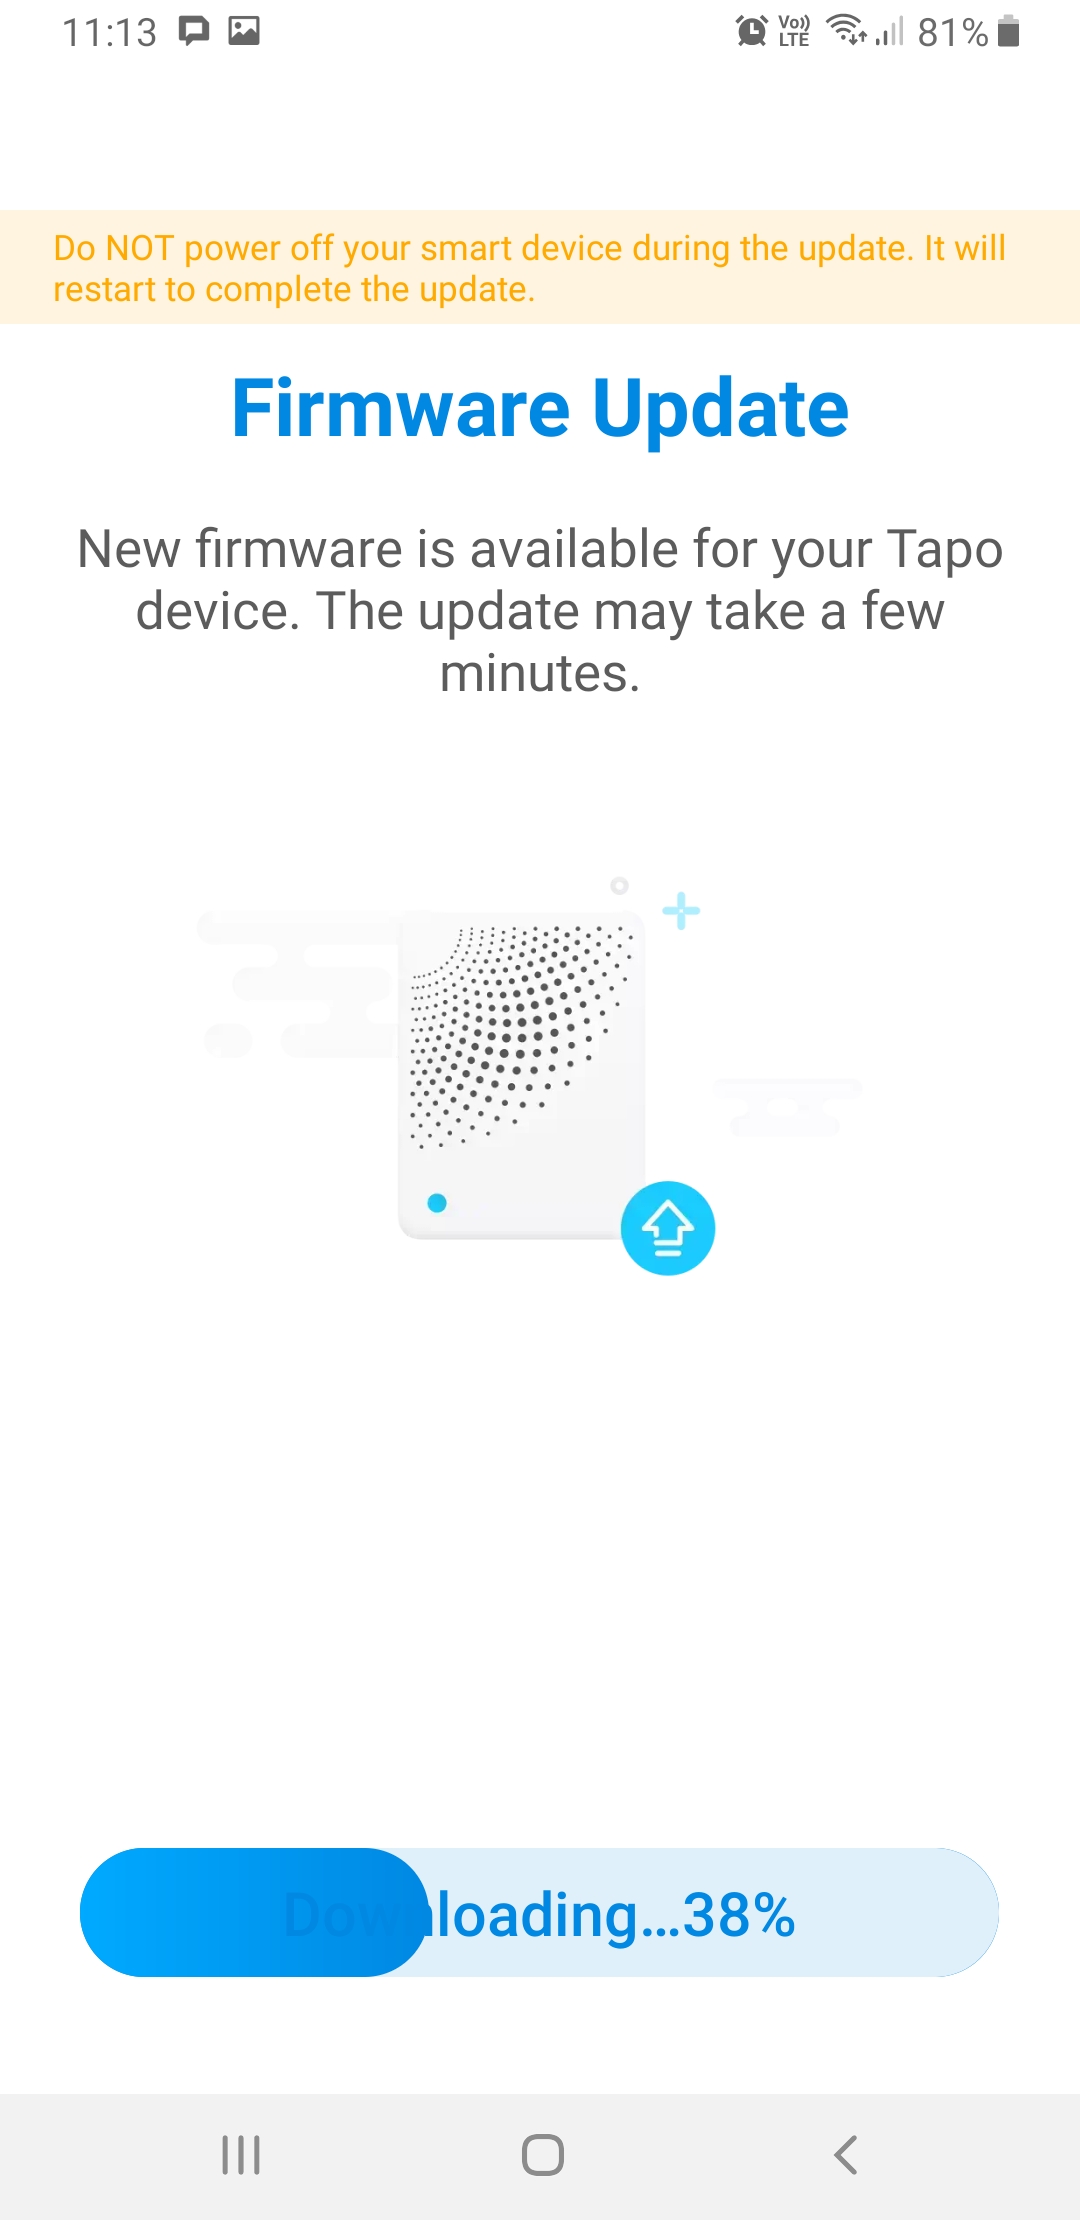
It will likely find newer firmware, in which case the big blue button at the bottom is now labelled 'Update Now'. Tap it and wait a few minutes. After it has finished, the final step is tapping the 'Sounds Good' button to move on.
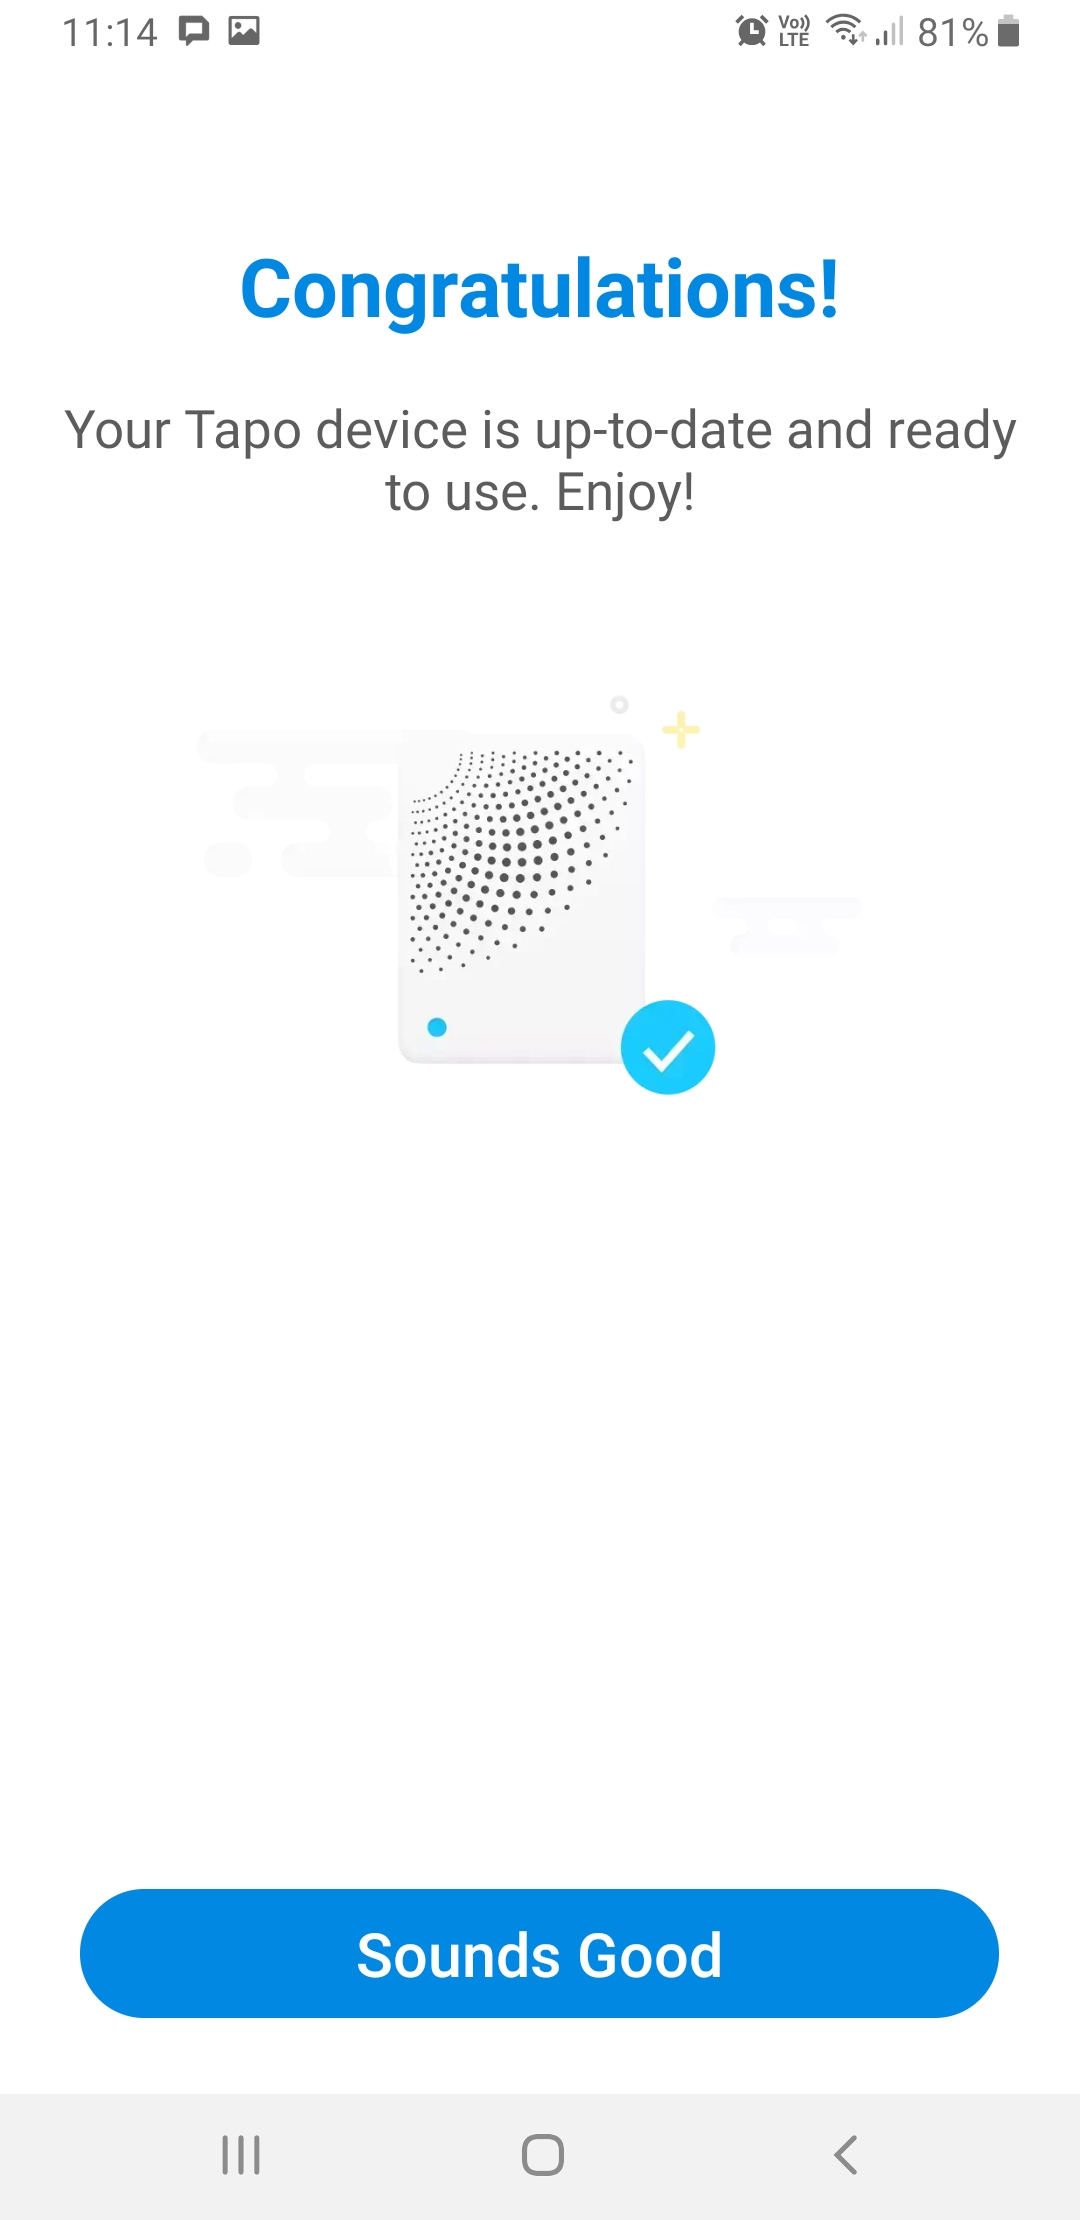
As soon as the Hub is ready, you may be prompted to add a device. You could do this now, but so you know how to add more devices in the future, tap the 'Skip' button at the top right to exit to the home screen.
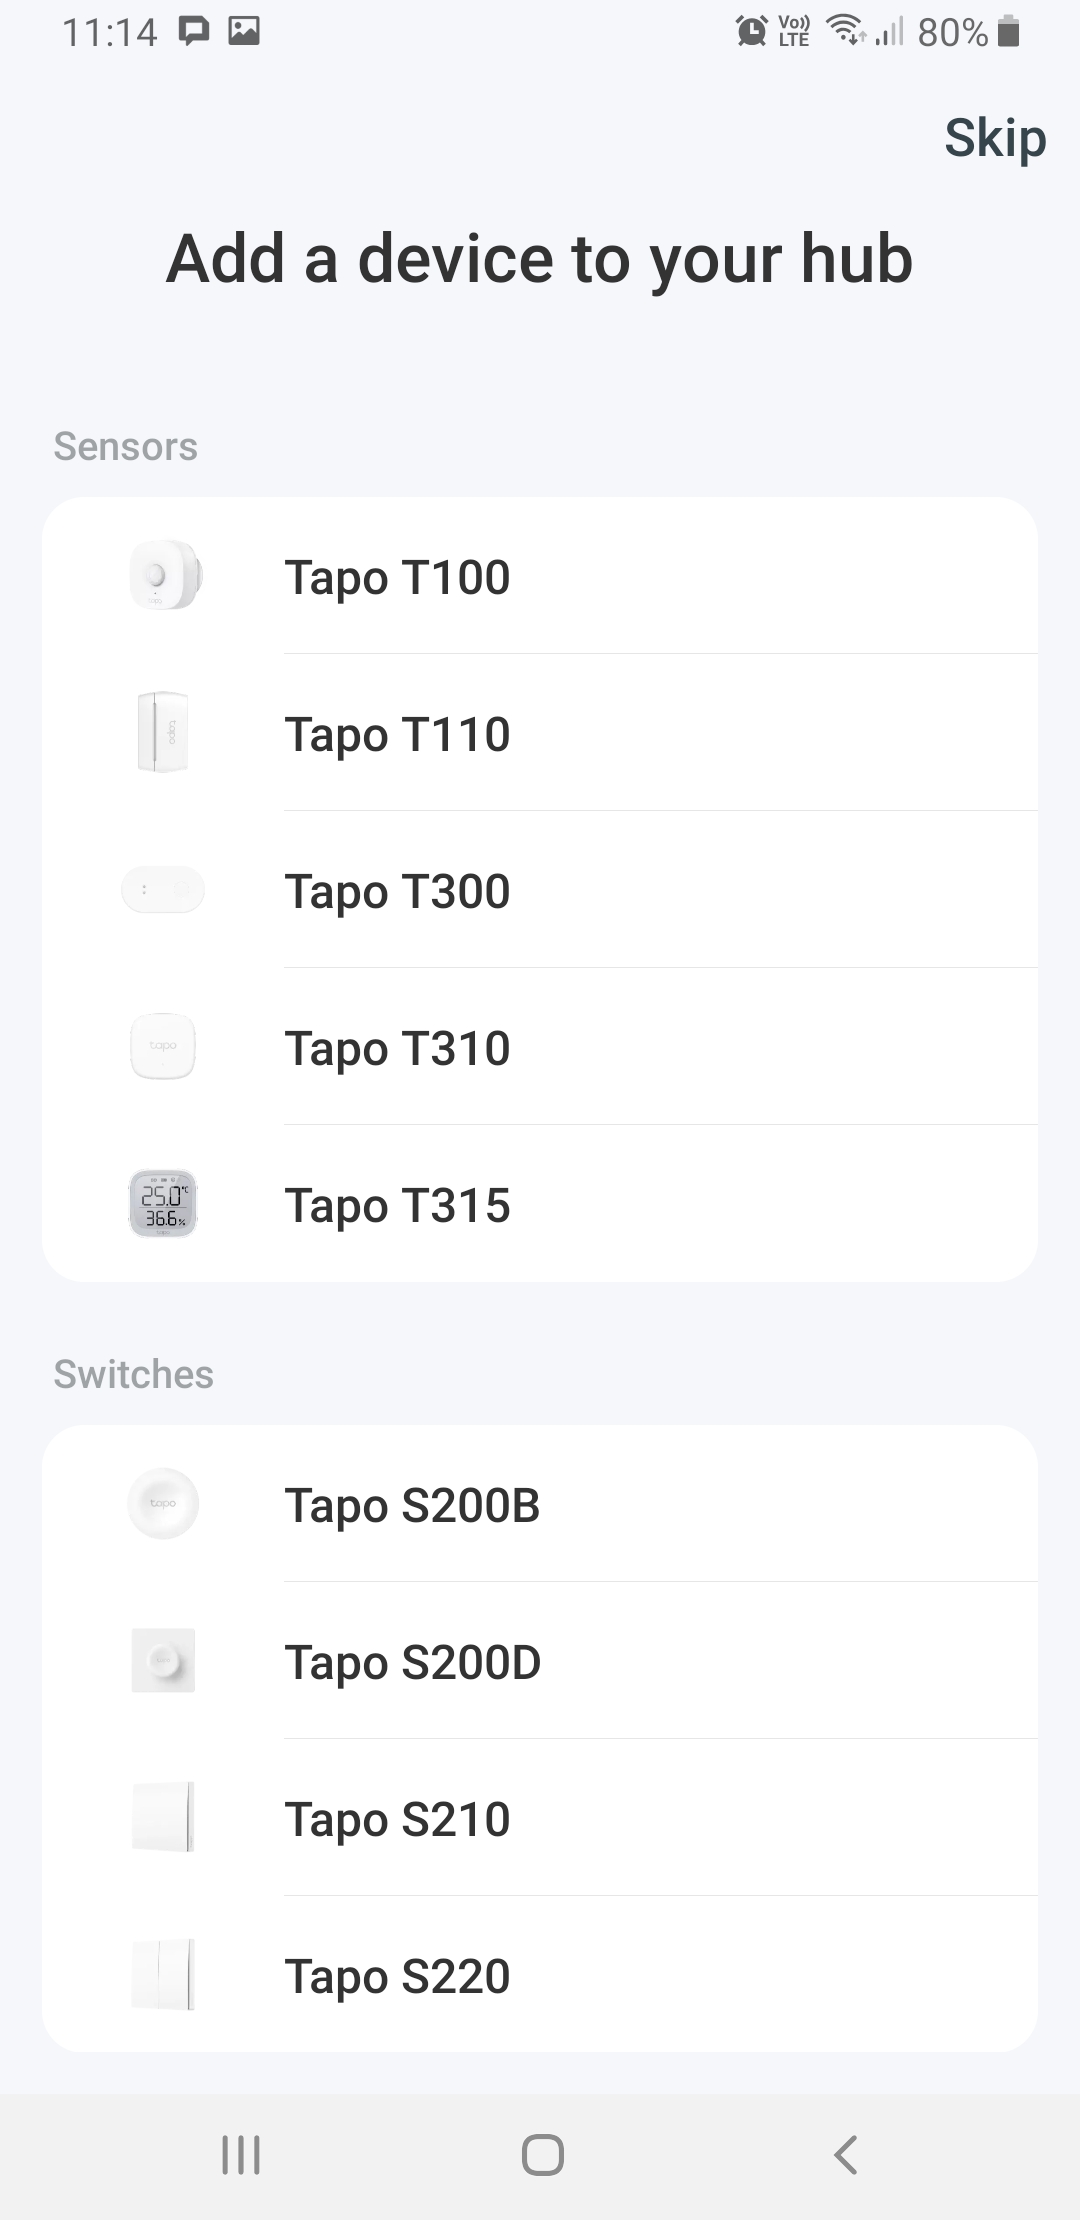
If you have never used the Hub before, the process will be the same but the screenshots will look a bit different for you. That is because we have previously added devices to our Hub. Don't worry if you have not, the function is still the same. There just won't be any devices on the home screen when you start!
If you have used the Hub before, you will find your home screen will look like ours, maybe with more devices attached.
We are using the T100 Tapo Motion Sensor for this project. If you are unsure which model you have, the text on the very back of the sensor contains the model number near the top.
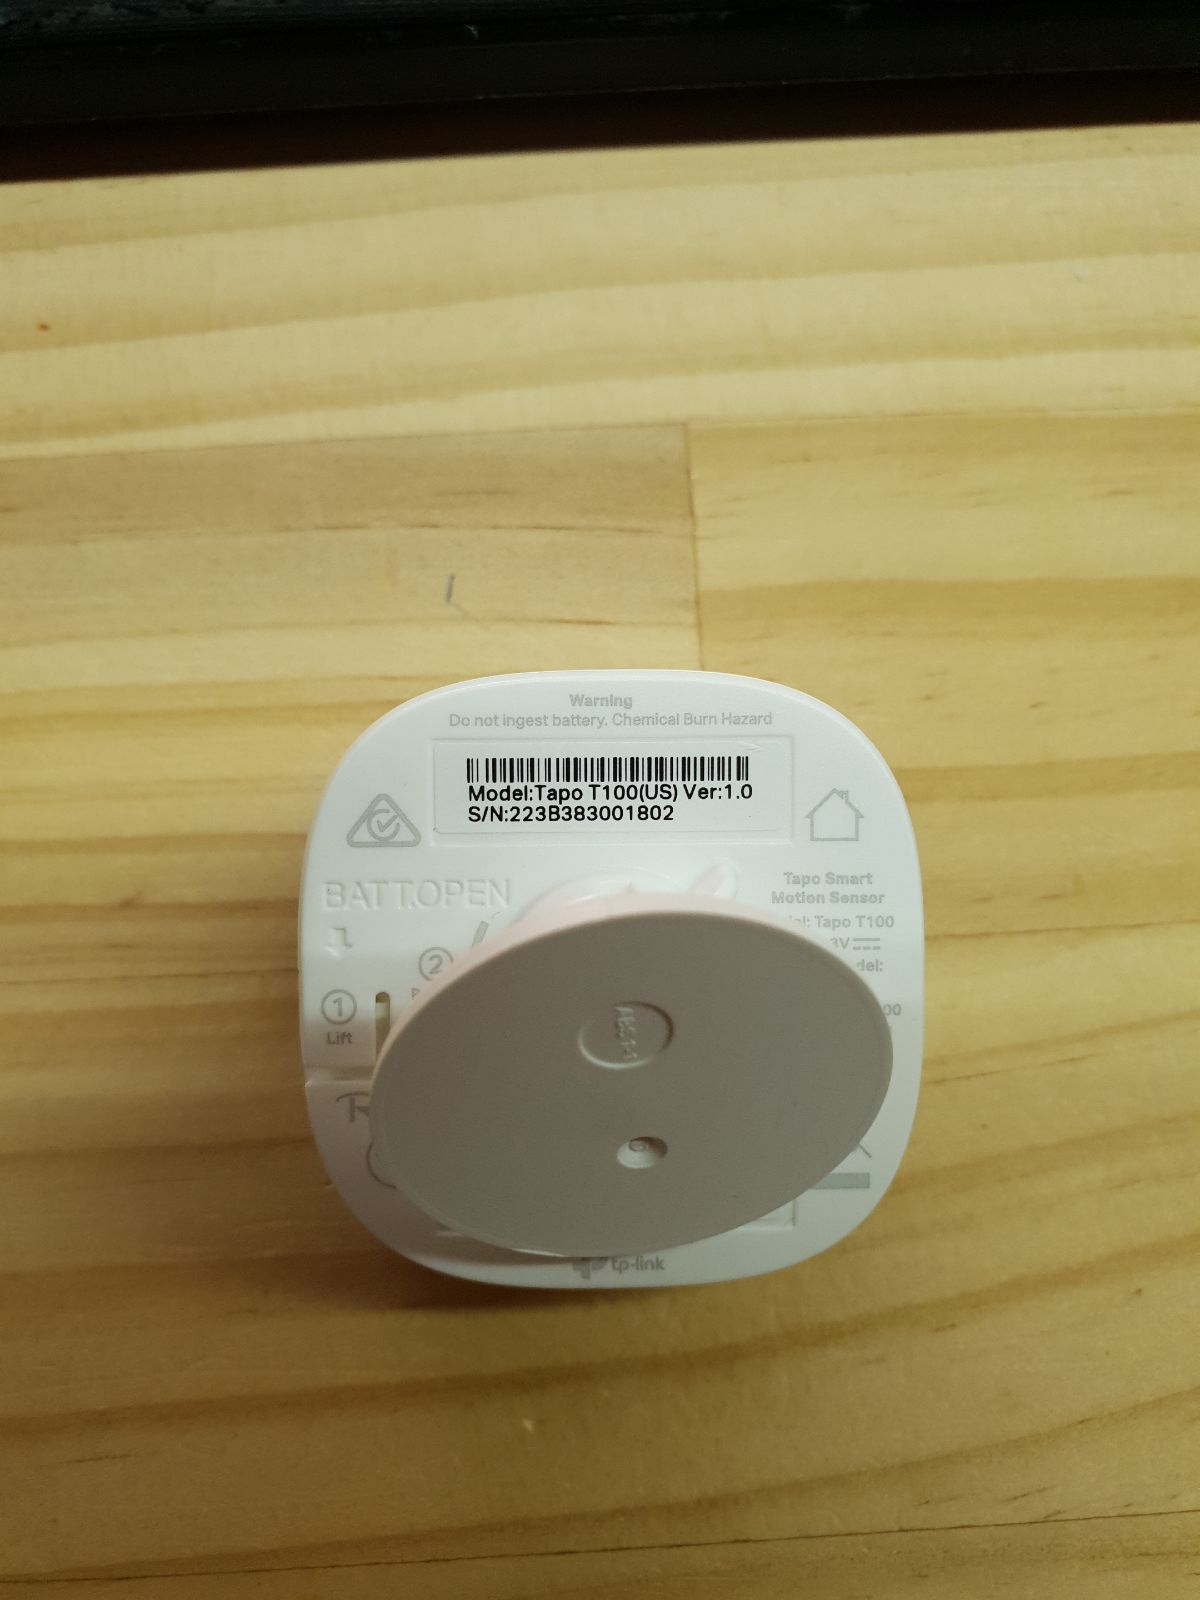
In the box is the sensor, quick start guide, and a 3M double sided tape circle that matches the back of the sensor mounting. Turn over the sensor. There is a plastic tab, blue in this case, between the battery and one of its contacts. Leave it in for now, but you will pull this tab out during the following process.
On your Tapo app home screen, at the top right, tap the + symbol and tap 'Add Device' from the dropdown menu that appears.
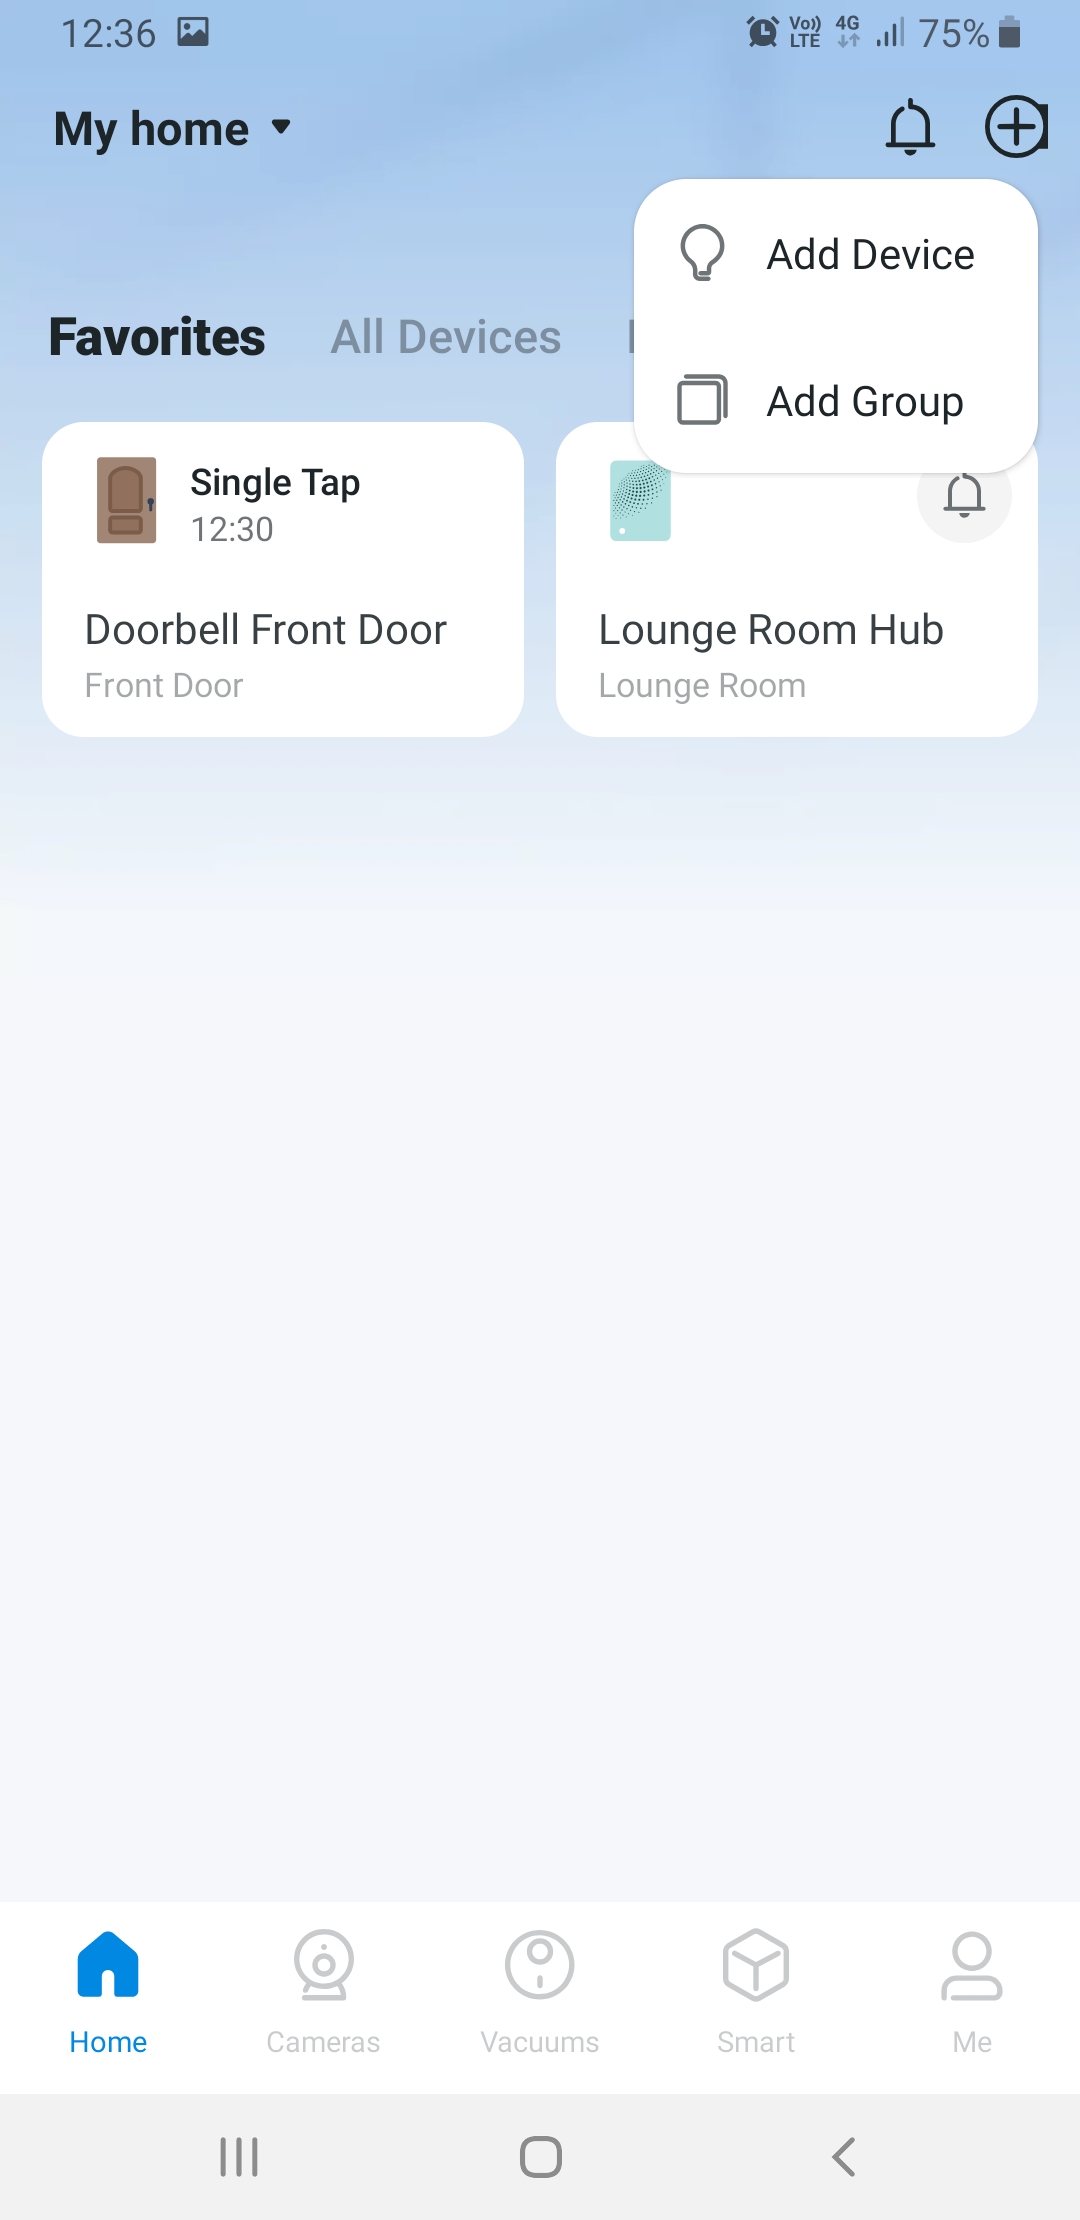
The next menu is headed 'Add a device'. Select the 'Sensors' category.
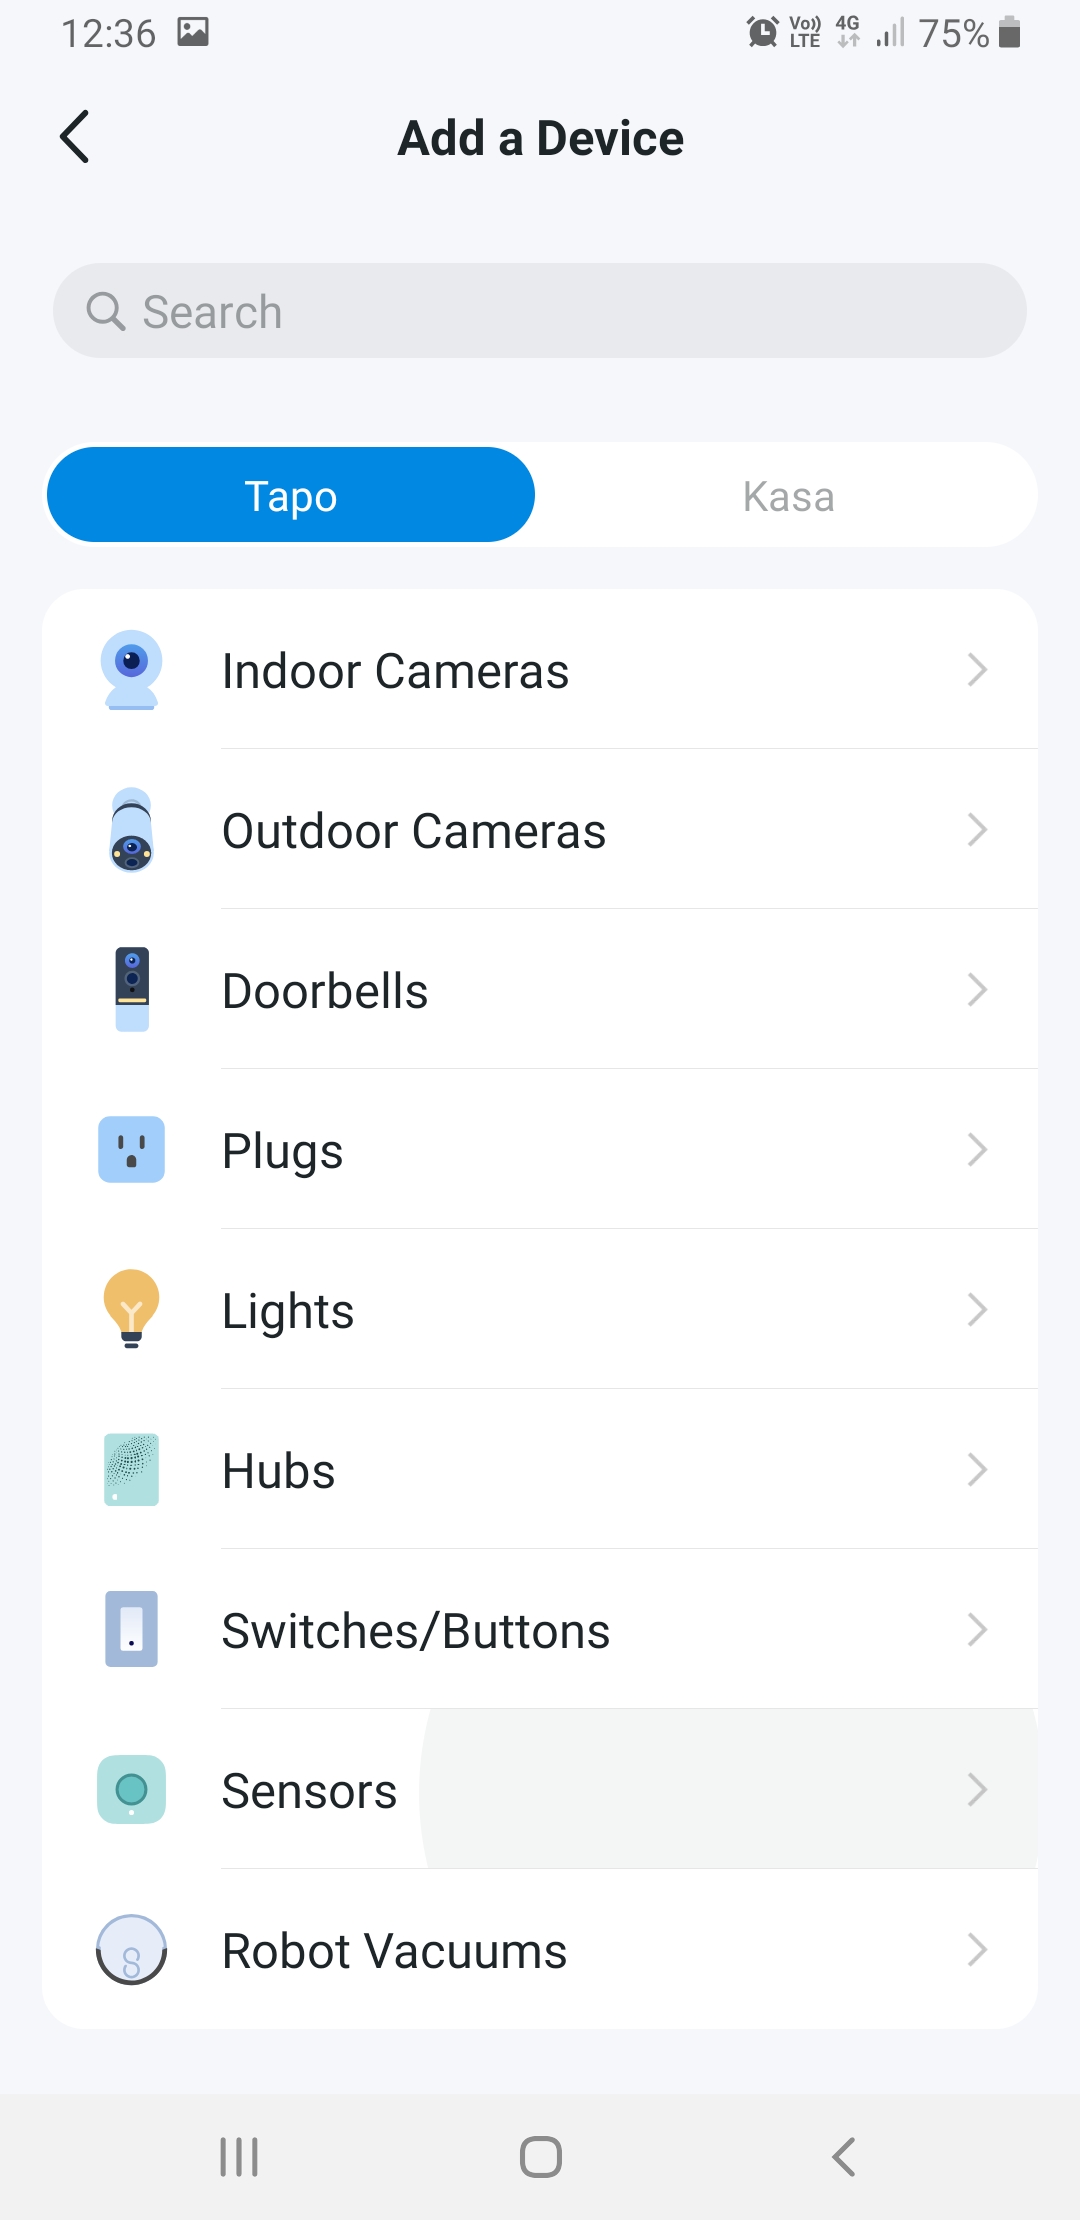
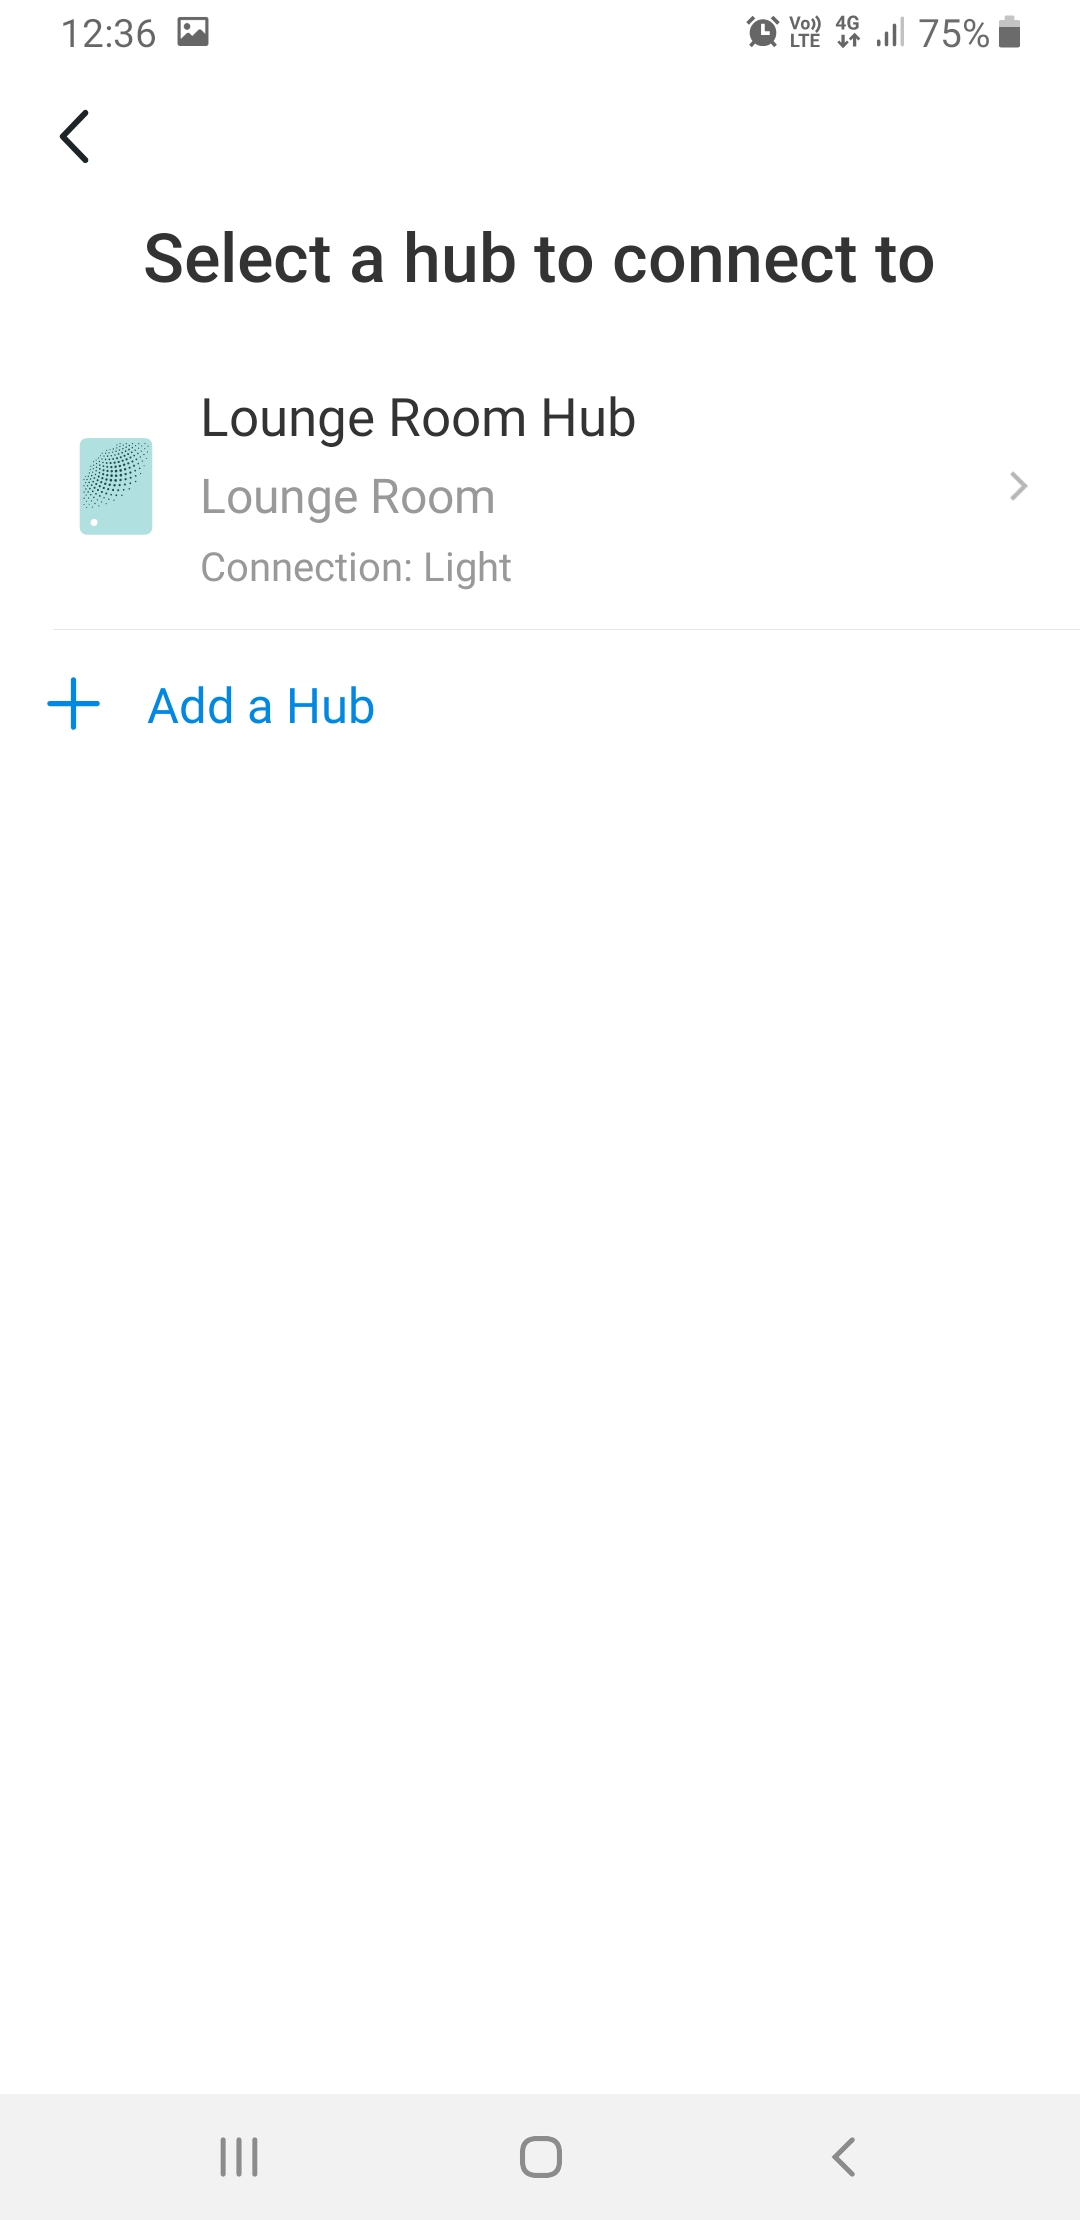
One of the first options in the list that pops up now is the T100. Tap on it. The next screen will prompt you to choose a Hub to connect the sensor to. It cannot be used independently. Because we have only one Hub in our list, the choice is easy.

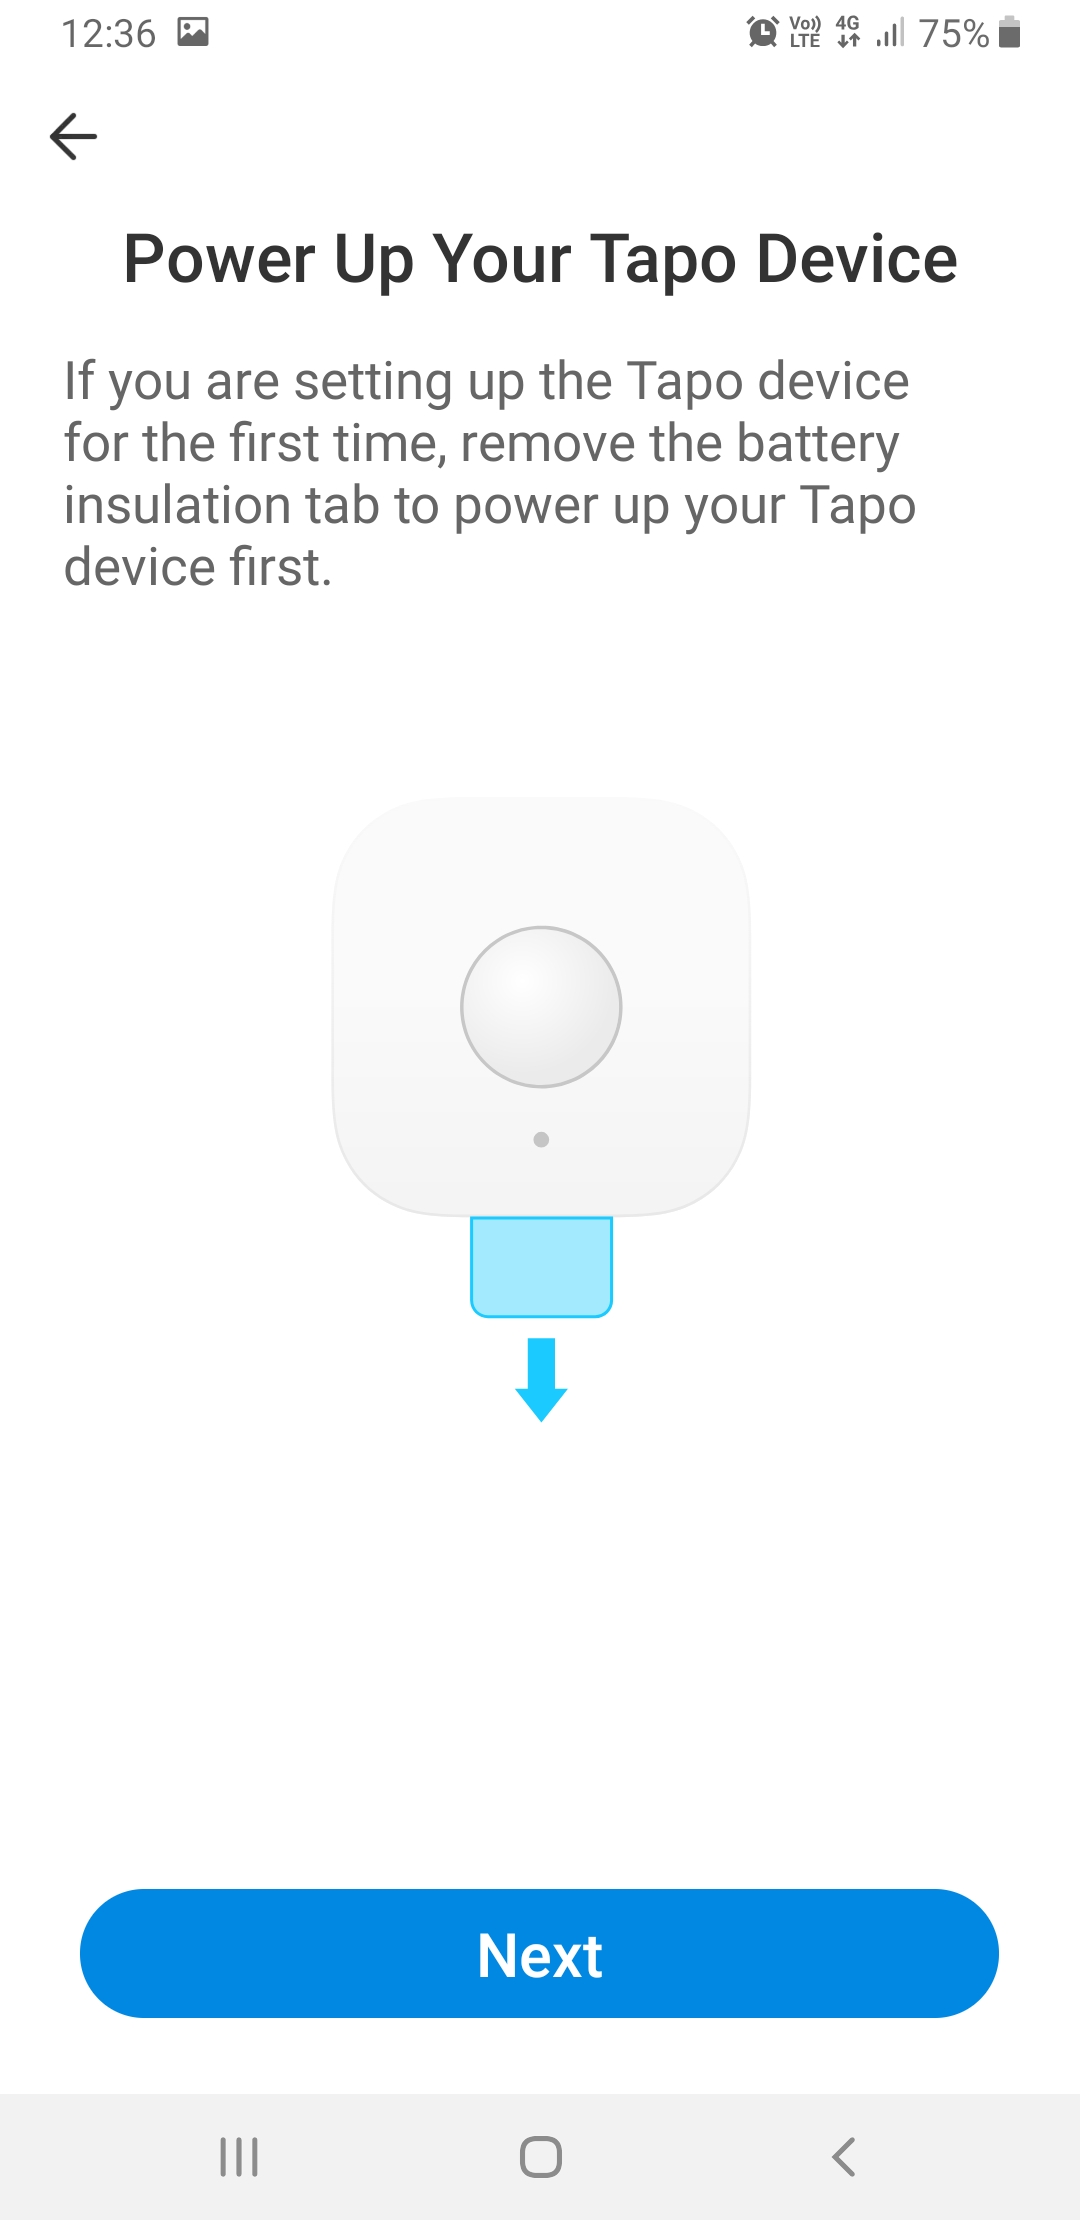
You will see this screen, which instructs you to pull the battery tab out to power up your sensor. Do so, then press 'Next'.
You will be prompted to check the LED on the front of the sensor. If it is flashing green, the sensor is in pairing mode. Tap the blue 'LED Is Blinking' button.
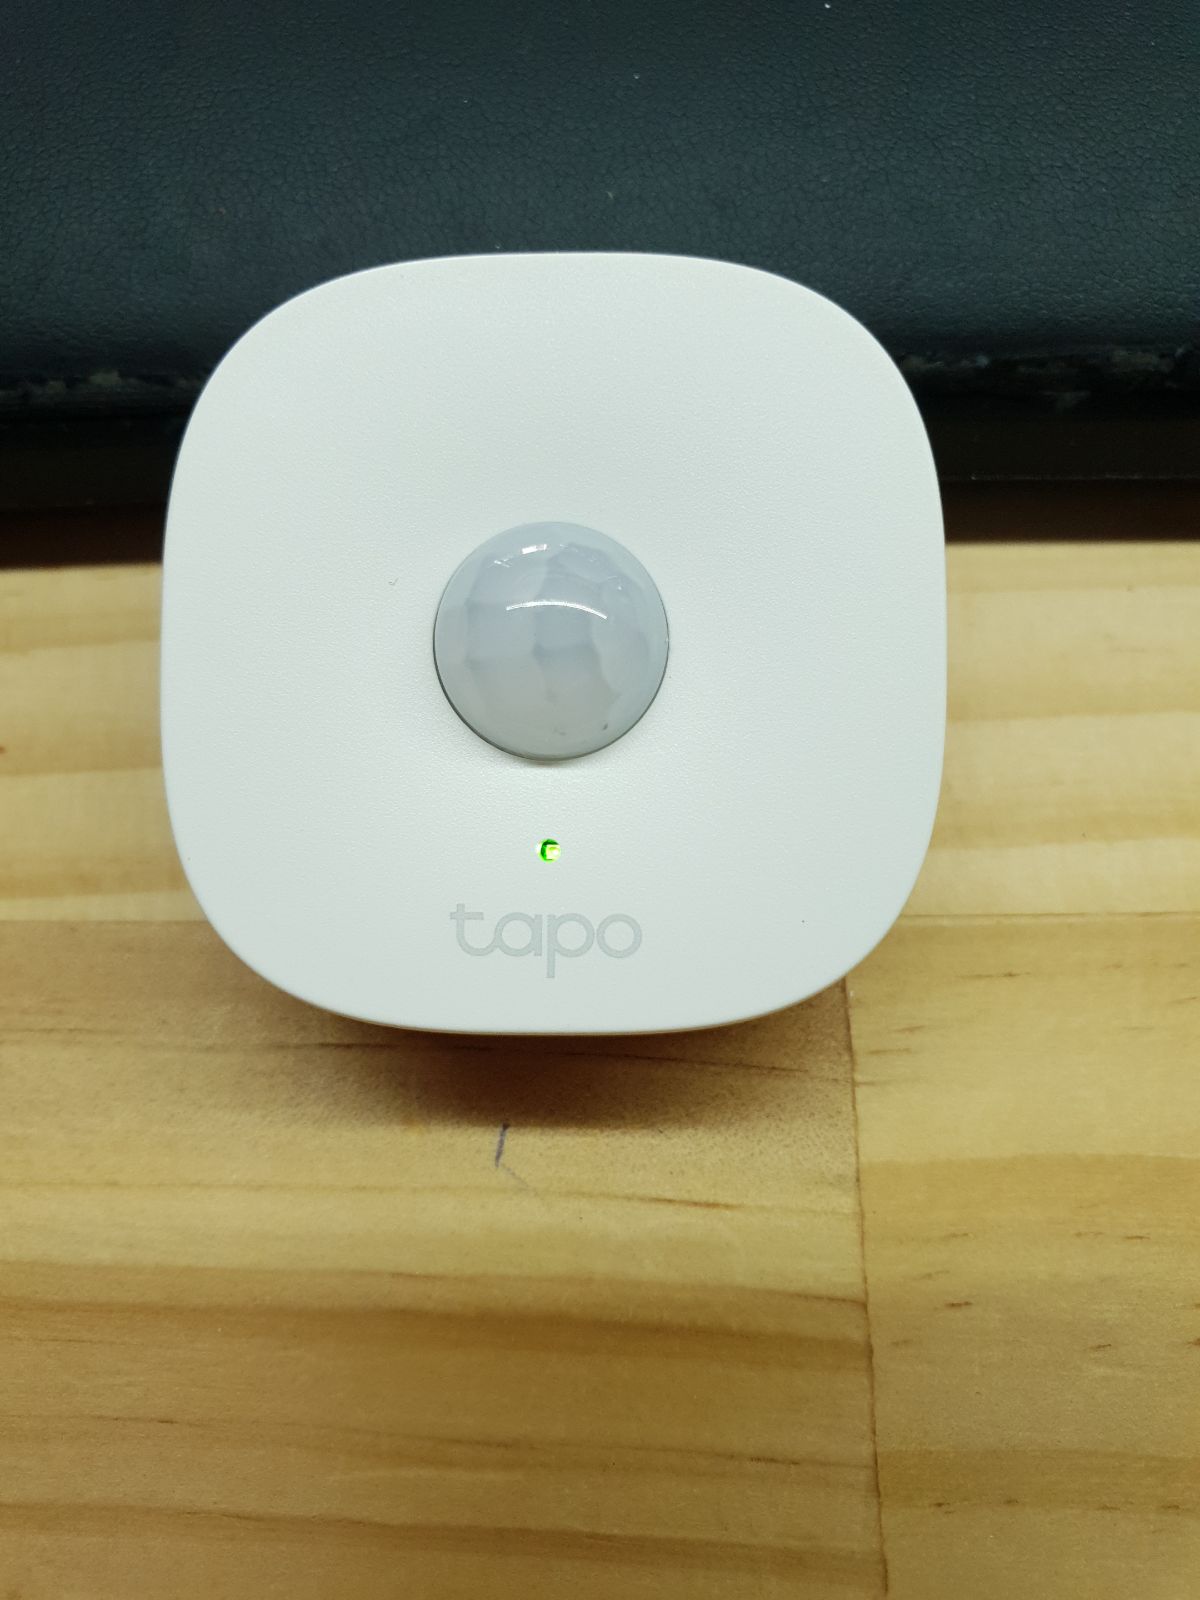
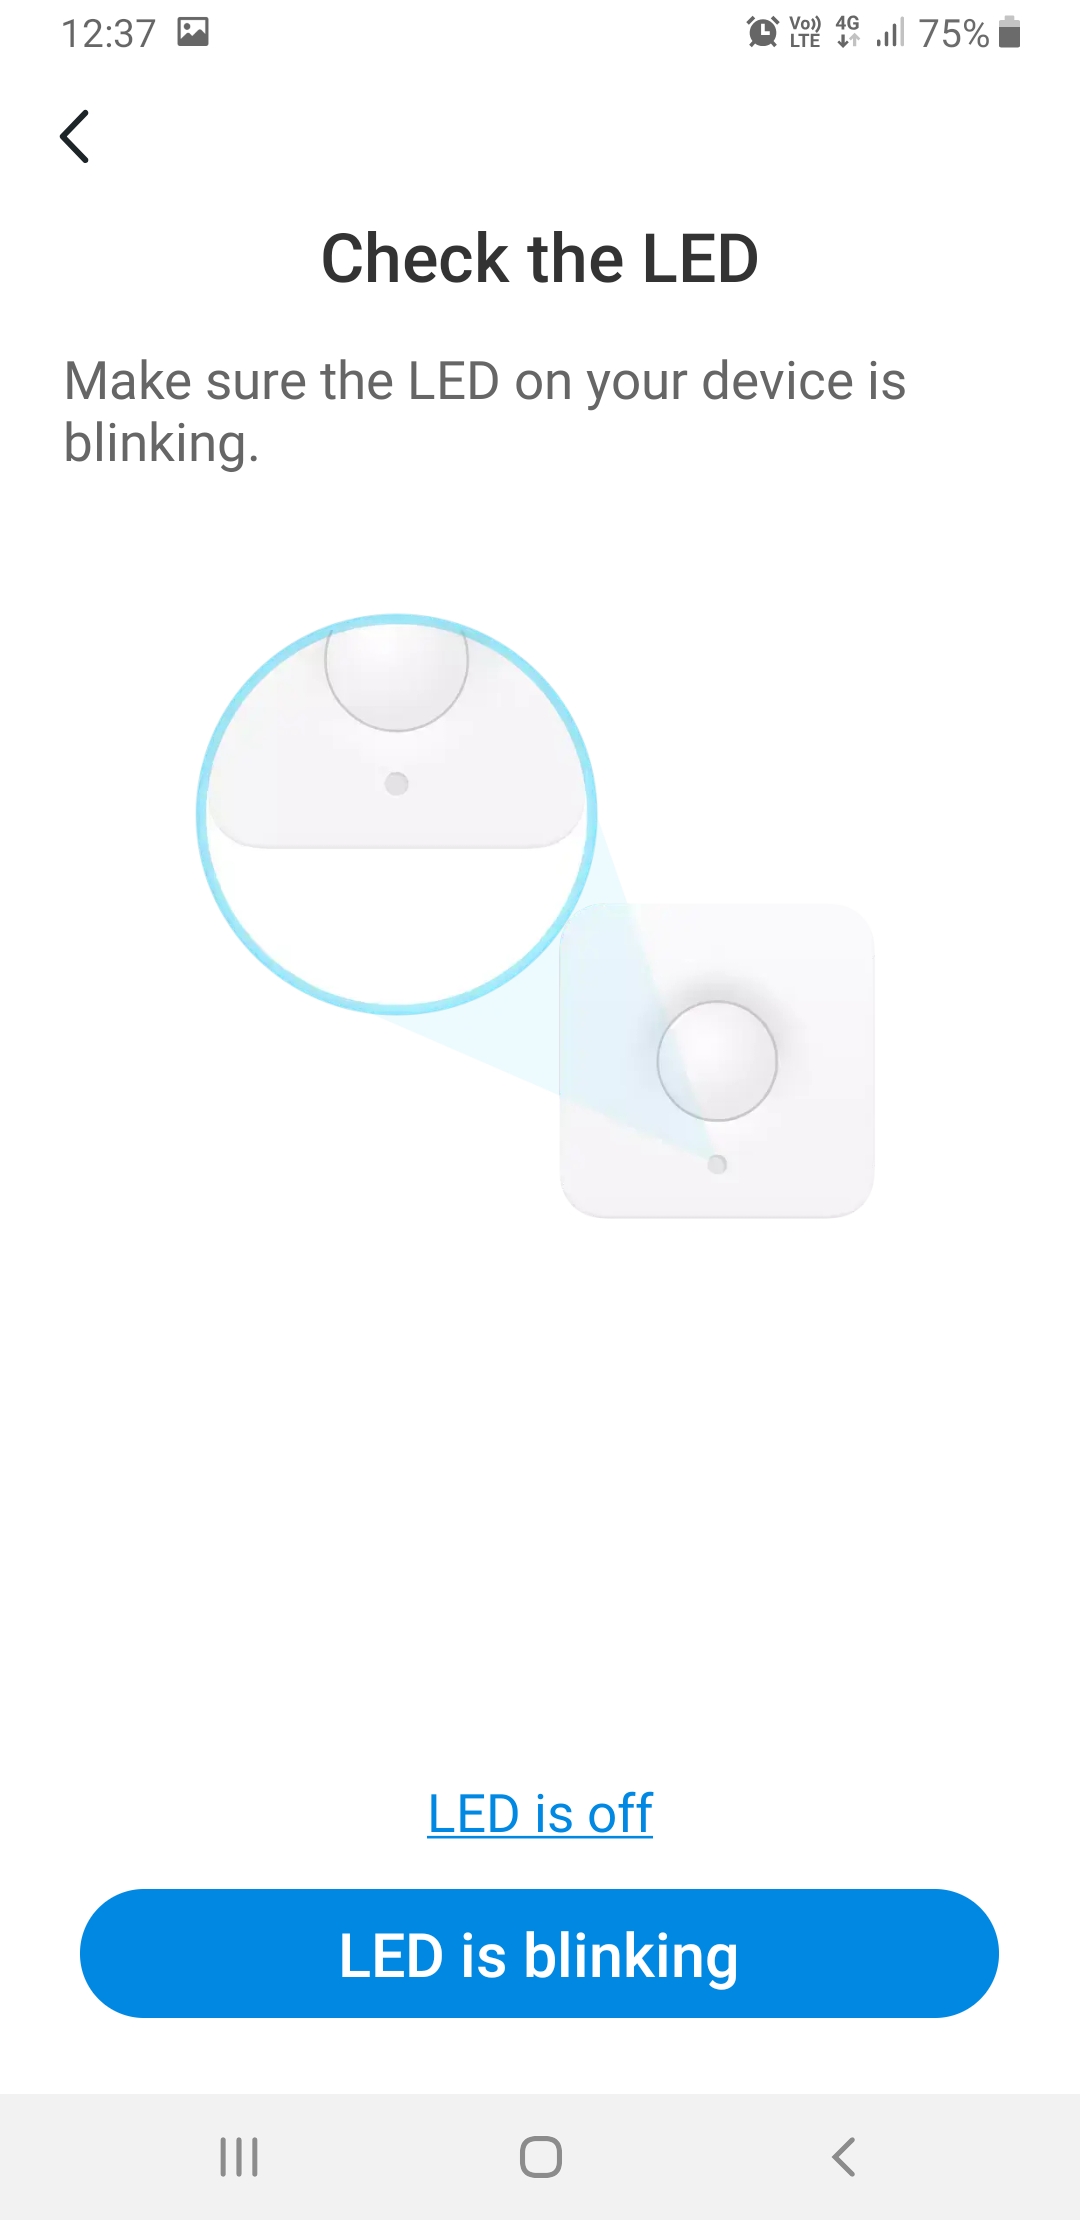
If it has been too long since you powered up your button by removing the battery tab, it may have exited pairing mode. In that case, look ahead in this guide to the 'LED is not blinking' heading for how to reset the button and continue pairing.
If the LED was blinking and you tapped the blue 'LED is Blinking' button, you should see this screen, indicating that the button is connecting to the Hub.

When it has, a screen pops up asking you to name the sensor. The default is 'Motion Sensor' but we changed ours to Front Door.
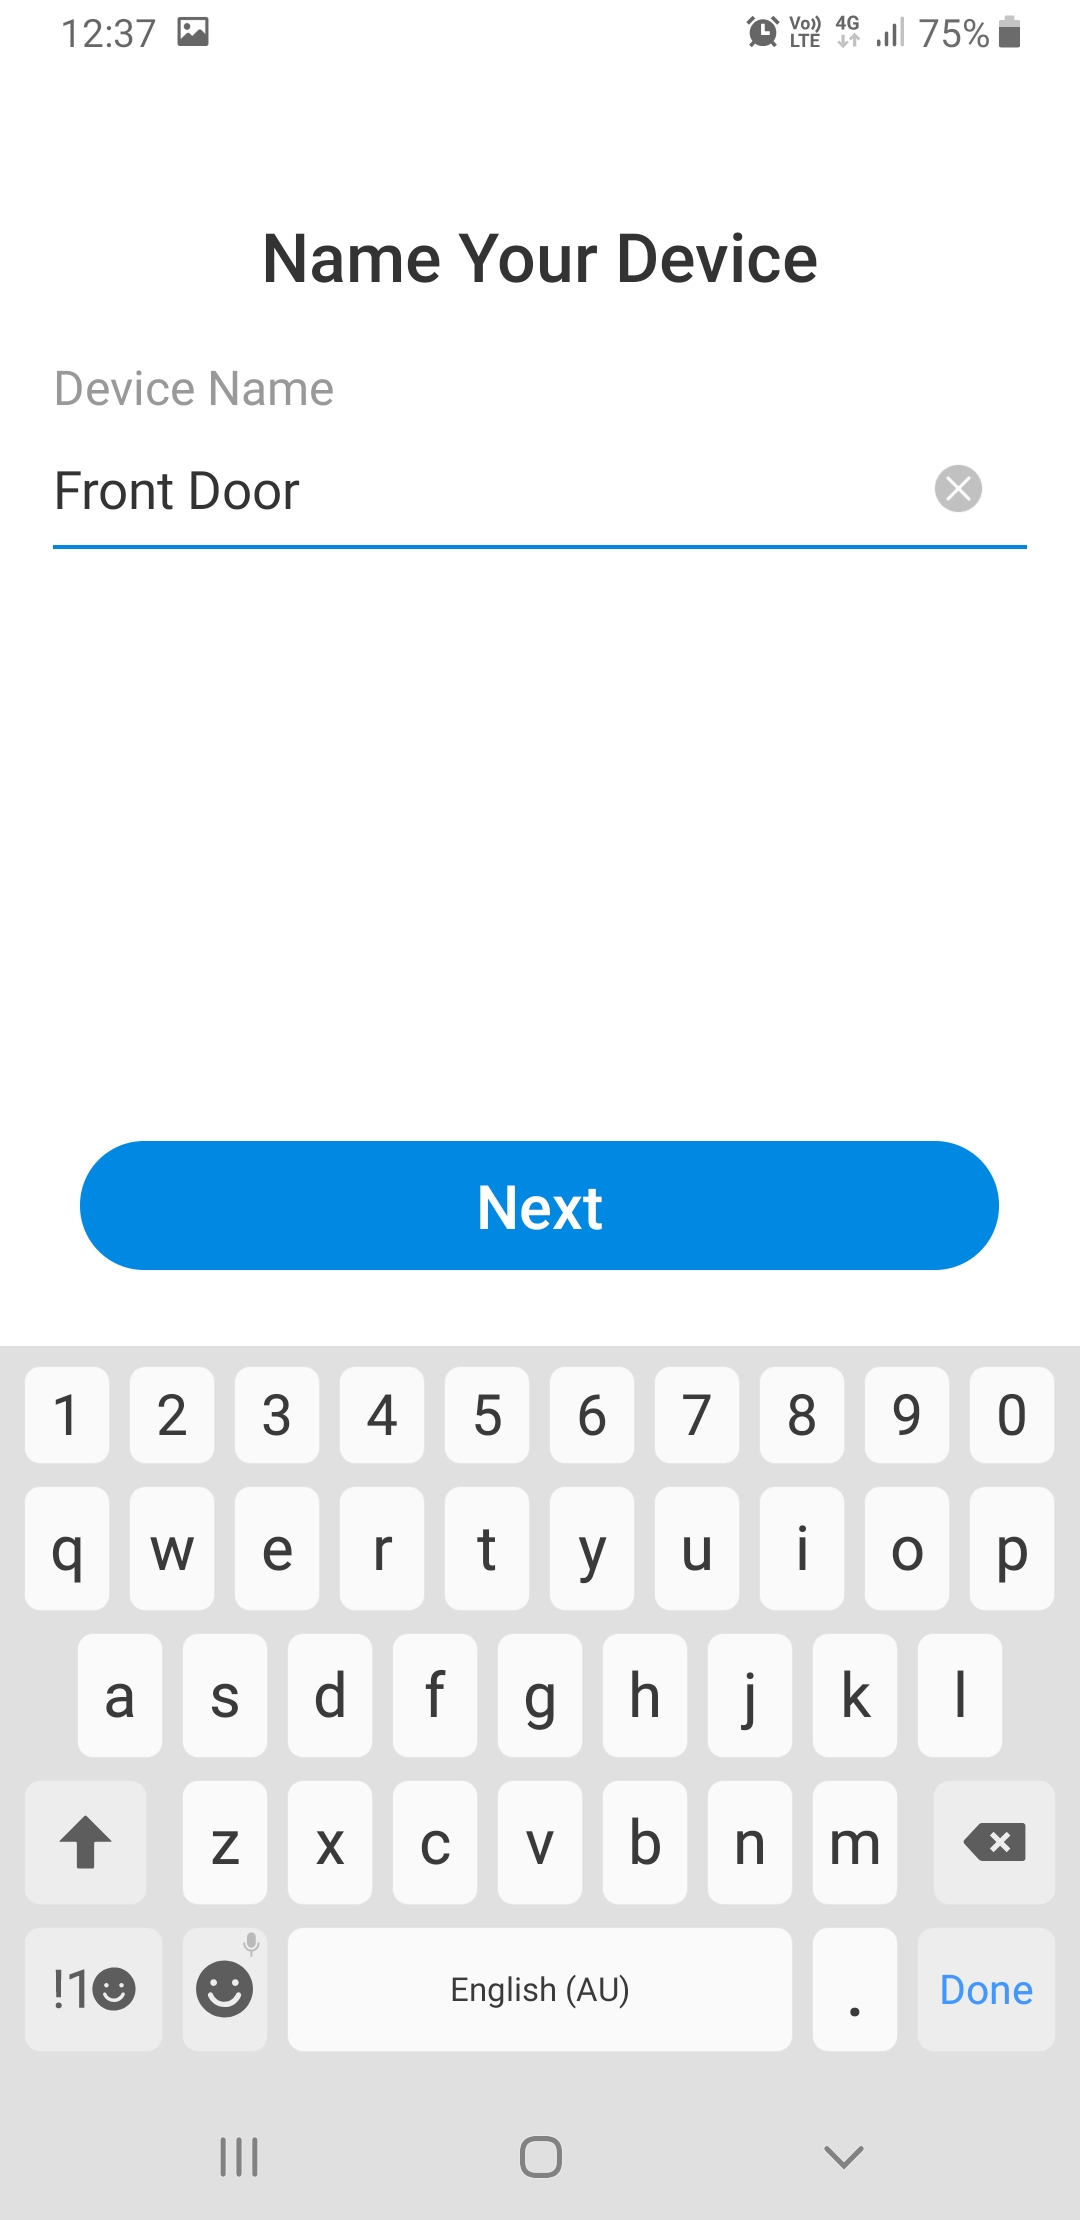
Then, you need to select or create a location. This may not appear if this is the first device you have connected to the Hub.
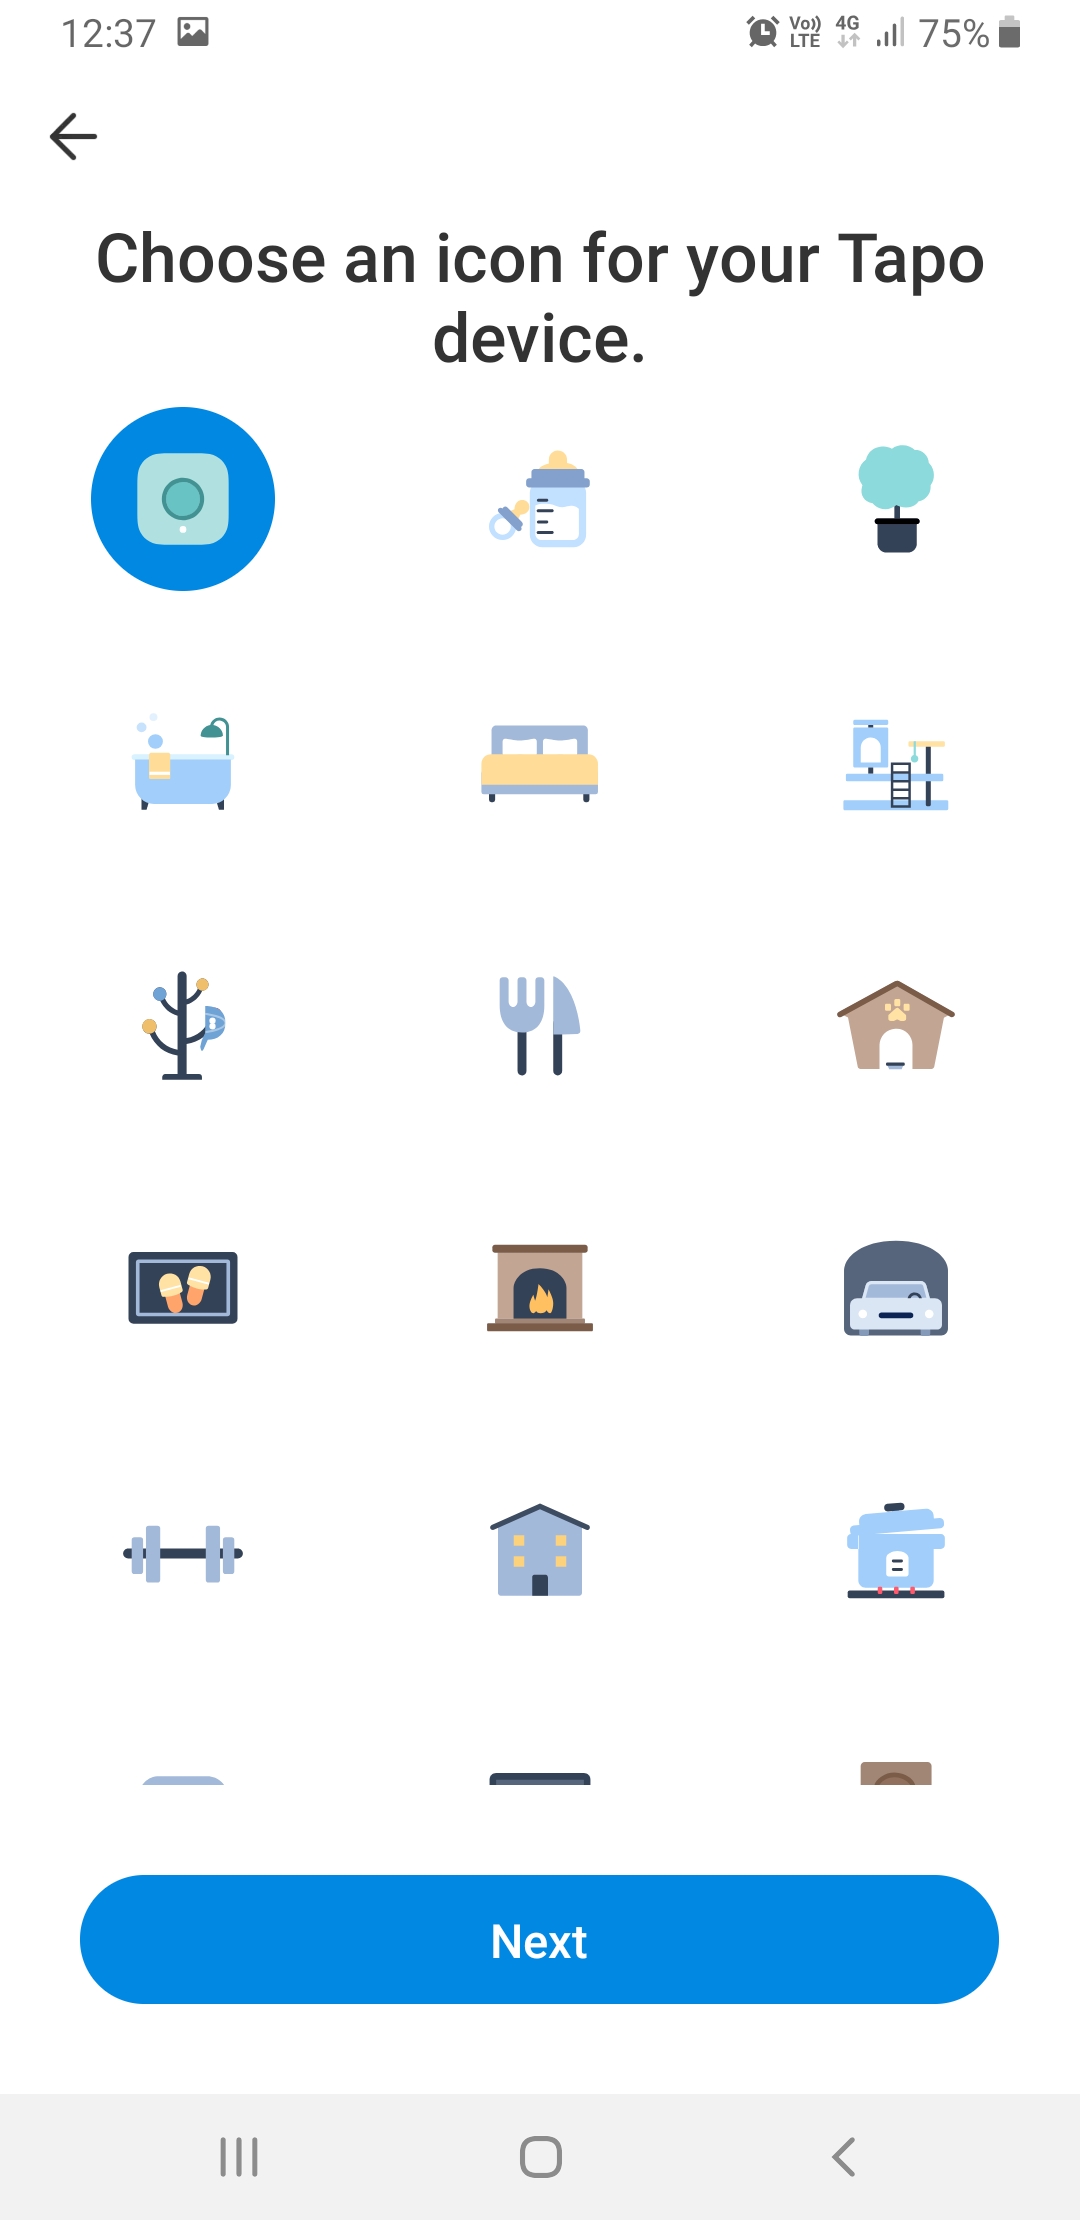
The next screen asks you to choose an icon, and we went with the default. Tap 'Next' at the bottom of each page.
After choosing your icon and tapping 'Next' on that screen, you will see this 'Almost Done' message. Tap the blue 'Check Firmware' button at the bottom.
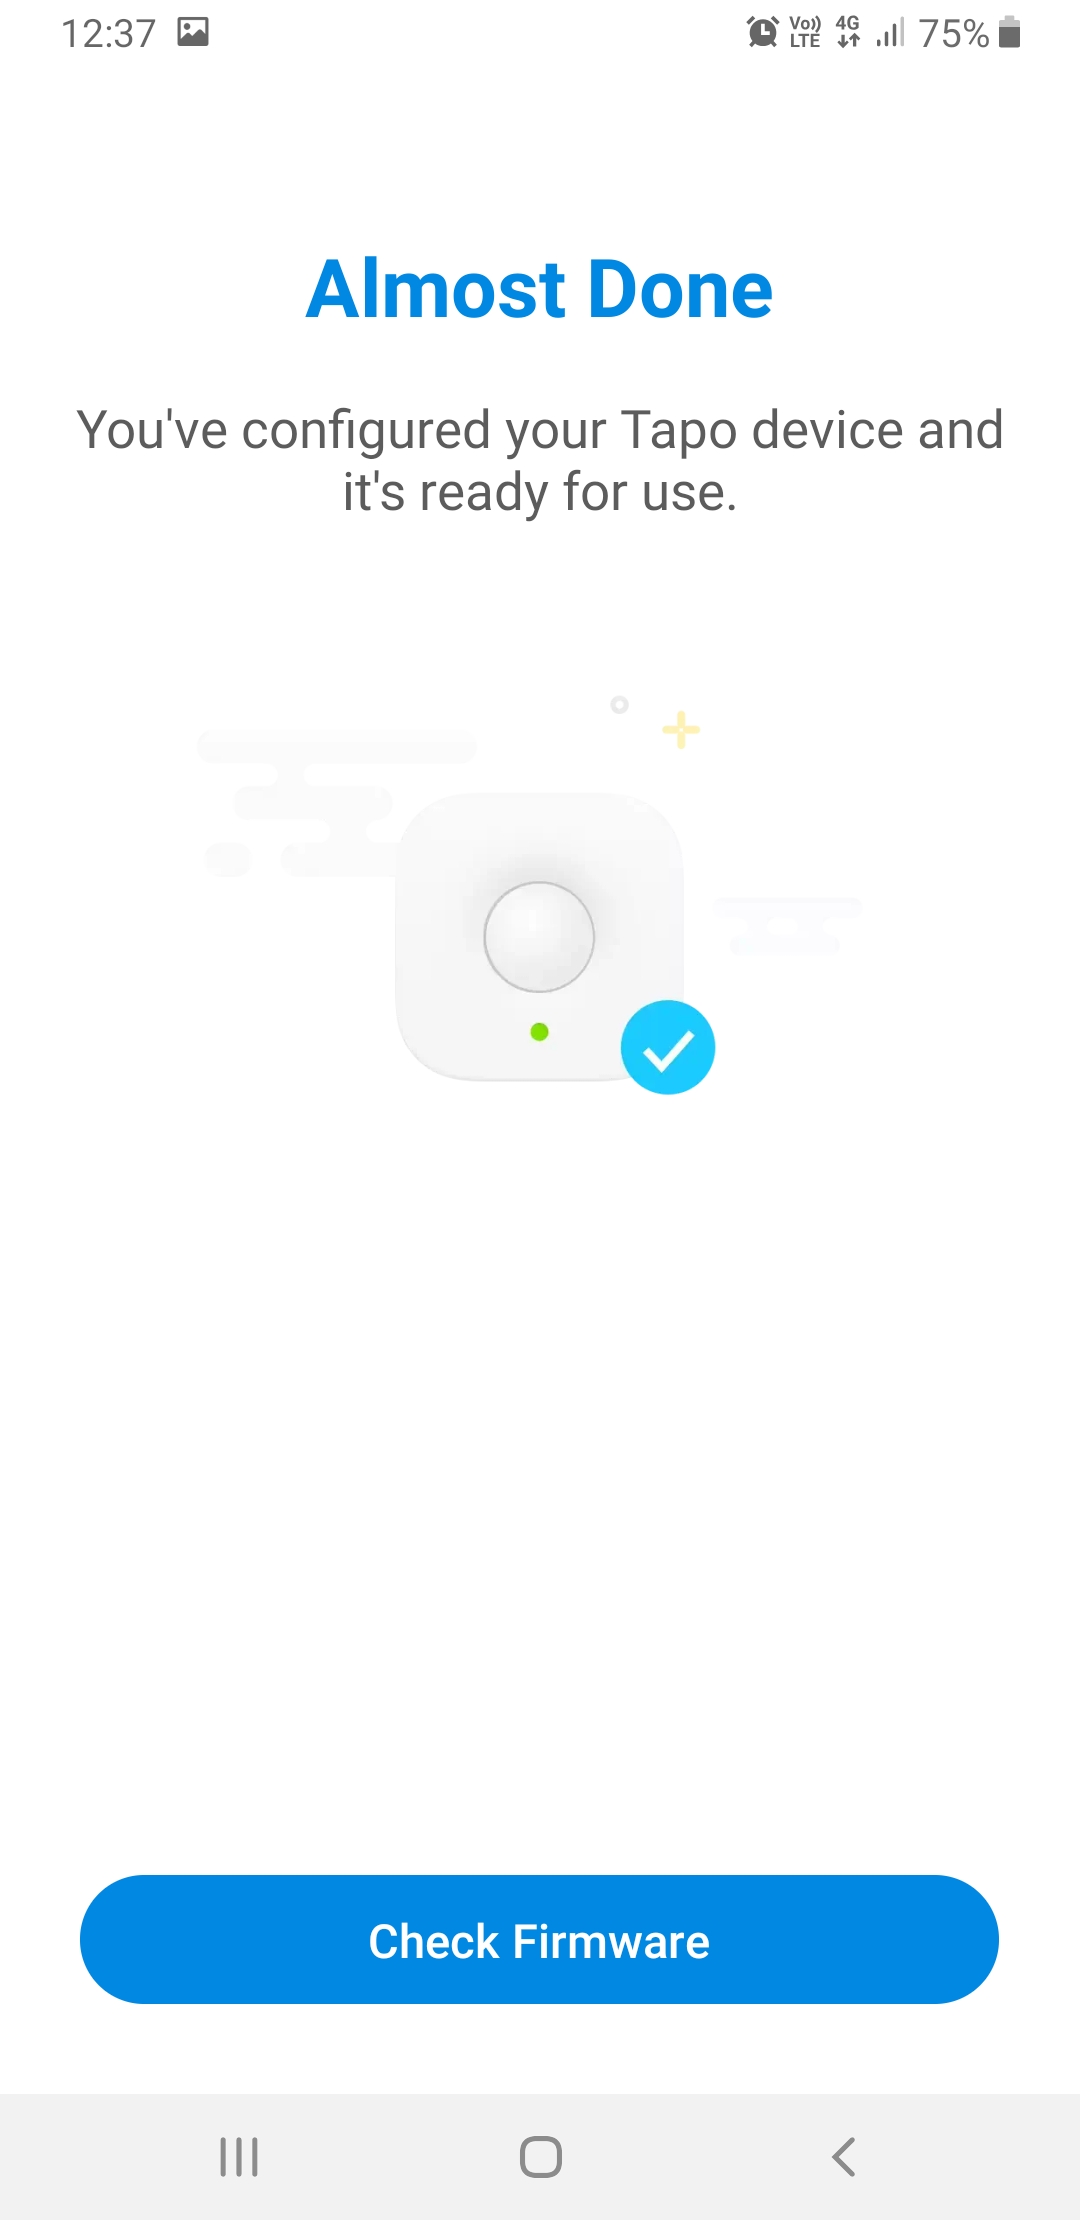
After the firmware is checked, if there is new firmware, you will be prompted to update it. Tap 'Update Firmware' if it appears, let it update, and then press 'Next'. If there is no firmware found, read on.
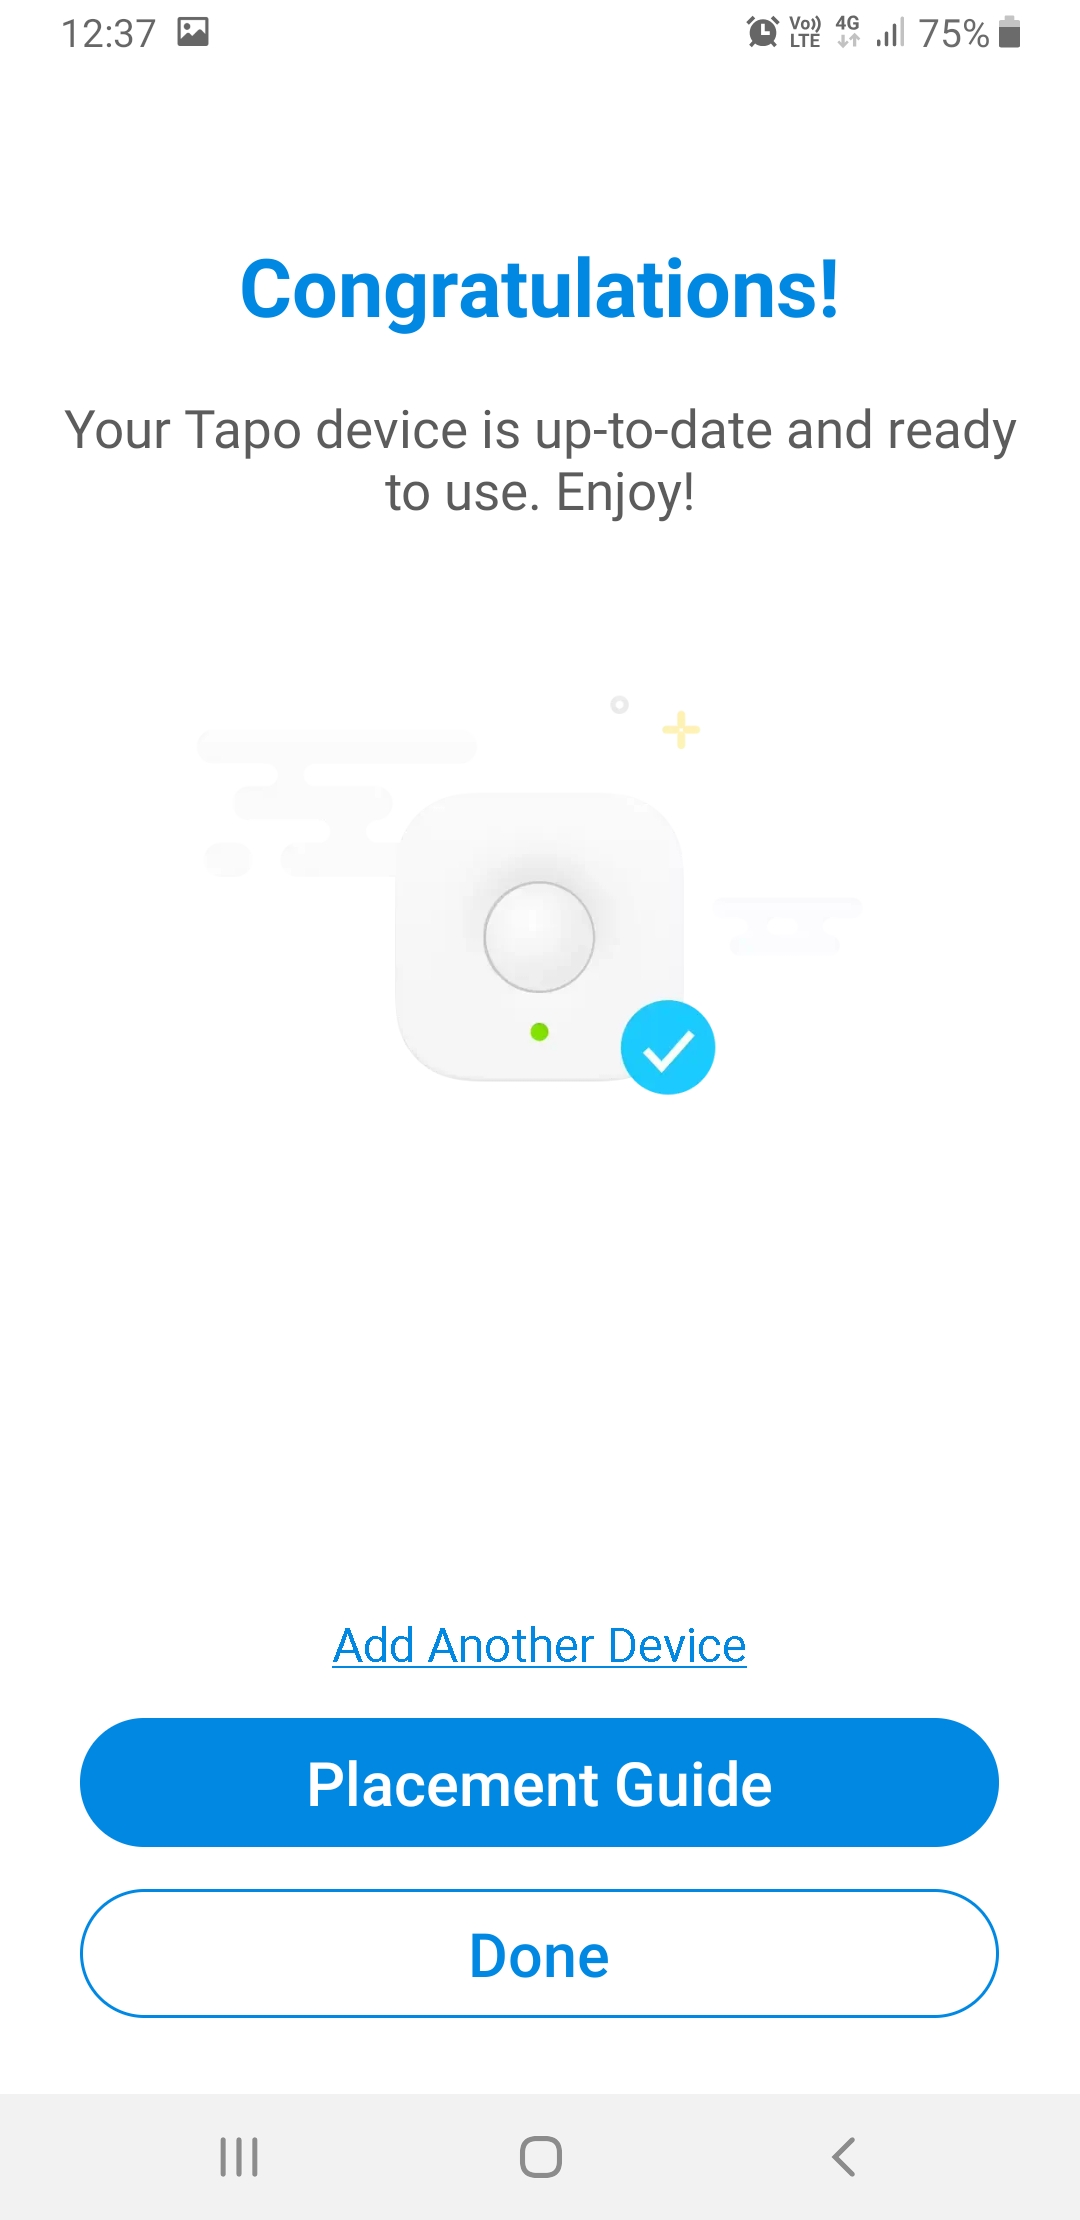
After updating firmware or finding no updates, the app displays this 'Congratulations' page. You can tap the blue 'Placement Guide' button to see information on where to put the button, or you can tap 'Done' despite it not being blue. If you are adding multiple buttons, say for a back door or a gate, then tap the blue 'Add Another Device' underlined text.
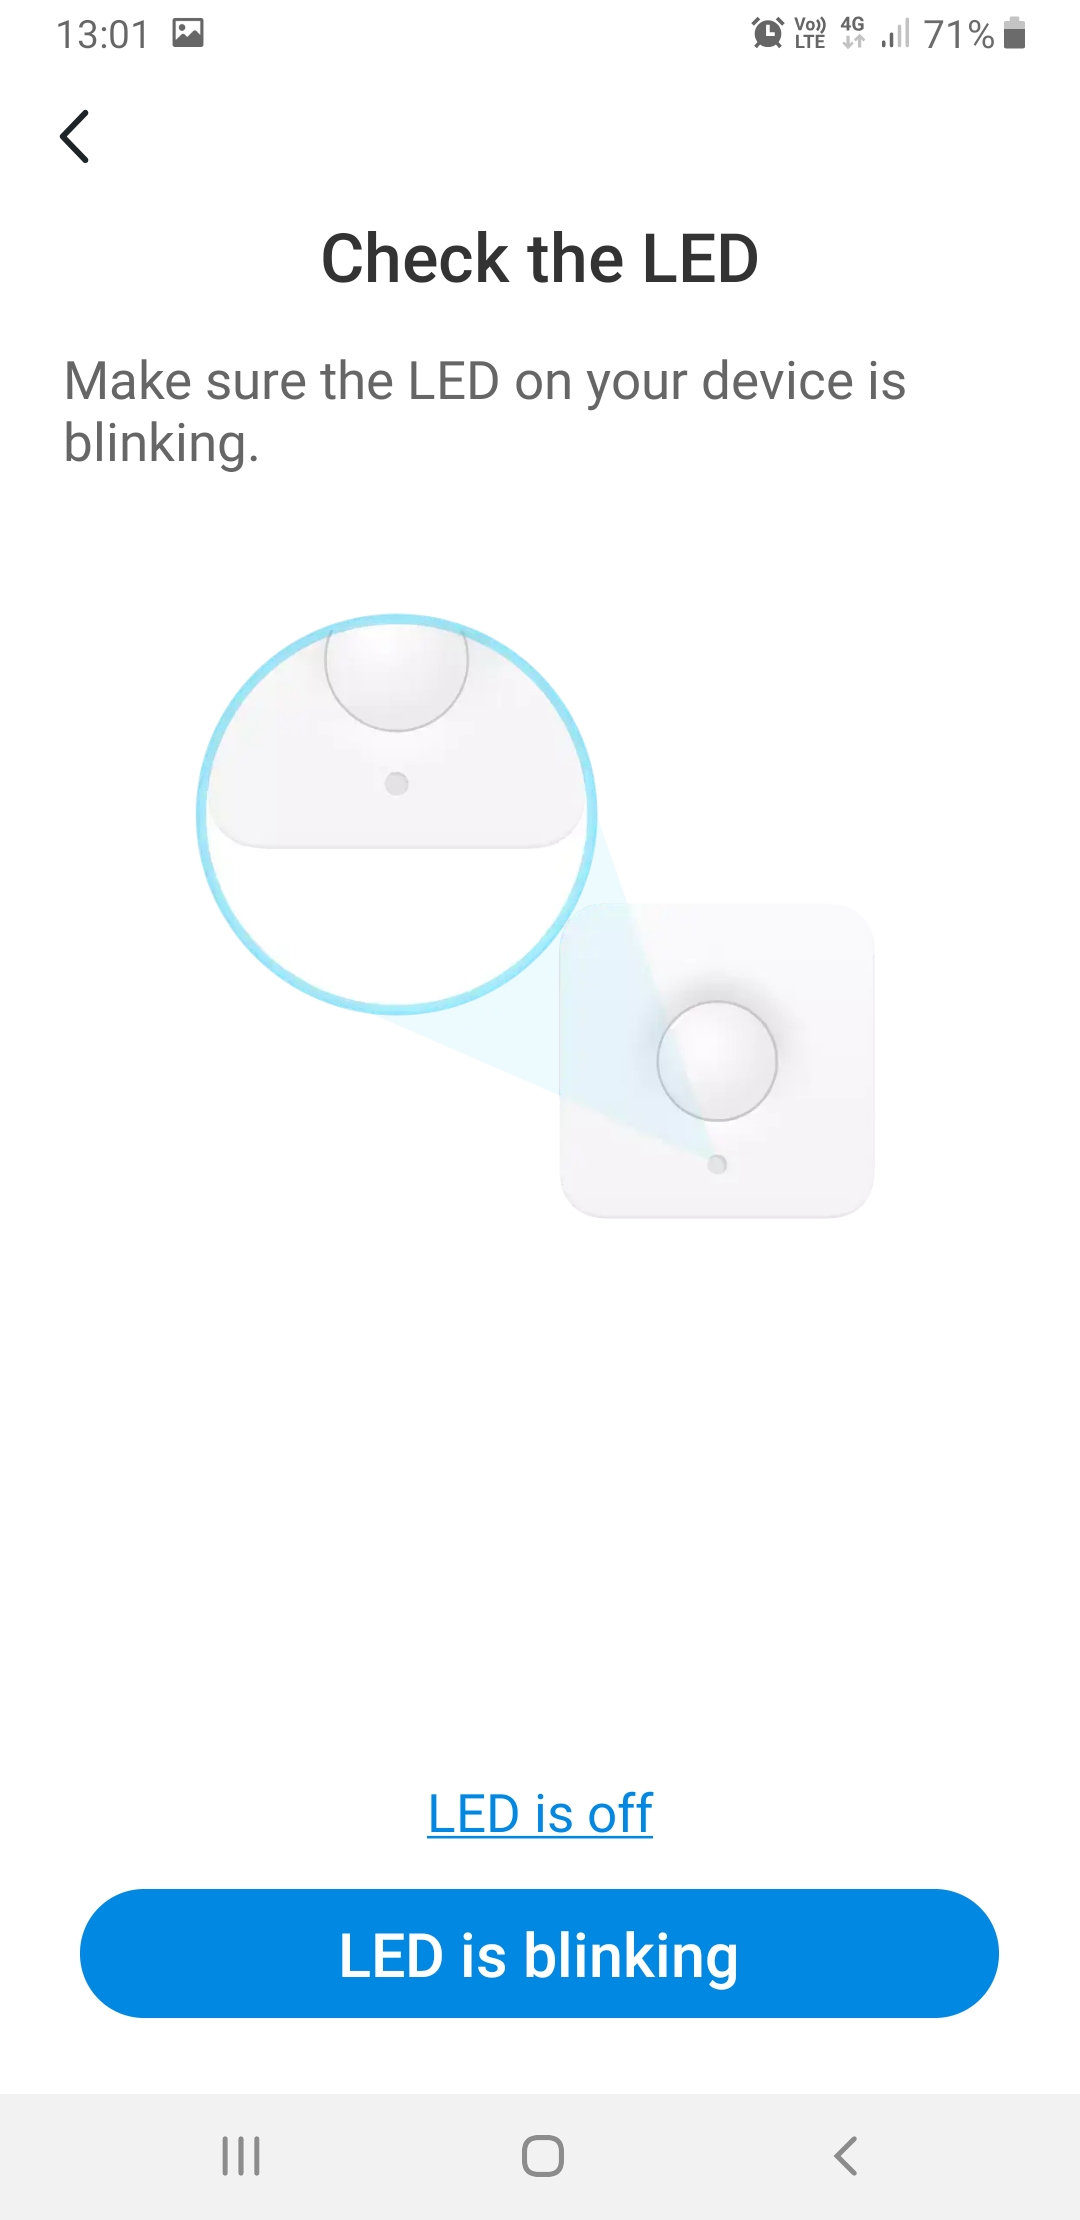
If the LED on the front of the motion sensor has stopped blinking, it has timed out of pairing mode after being powered up Tap the blue 'LED is off' text.
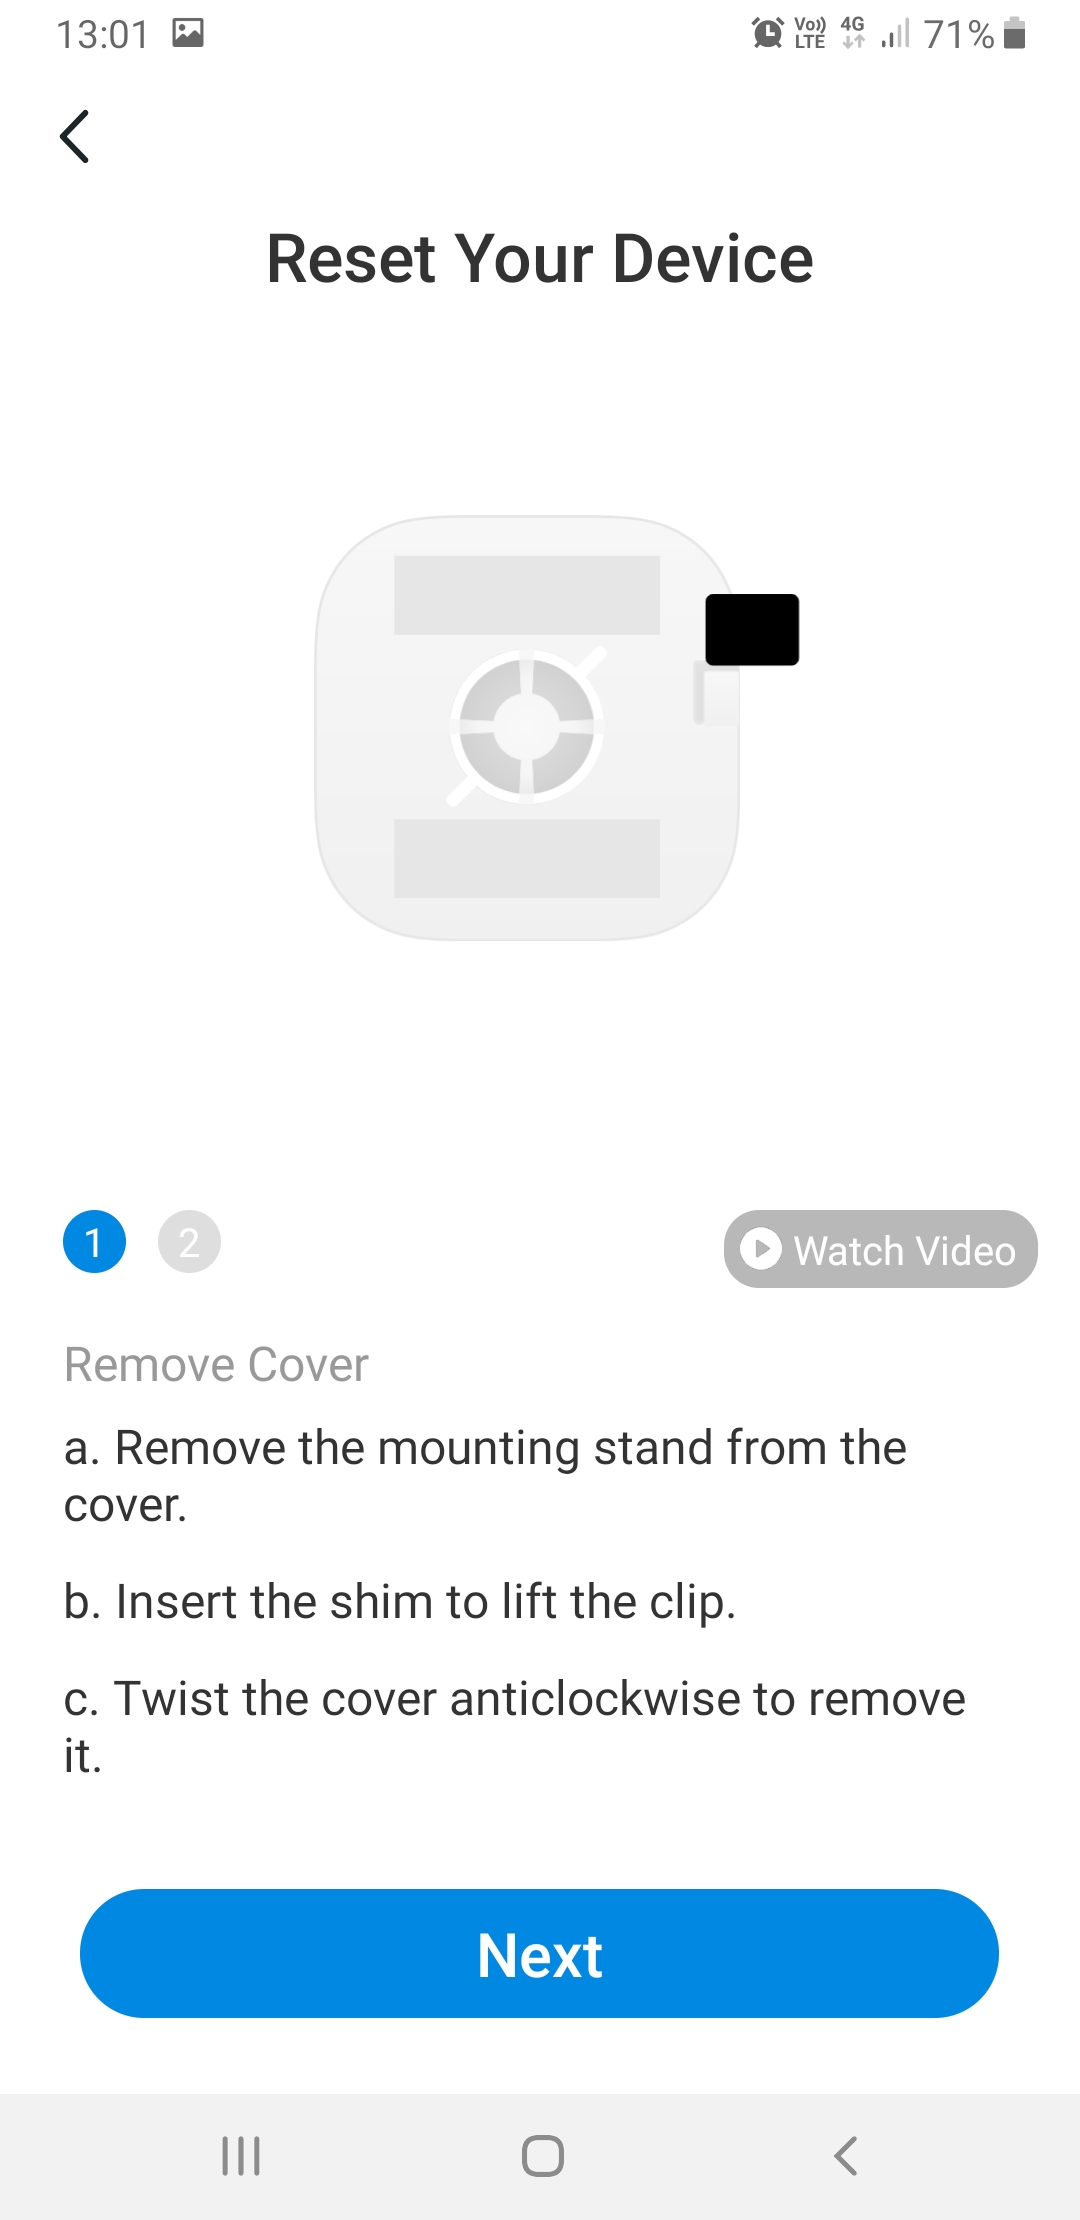
You will be shown a screen detailing how to remove the backplate of the sensor. There are two methods: A fingernail, and the plastic shim supplied with the sensor. The screen shows a motion graphic not captured in this still screenshot, so the information is quite clear.
You are then directed to hold down the tiny recessed reset button for five seconds. The tool shown is not supplied, but is the same as supplied with most phones for removing the SIM and memory cards. You can also use a darning needle or other suitably dull-pointed object thin enough to fit in the hole. We used a jumper wire from a solderless breadboard!
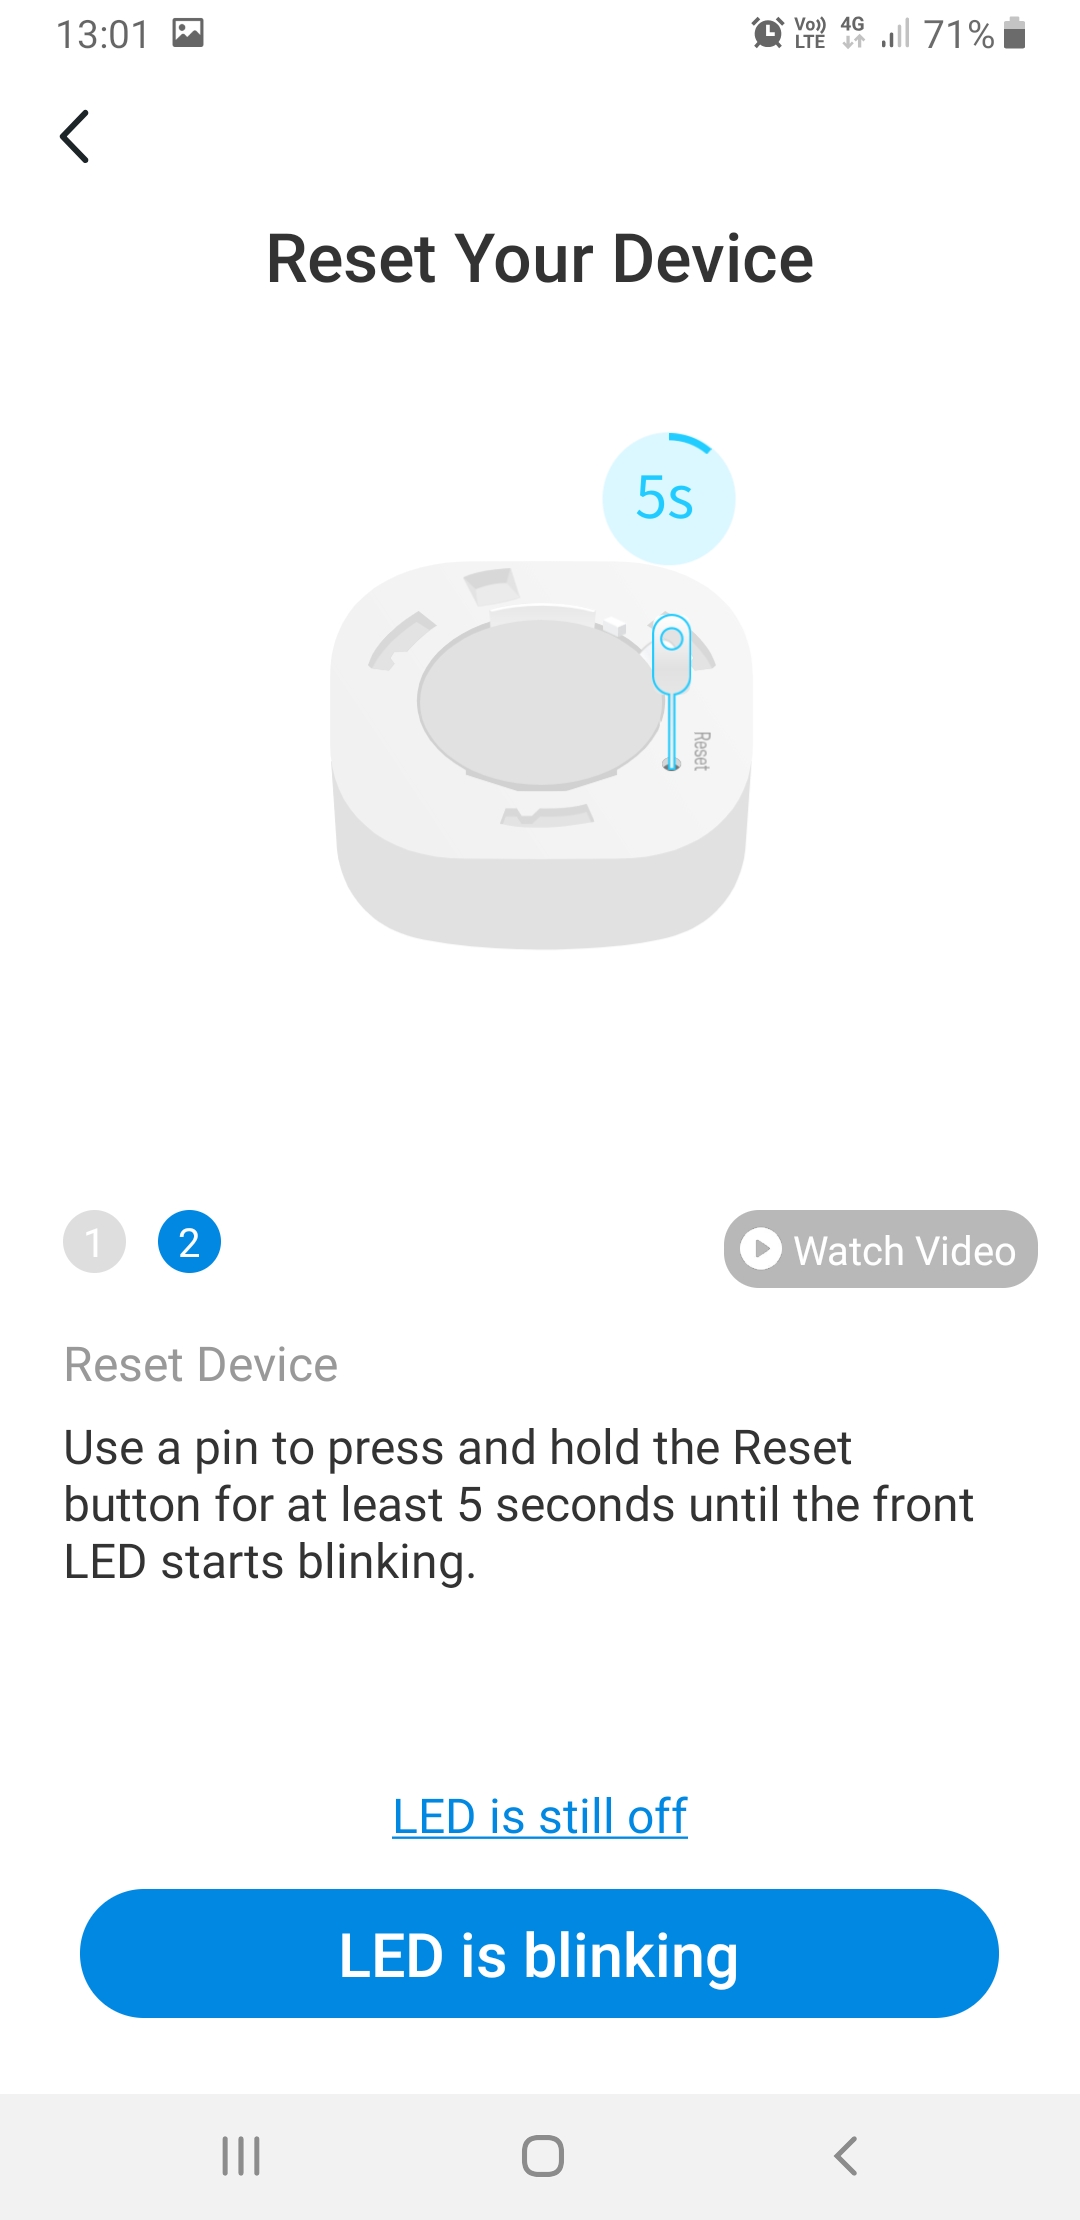
Turn over the sensor, and confirm that the LED is blinking. If it is, tap the 'LED is Blinking' button on the screen. You will be shown a confirmation screen, on which you verify that the LED is indeed blinking then press the 'Confirm' blue button.
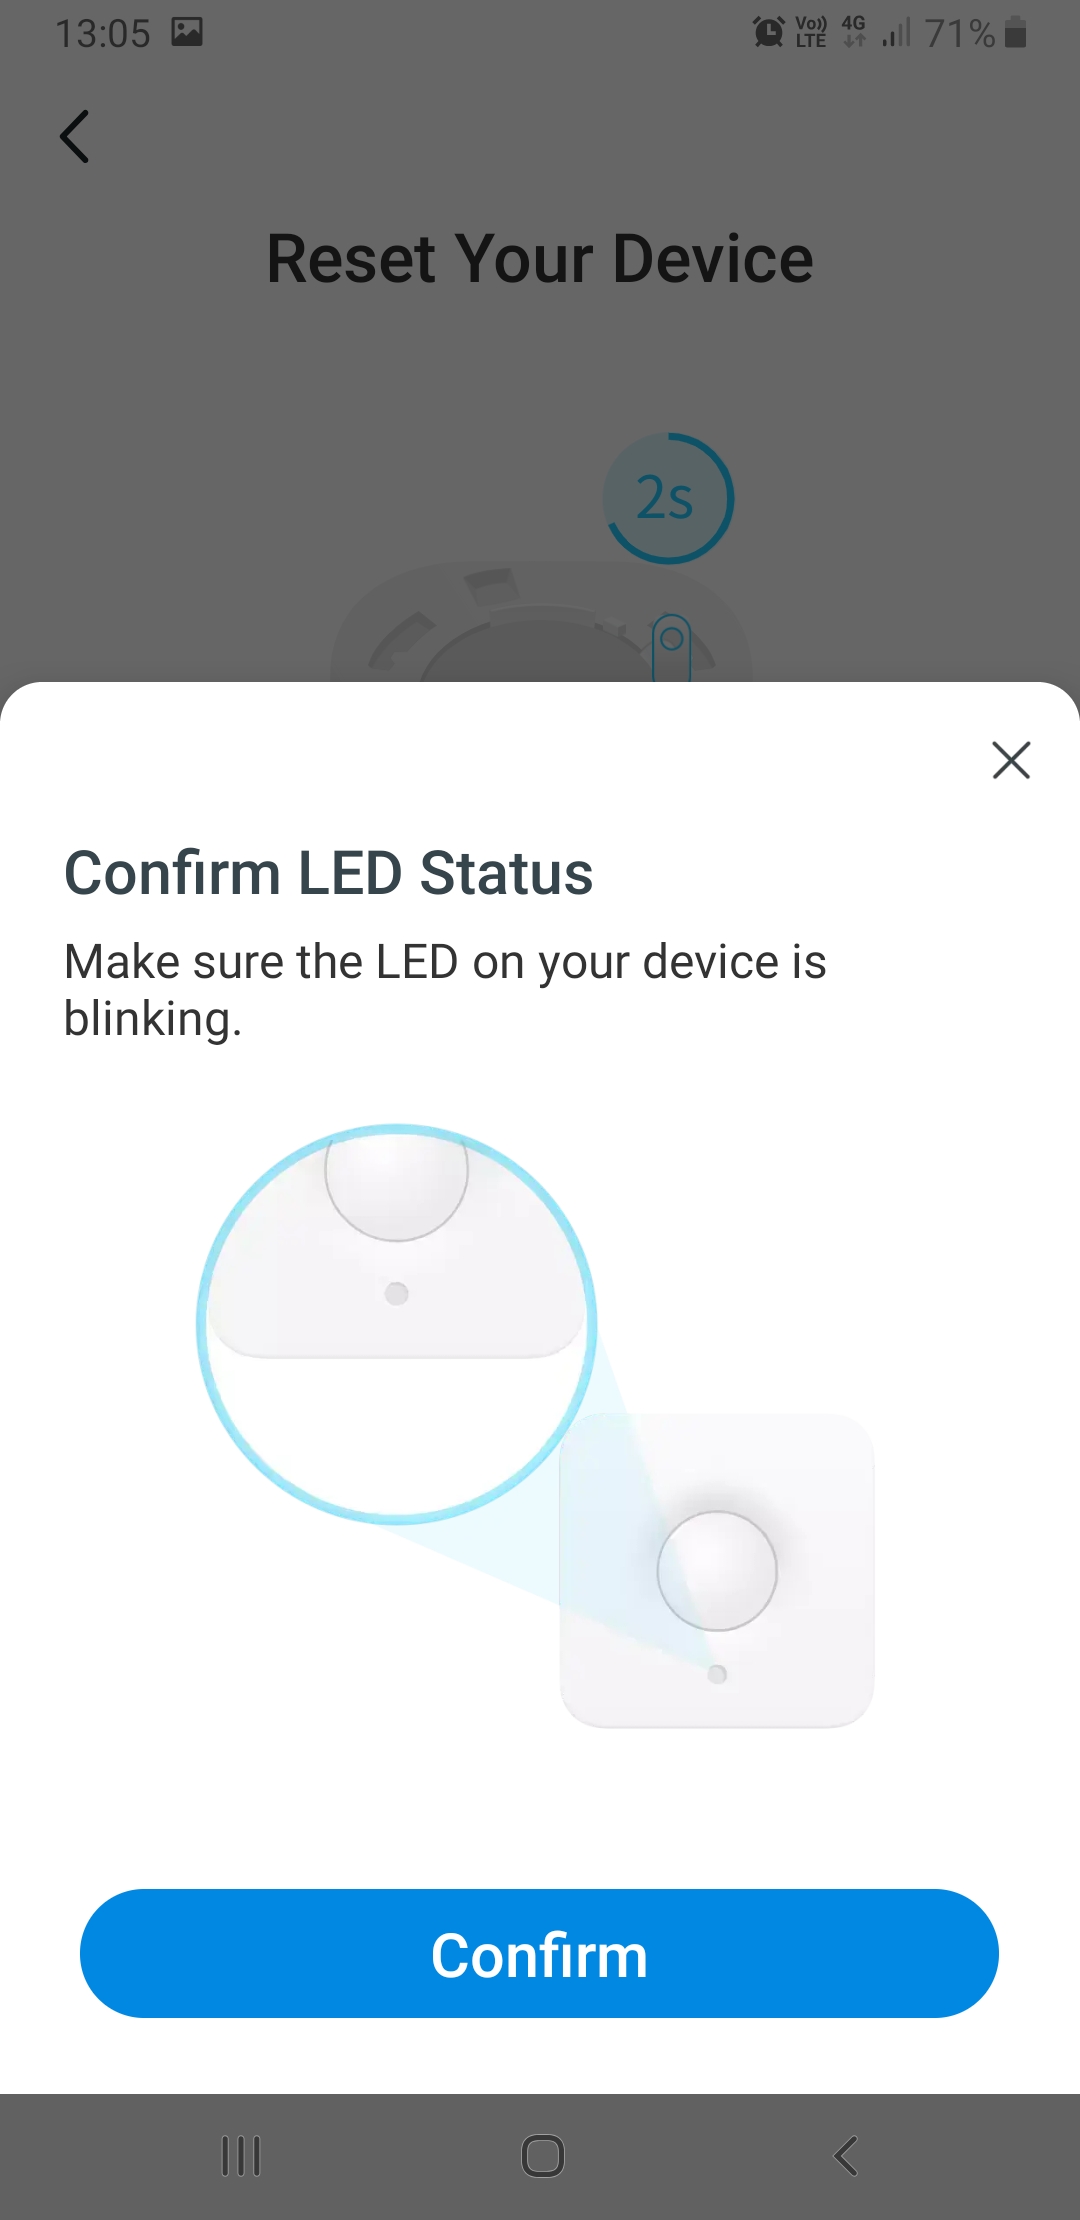
After this, the adding of the sensor continues as if the LED was always blinking, so go back to where you left off above.
You can change some of the settings of the sensor, such as the length of time between triggers when it senses motion, and how sensitive it is. Go to the home page and tap on the information panel for the sensor you just added.
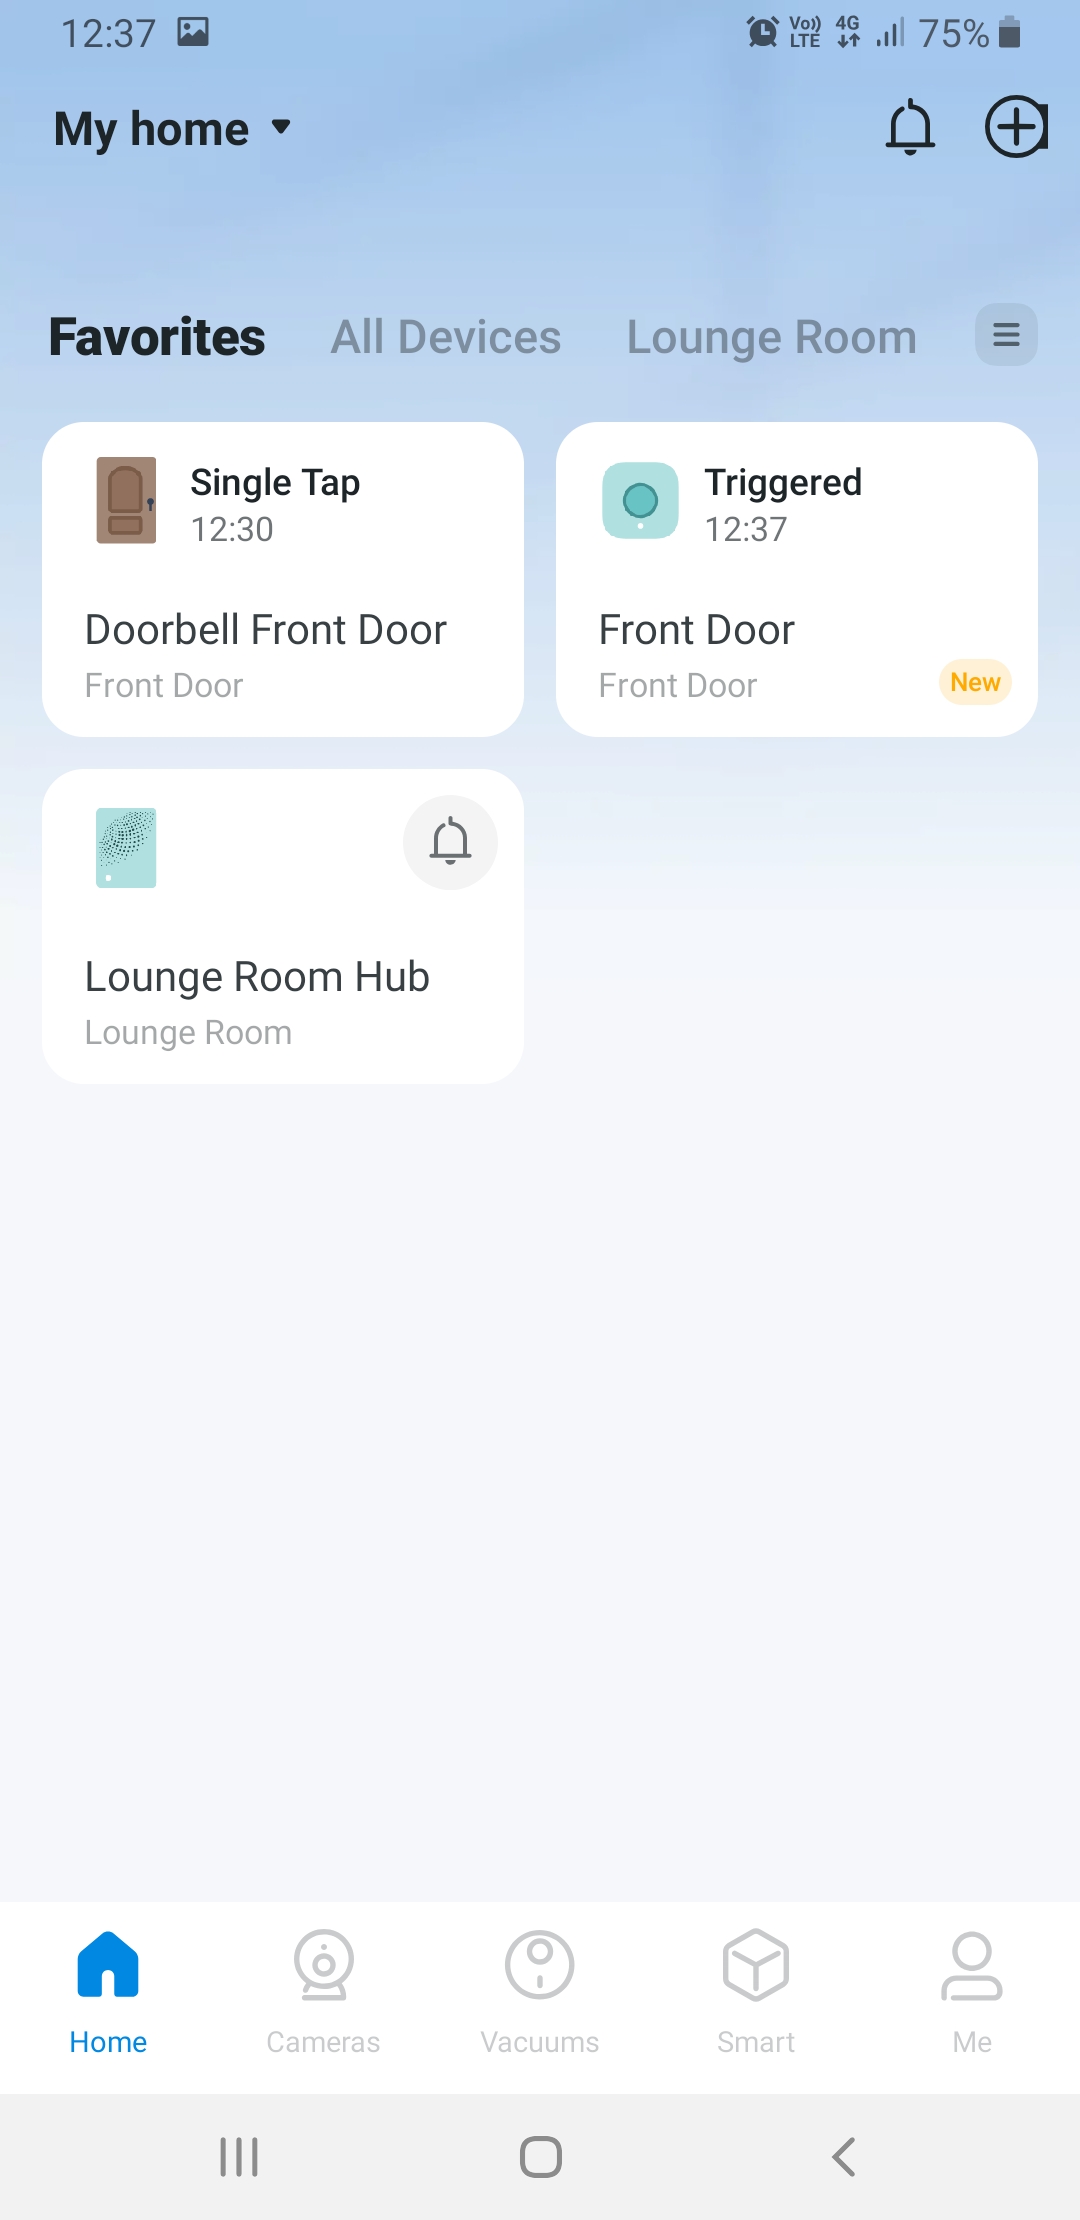
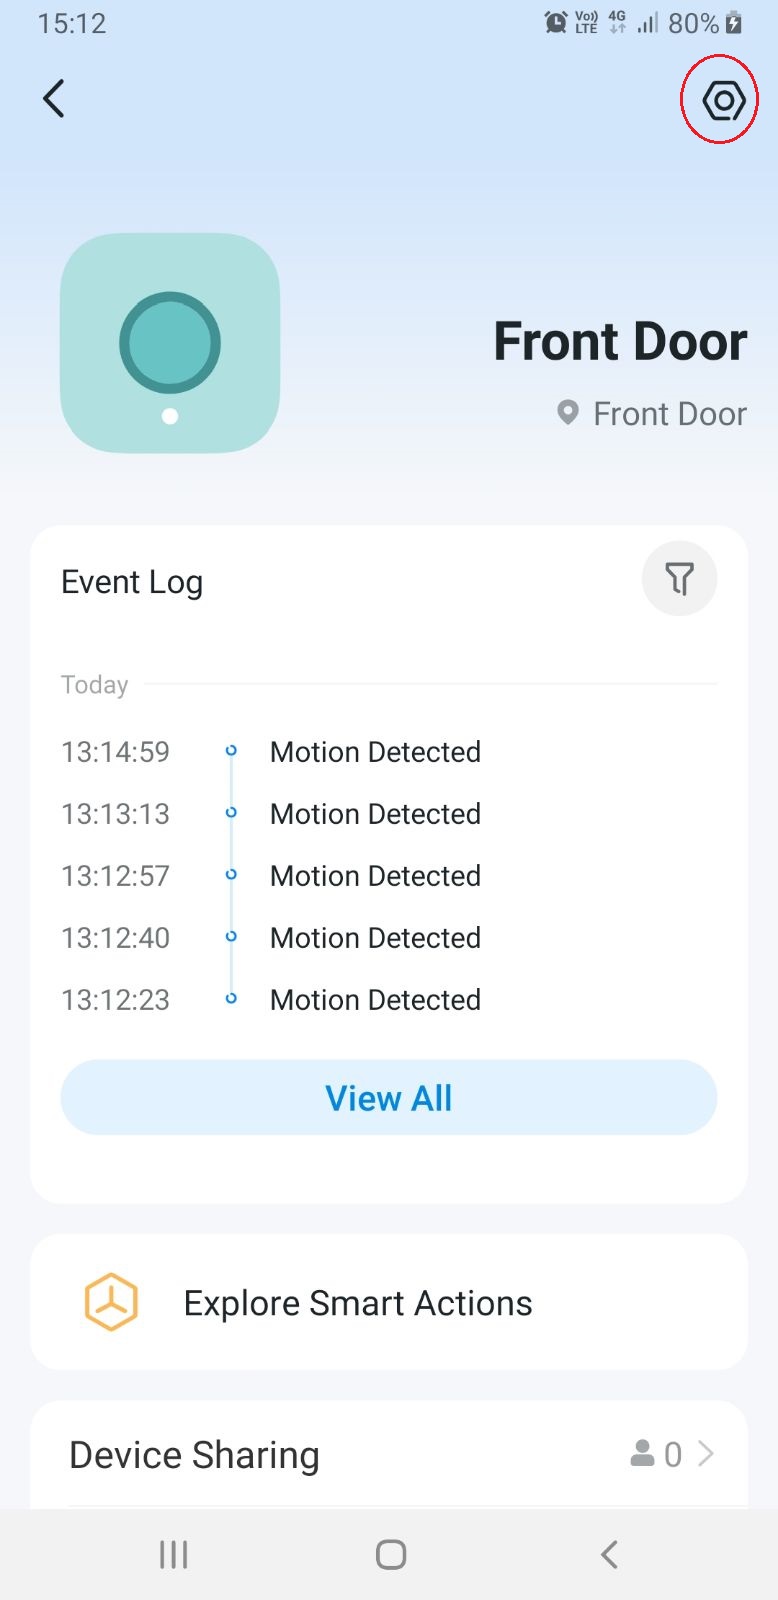
This will open a detail page for the item in question, in this case our motion sensor. Tap the hexagon icon at the top right to access settings.
You can change the sensitivity, the interval between detections (the sensor will go idle for this period after one detection so that it doesn't trigger too often), and the device name and location within the house.
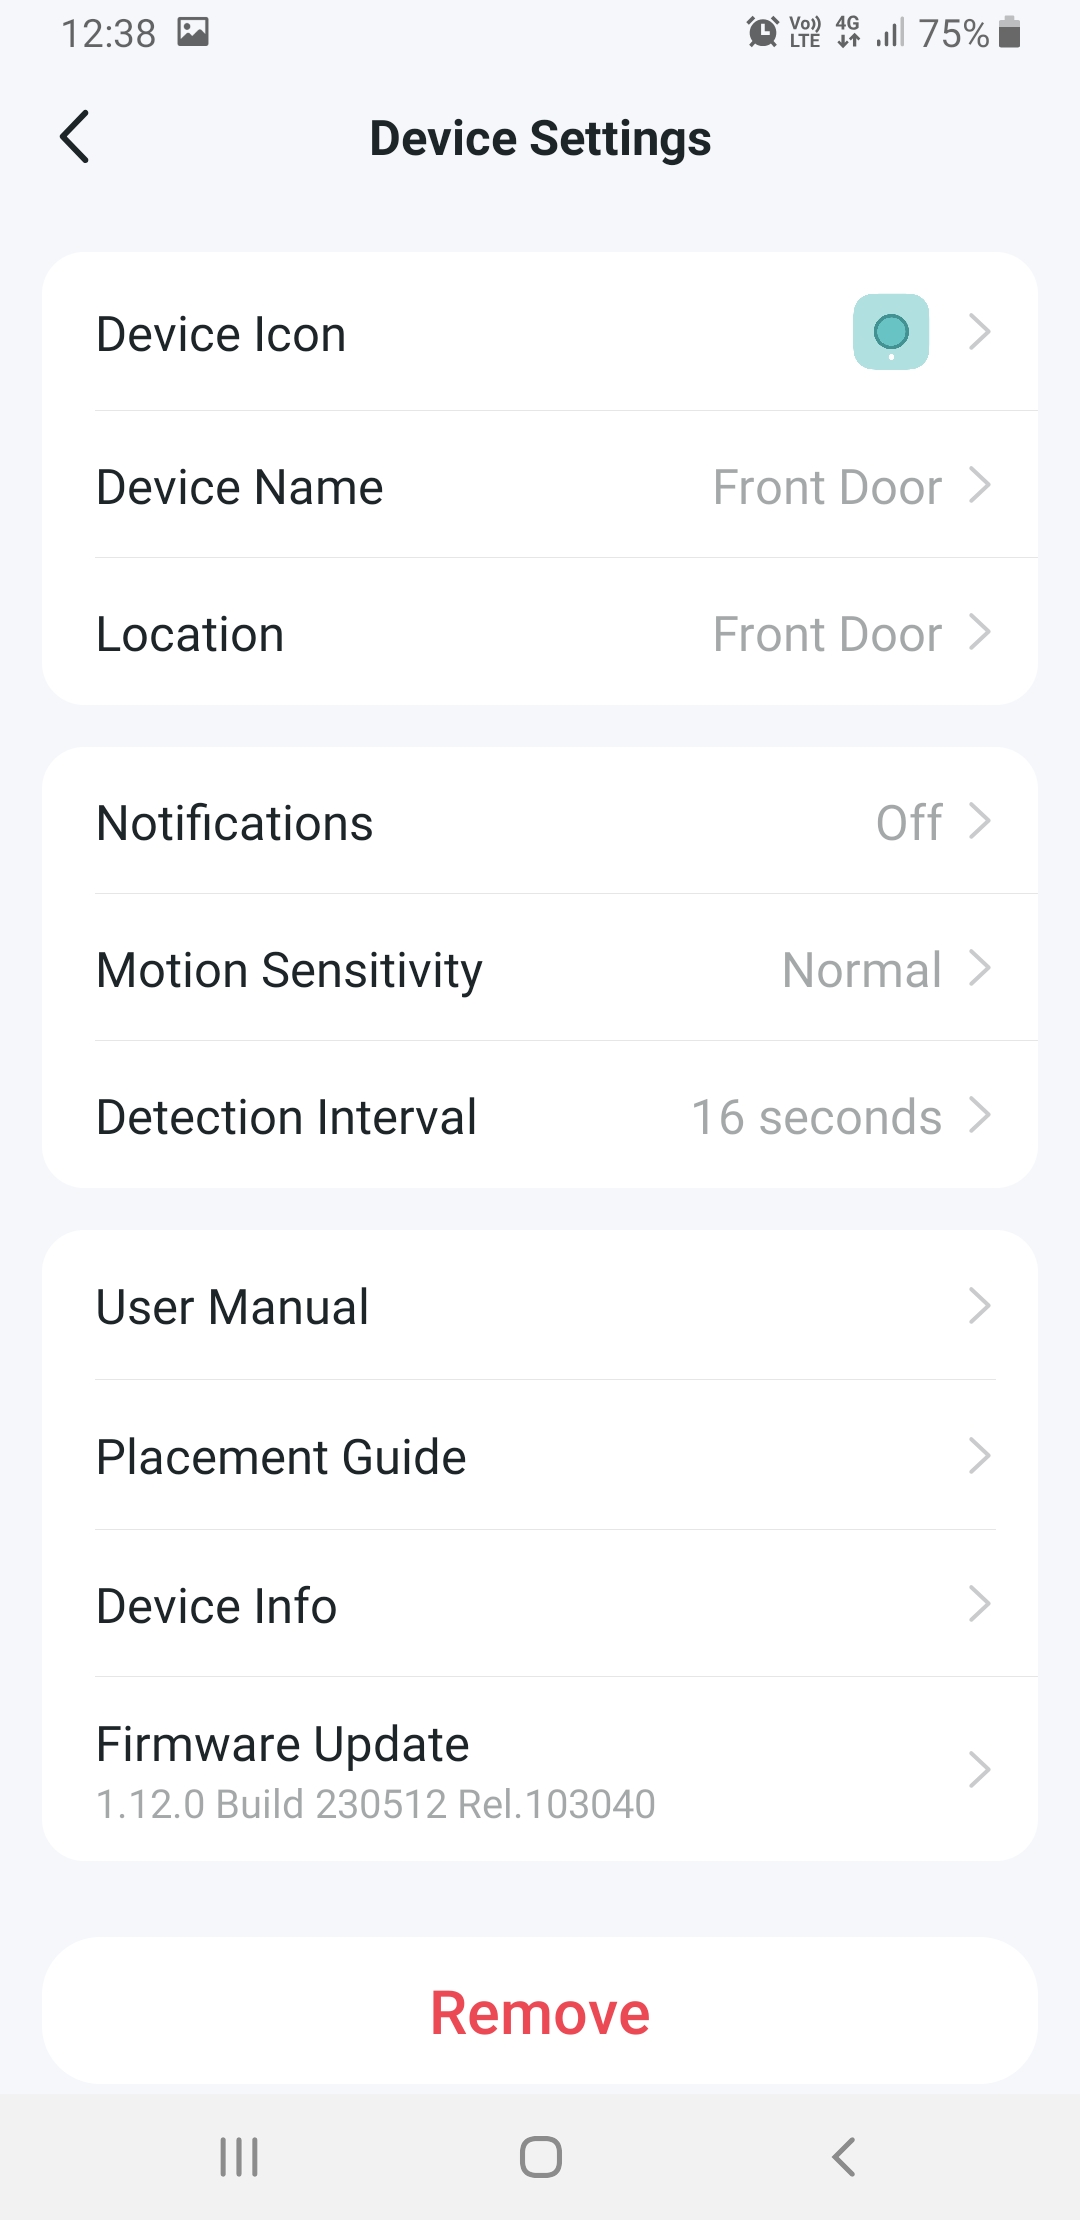
Notice that one of the menu options is 'Notifications'. Tap it to bring up a menu where you can have the Tapo App notify you if the sensor is triggered. Note that this is independent of the alarm automation we will set up later, and so you may want to set up times for it as well.
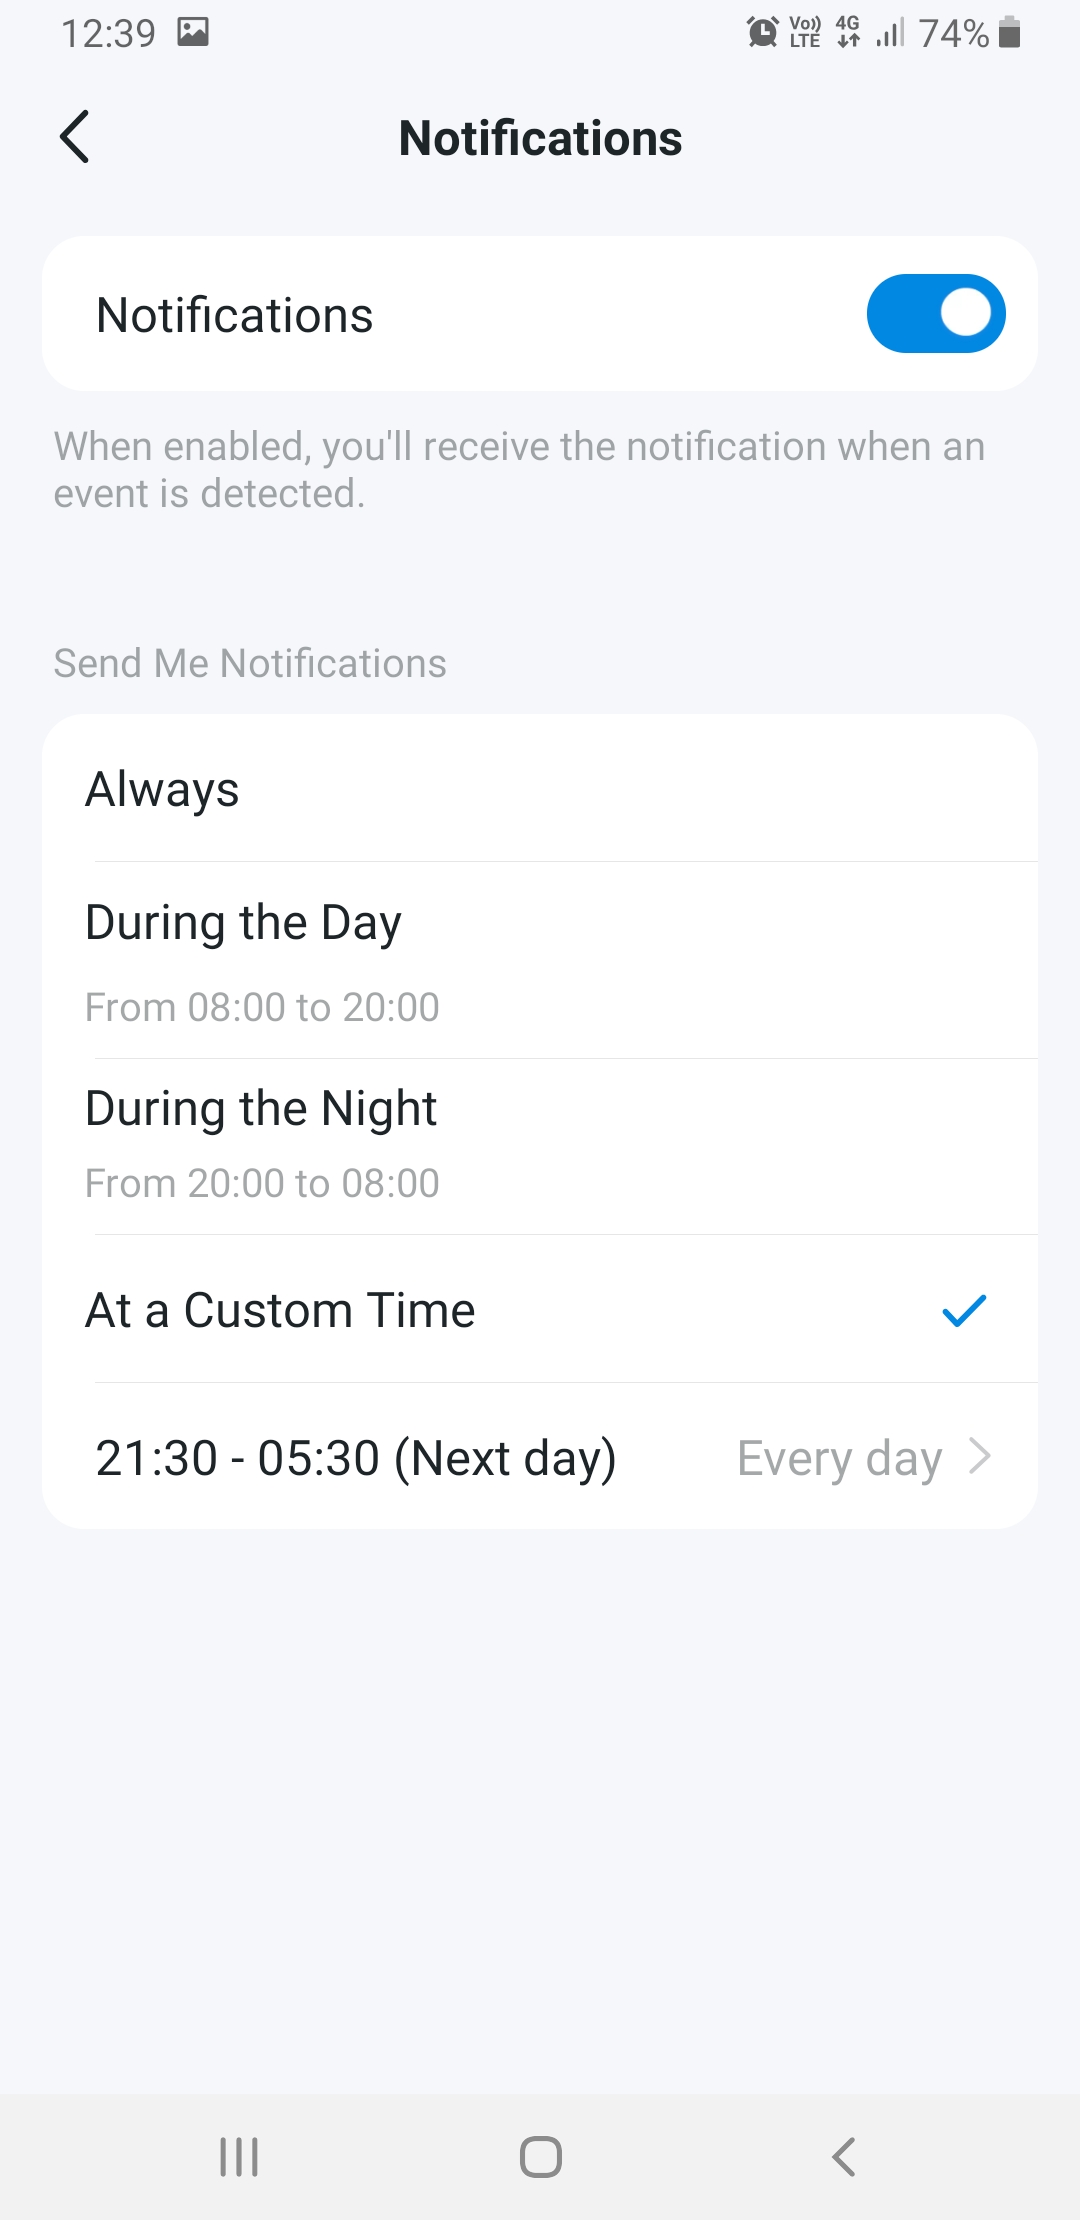
Now the motion sensor is connected to your Hub and can be seen in the app. However, it is not an alarm yet. To make it so, we need to add an automation. We will, in fact, add two, but we will only show the first one in detail because the second is nearly the same. We will explain after the first one what is different about the second one. Go to the app home screen, which should now show the motion sensor you just added.
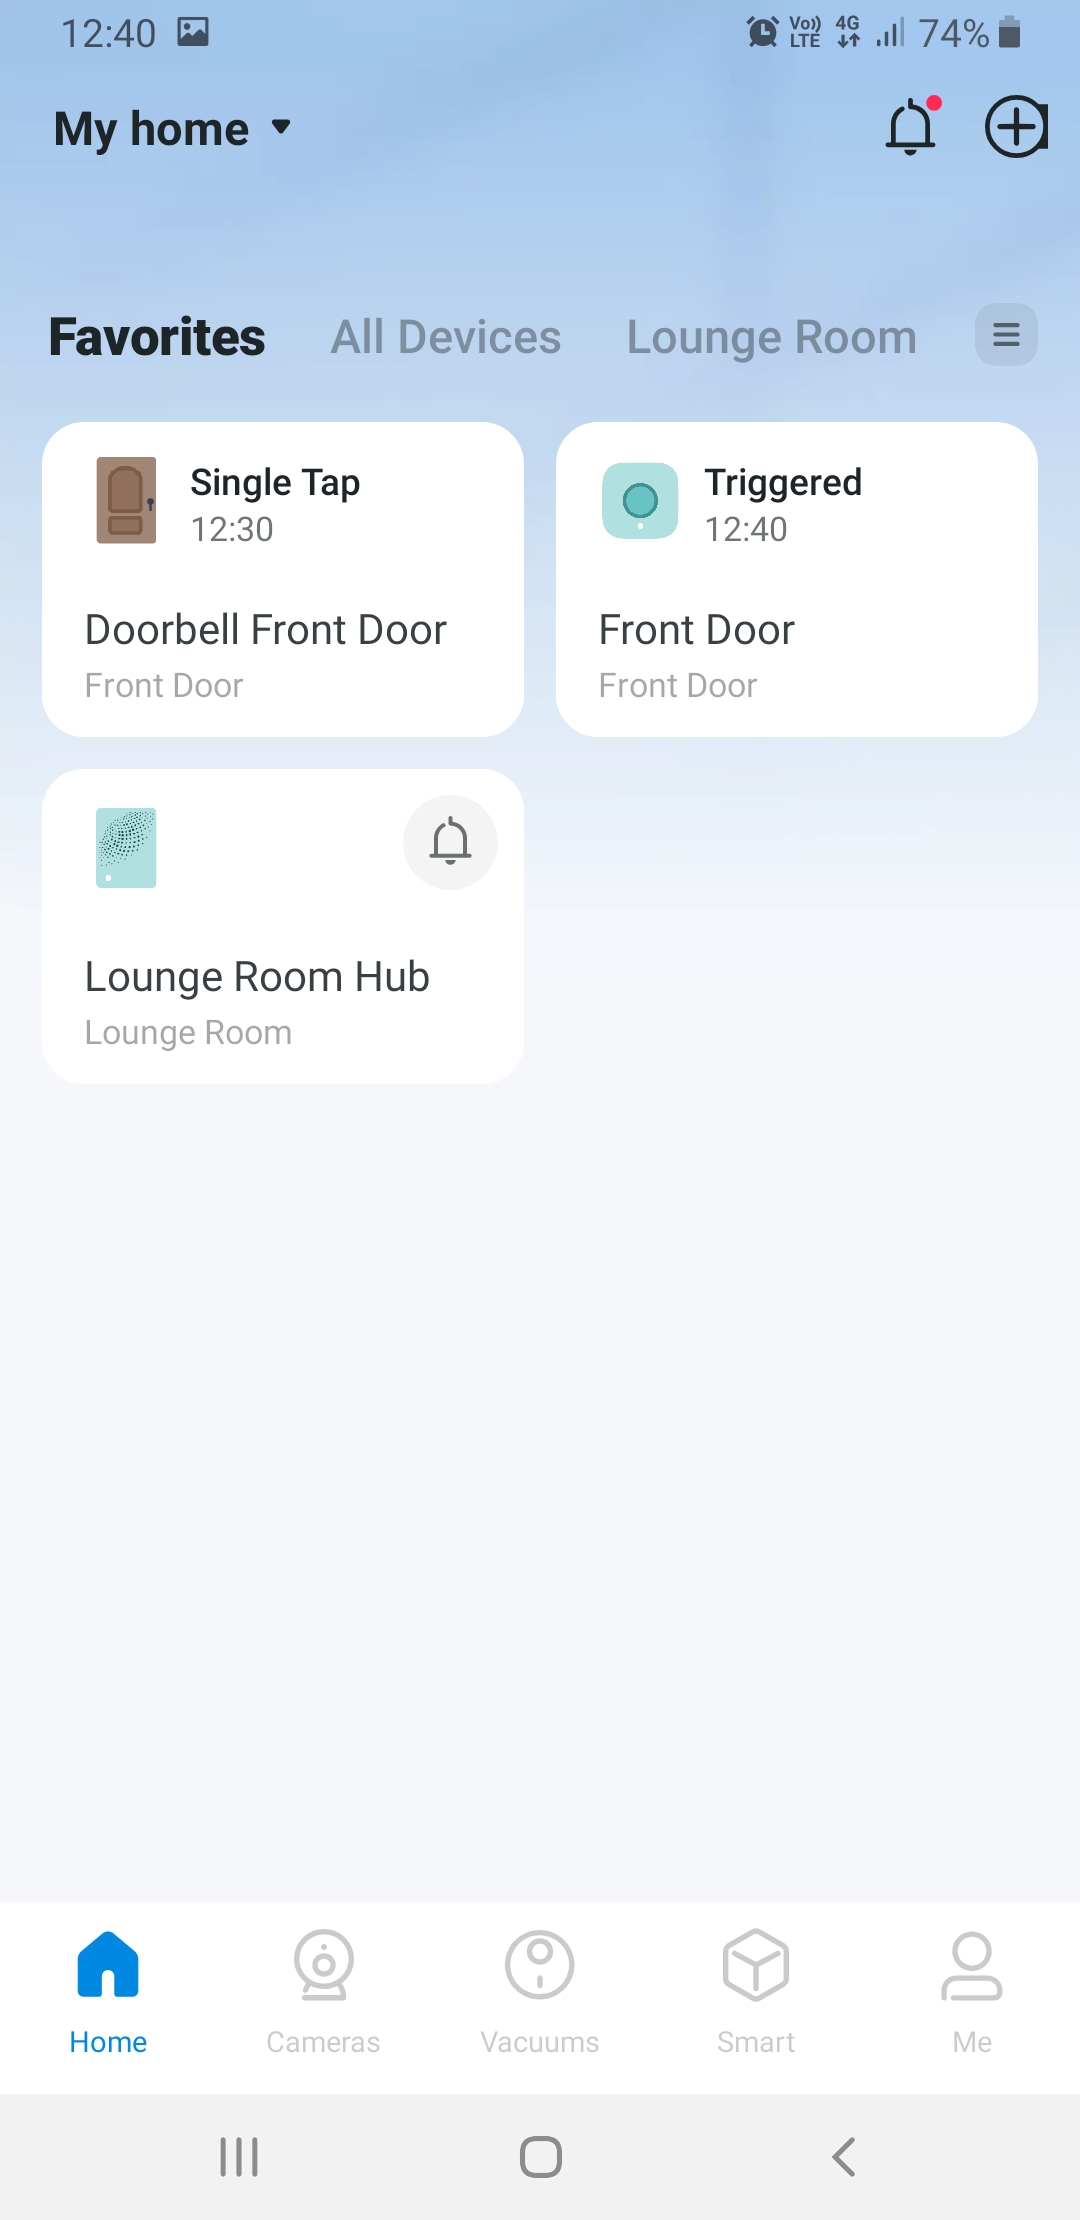
Tap on the 'Smart' icon on the bottom menu bar, to bring up the Automation menu.
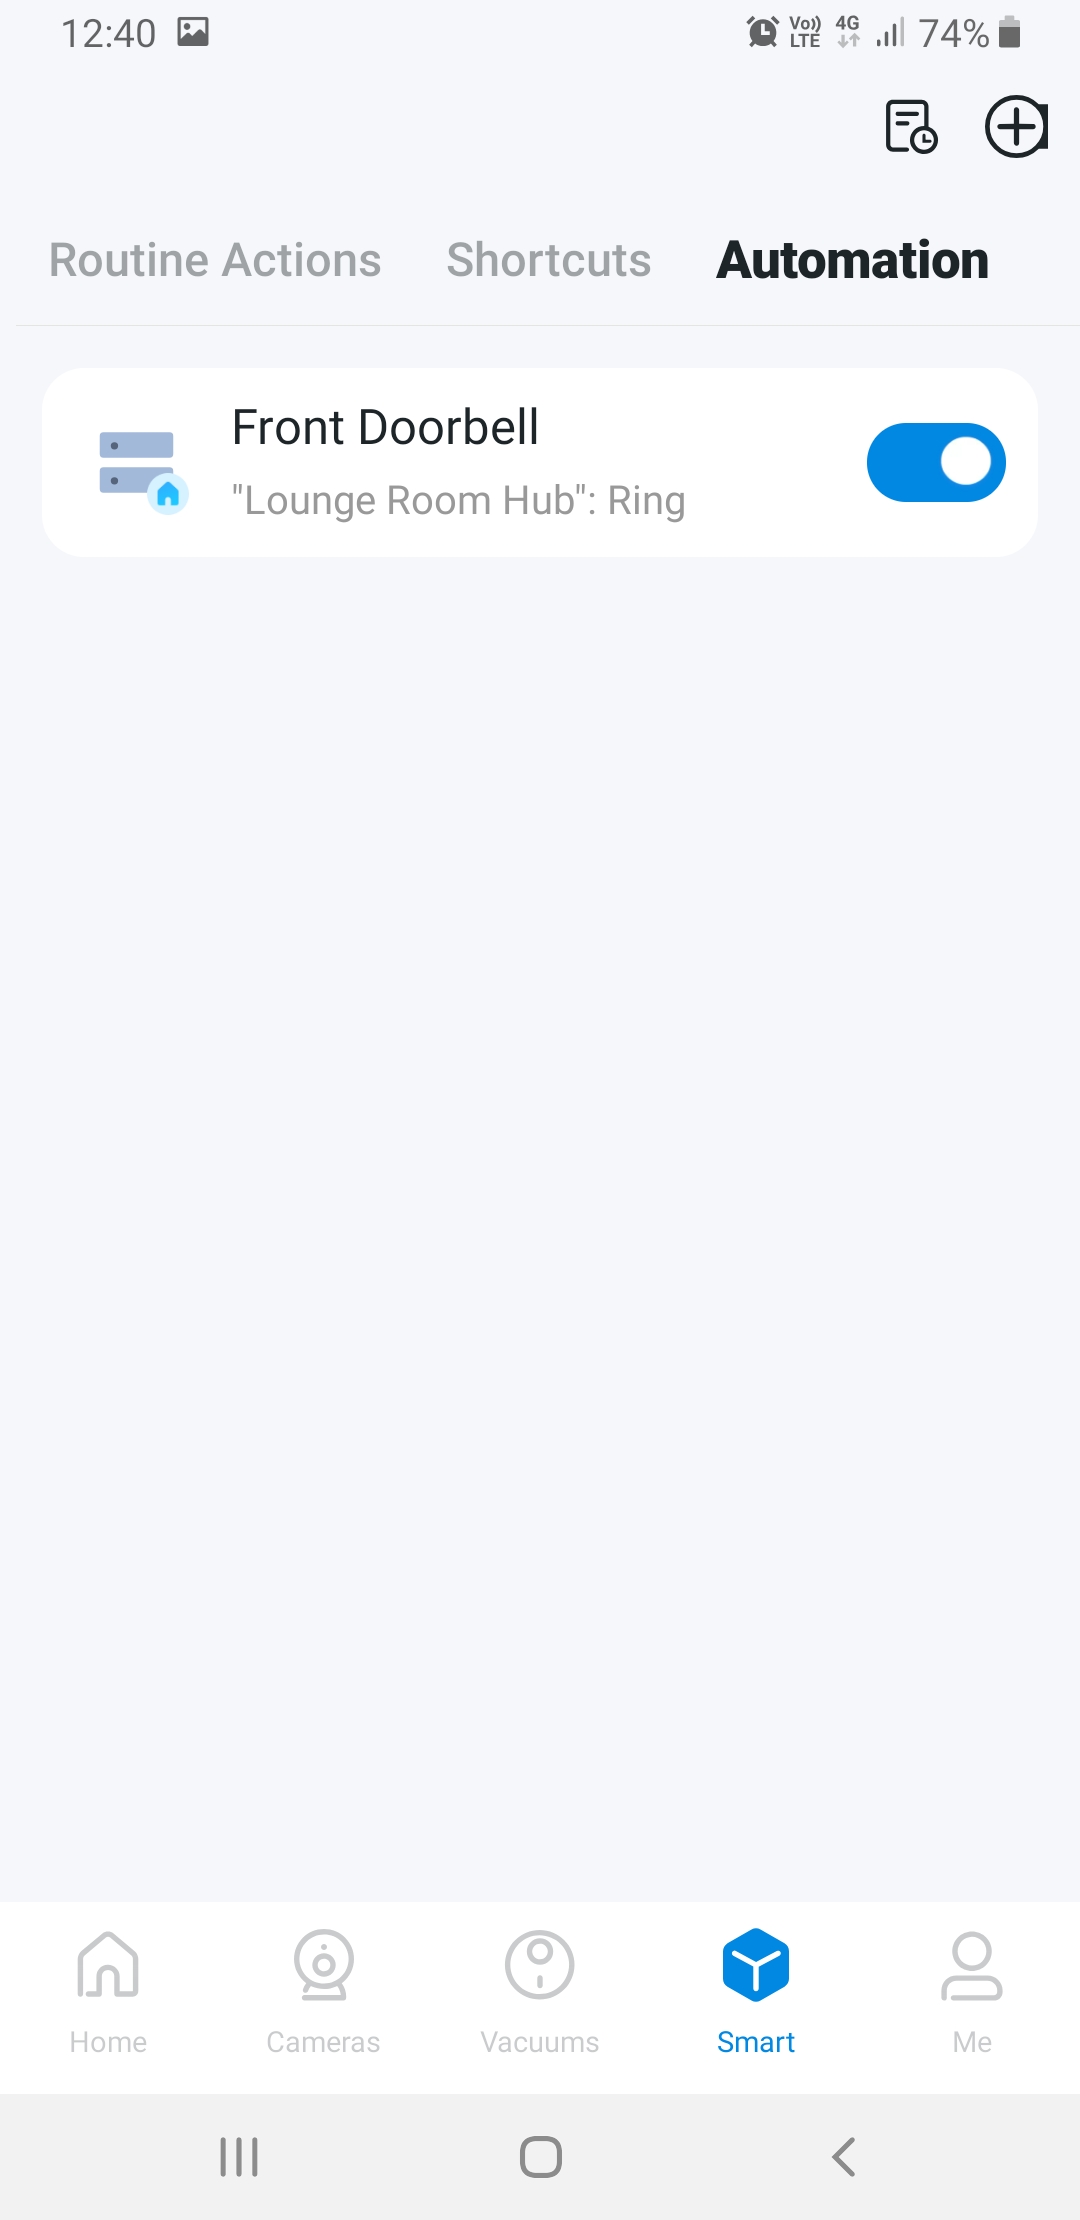
Tap the + icon at the top right, to bring up a dropdown menu. Tap 'Automation'.
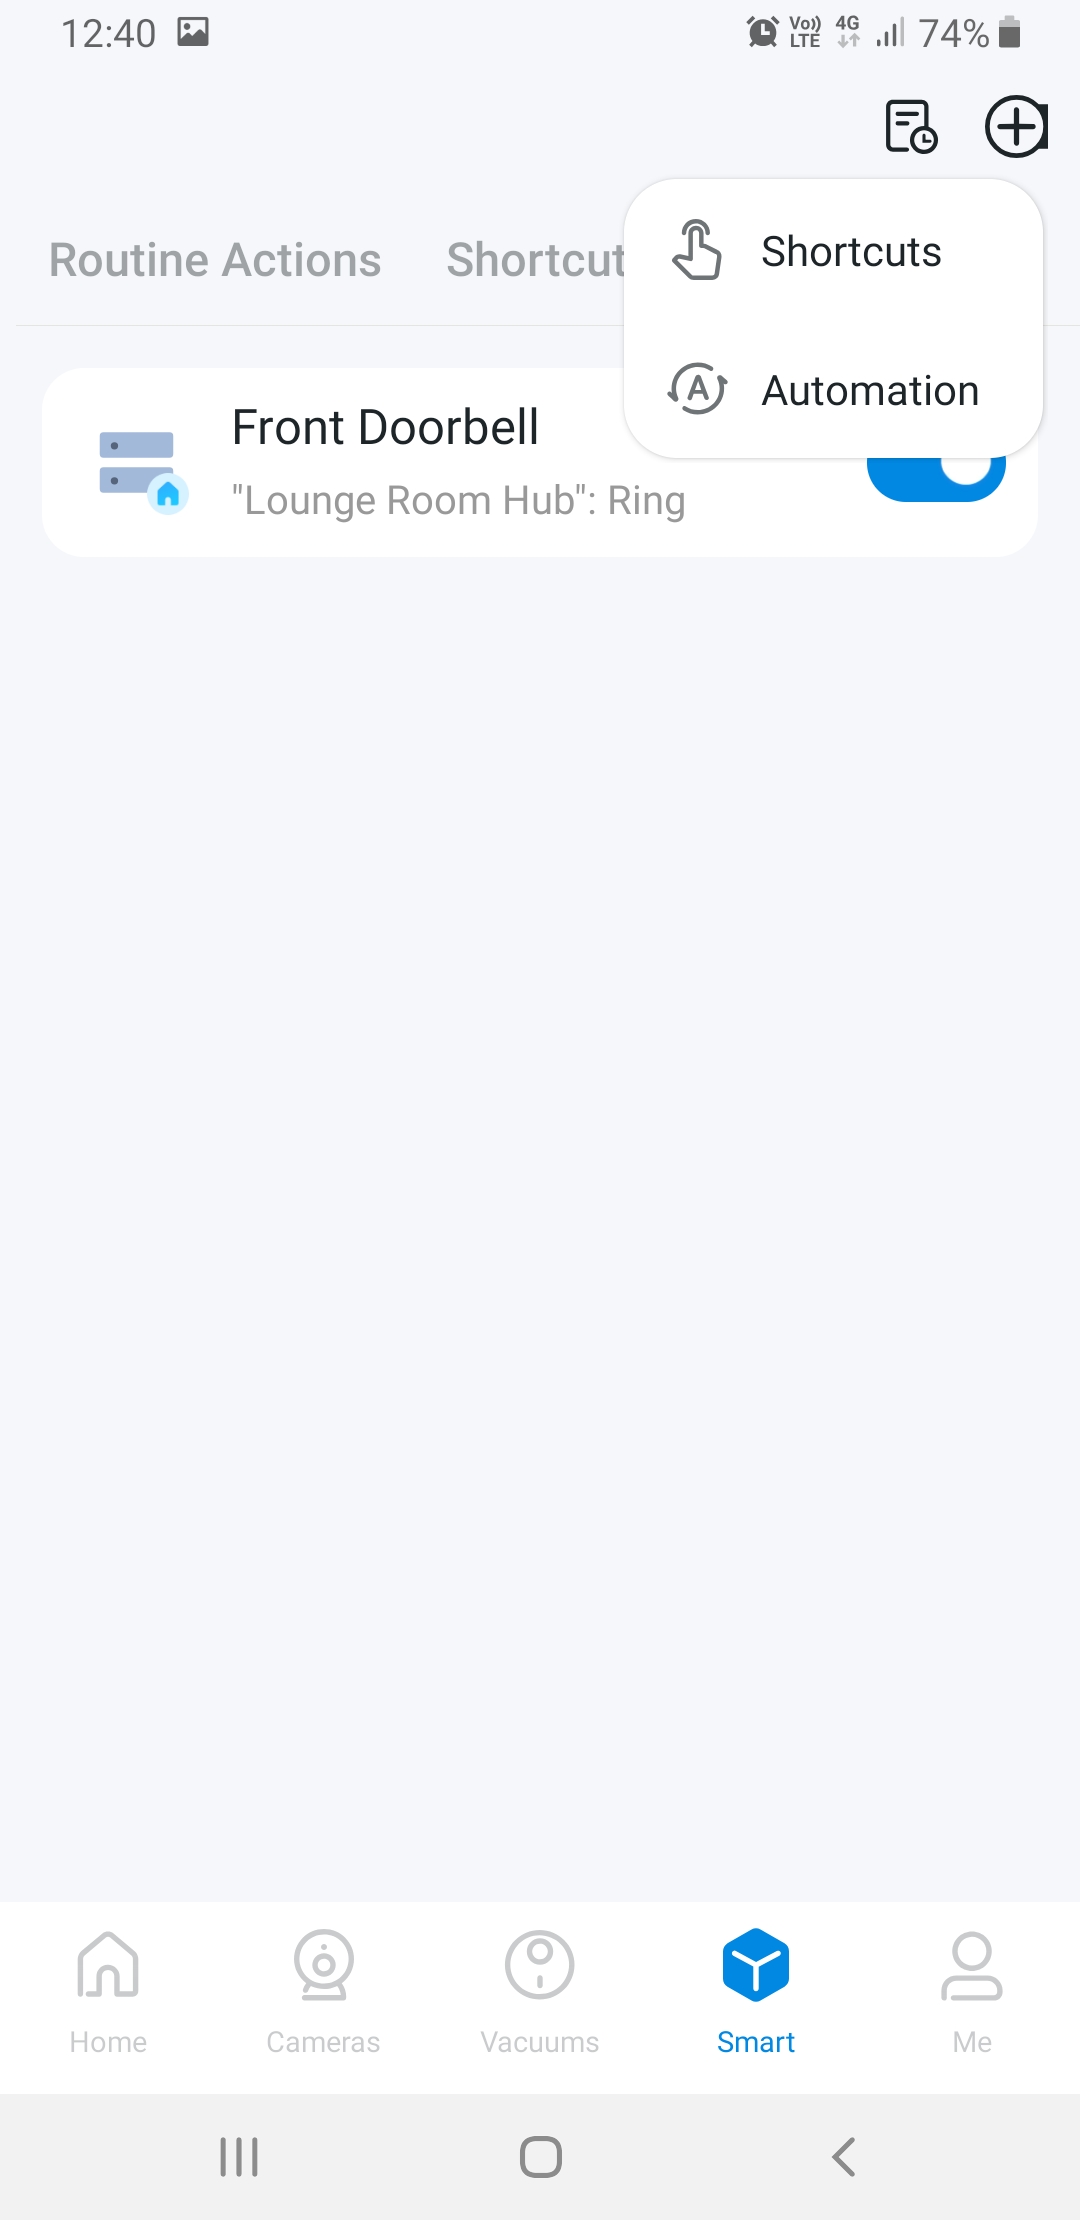
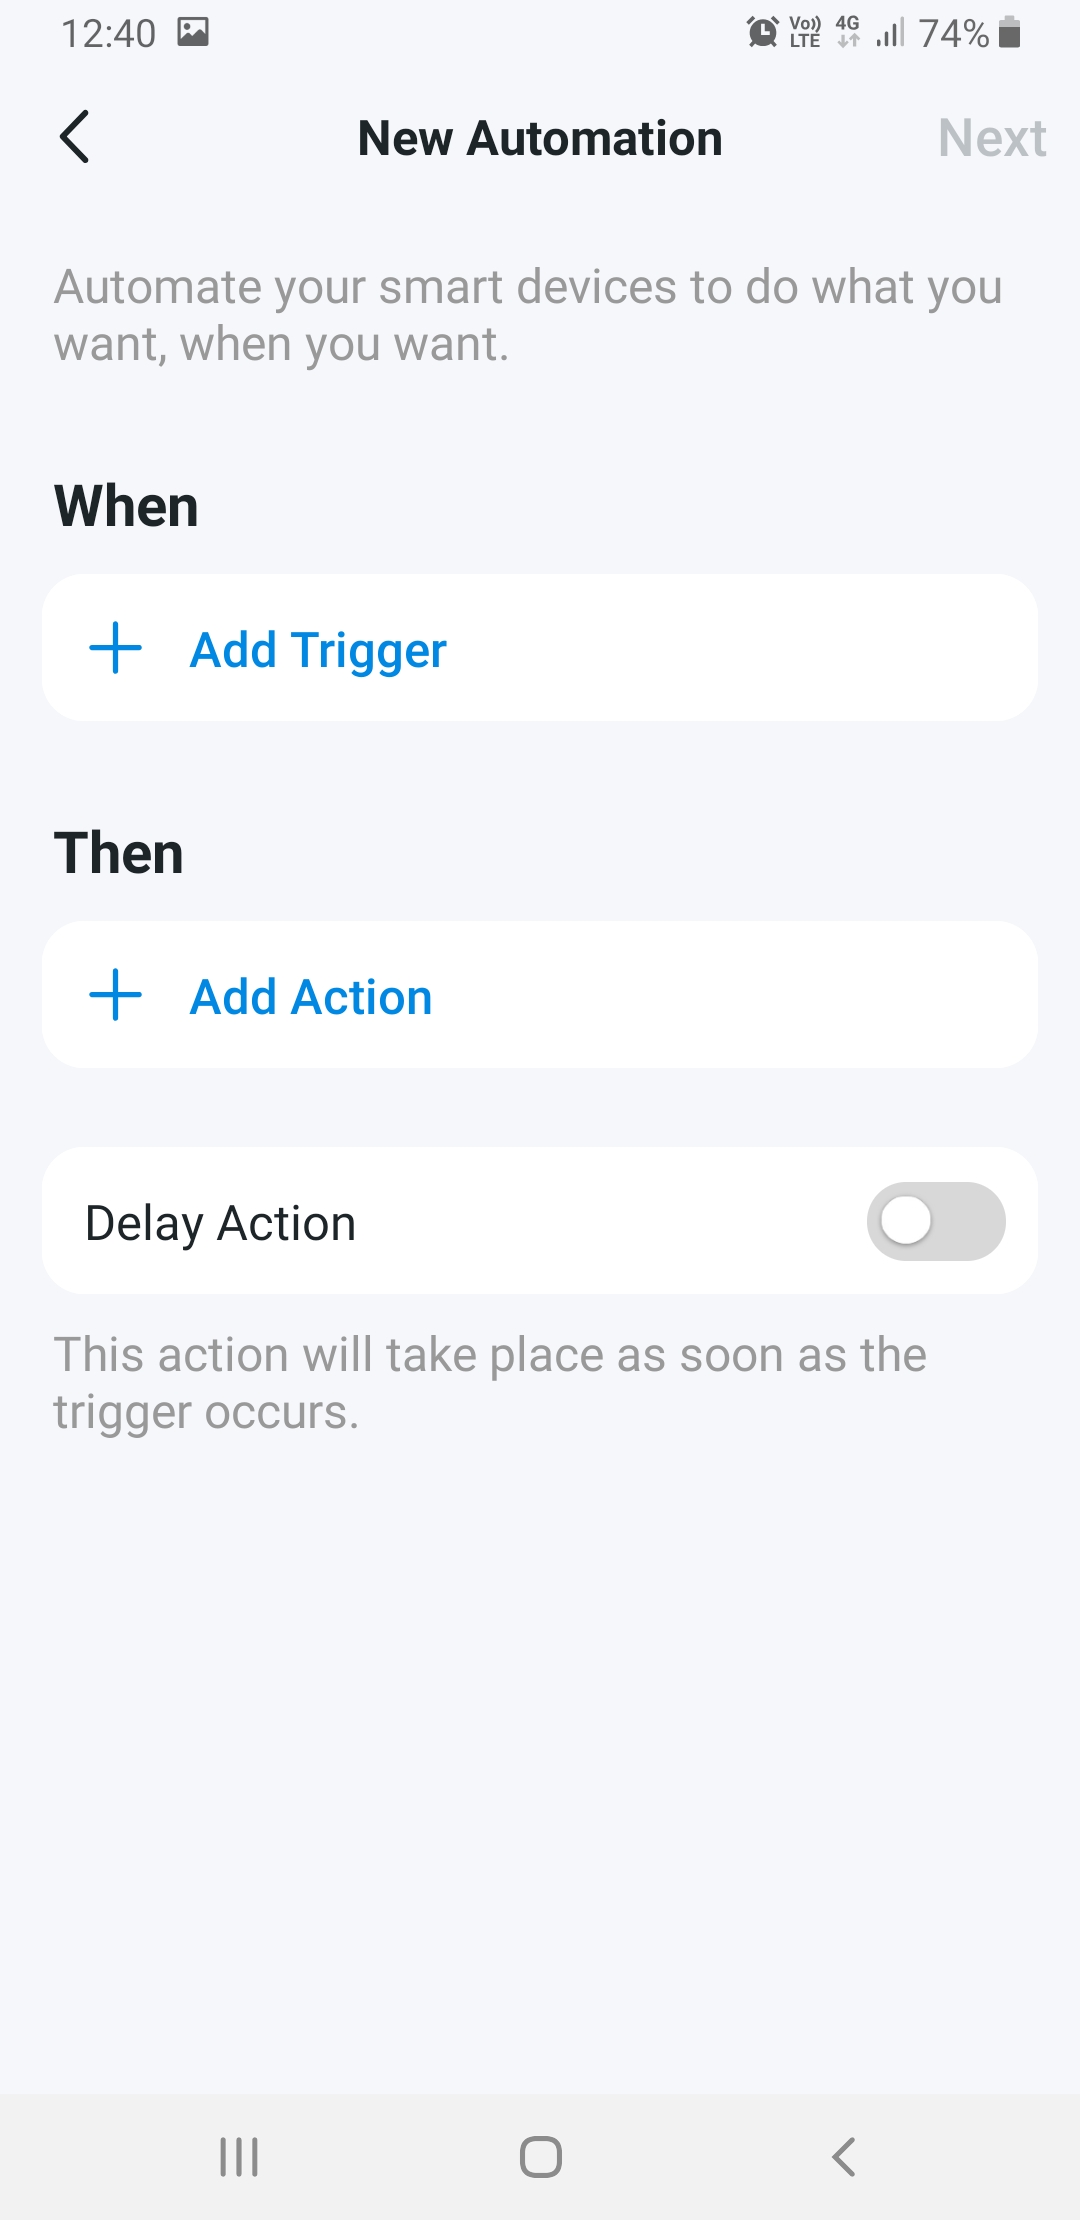
This is the automation starting screen. The 'When' field allows you to choose what starts the automation, while the 'Then' allows you to choose what happens. Under 'When', tap the blue '+ Add Trigger' button.
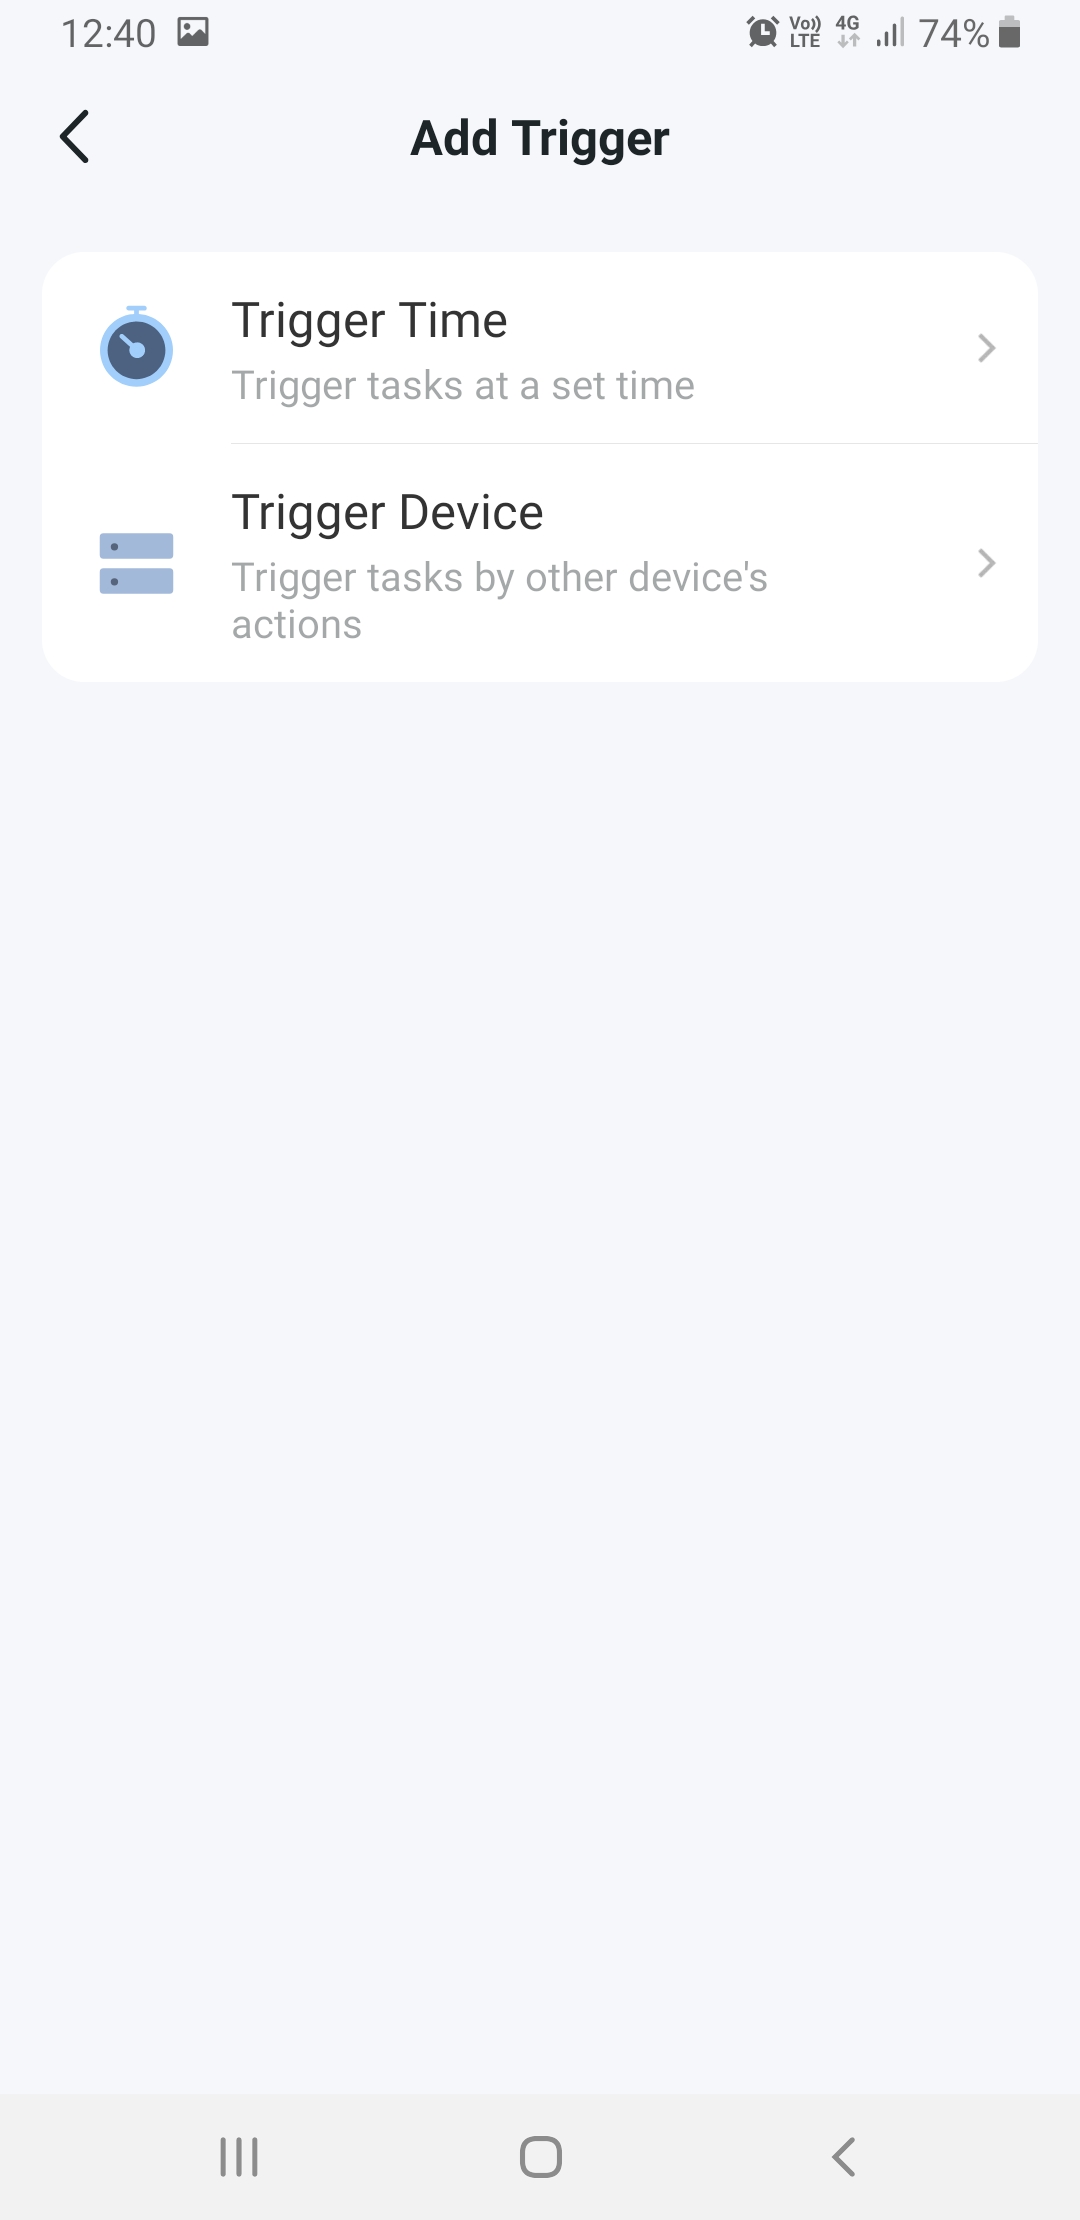
The options presented are 'Trigger Time' and 'Trigger Device'. This means the automation is triggered at a time or by a device, not the other way around. So, select 'Trigger Device'
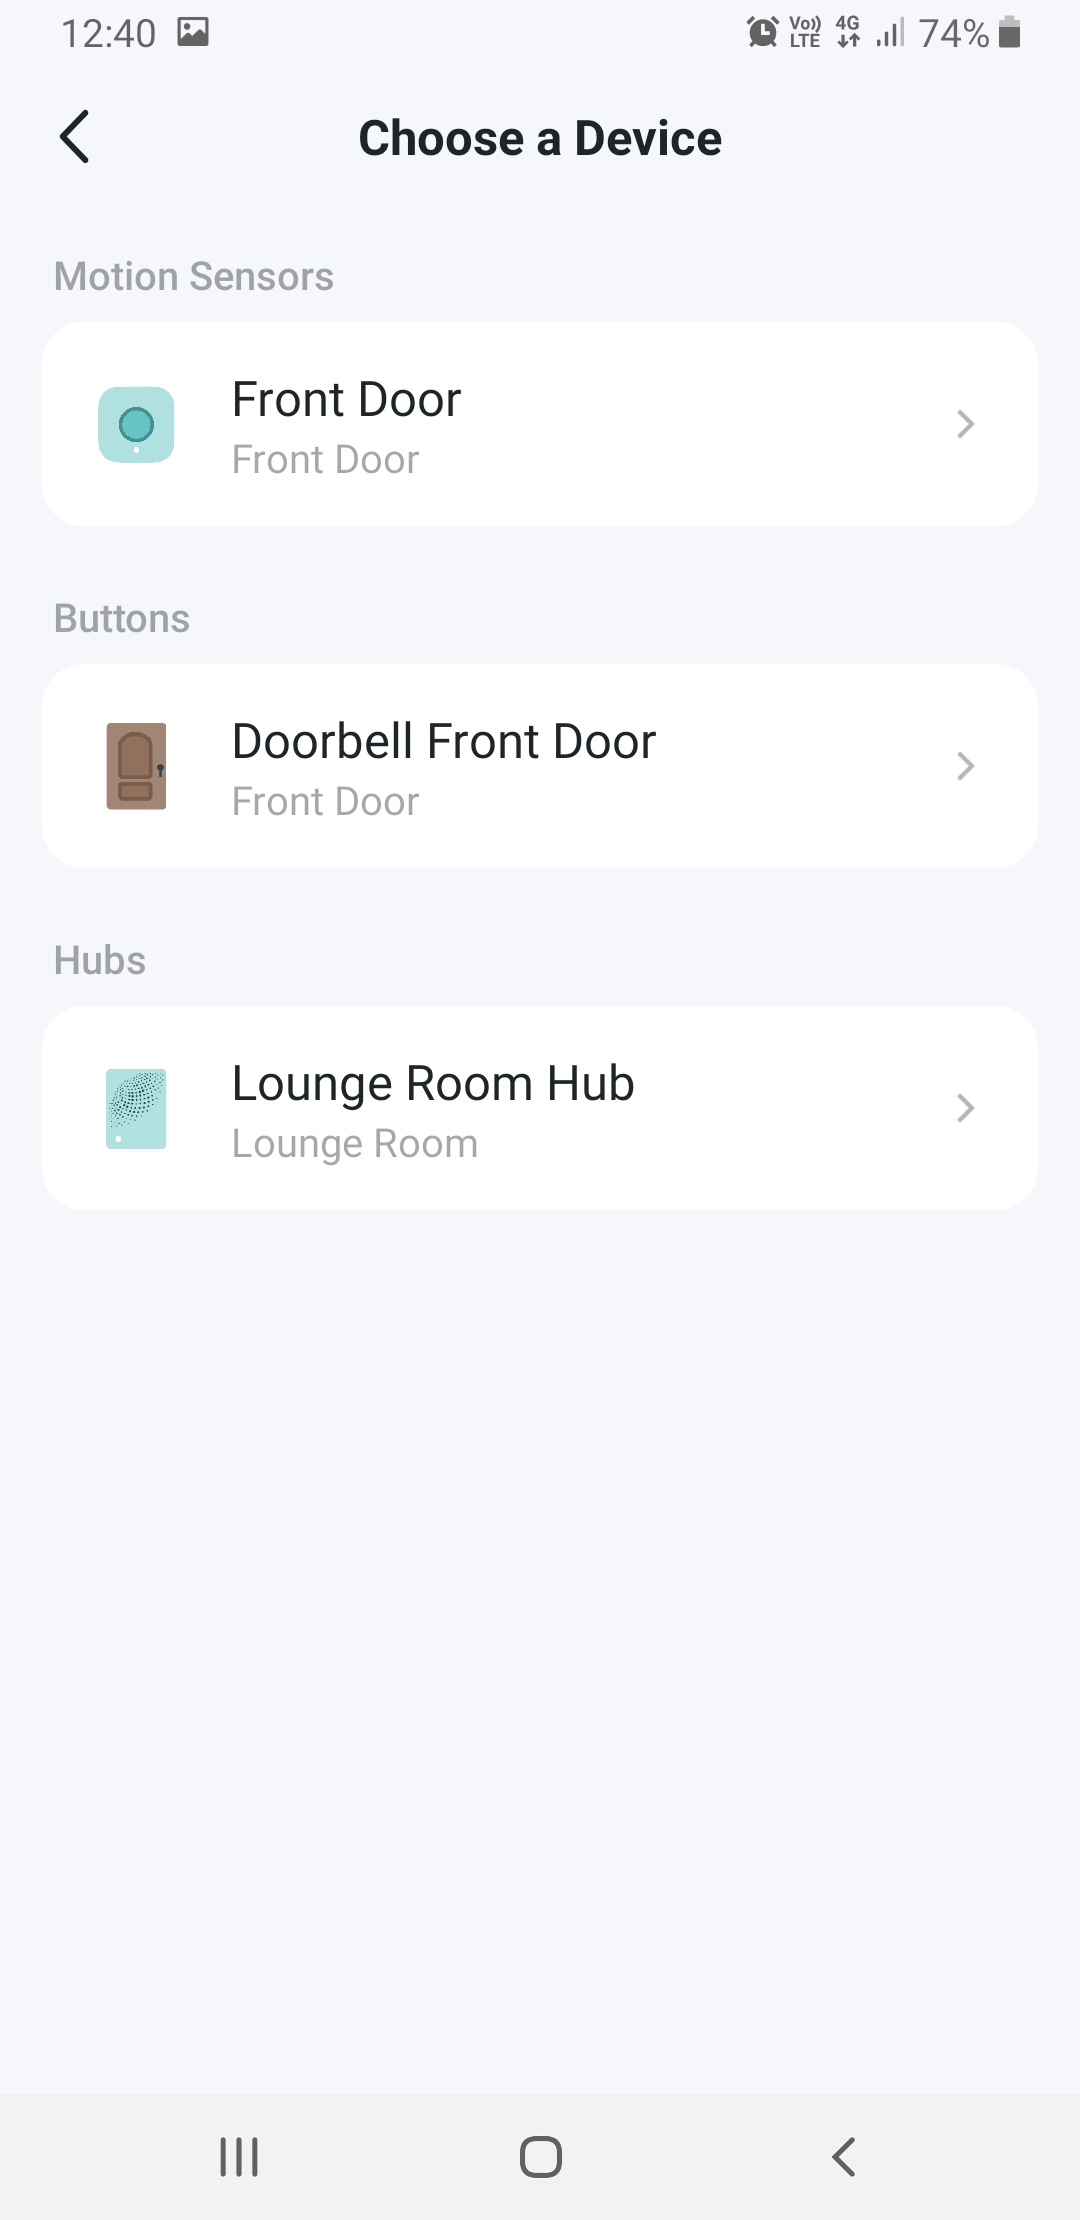
You are then prompted to choose a device which will trigger the automation. Choose the motion sensor you have just added.
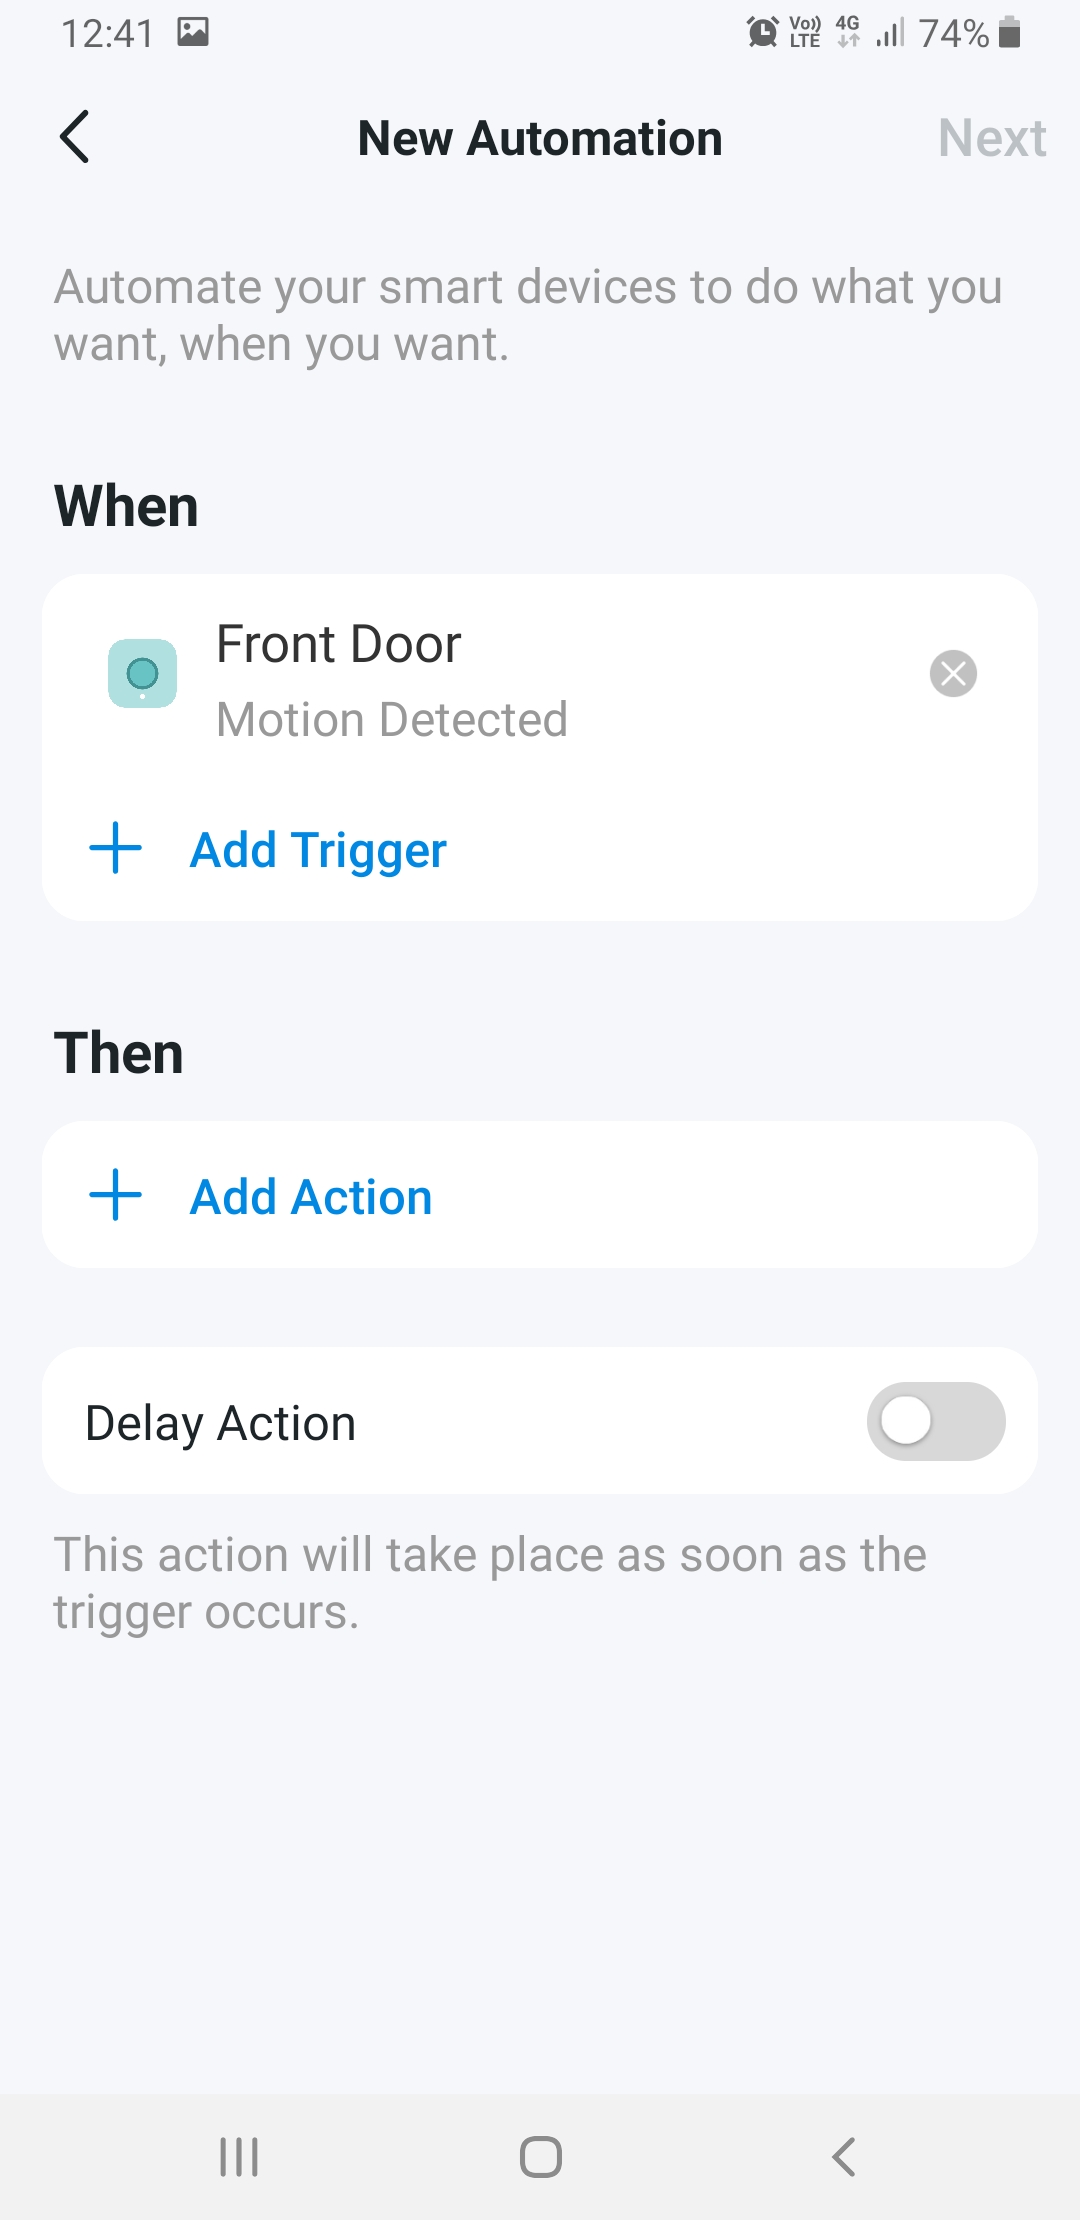
After you choose the device to act as the trigger, you are brought back to the 'When/Then' page, but it has information in the 'When' field. Tap the blue '+Add Action' button.
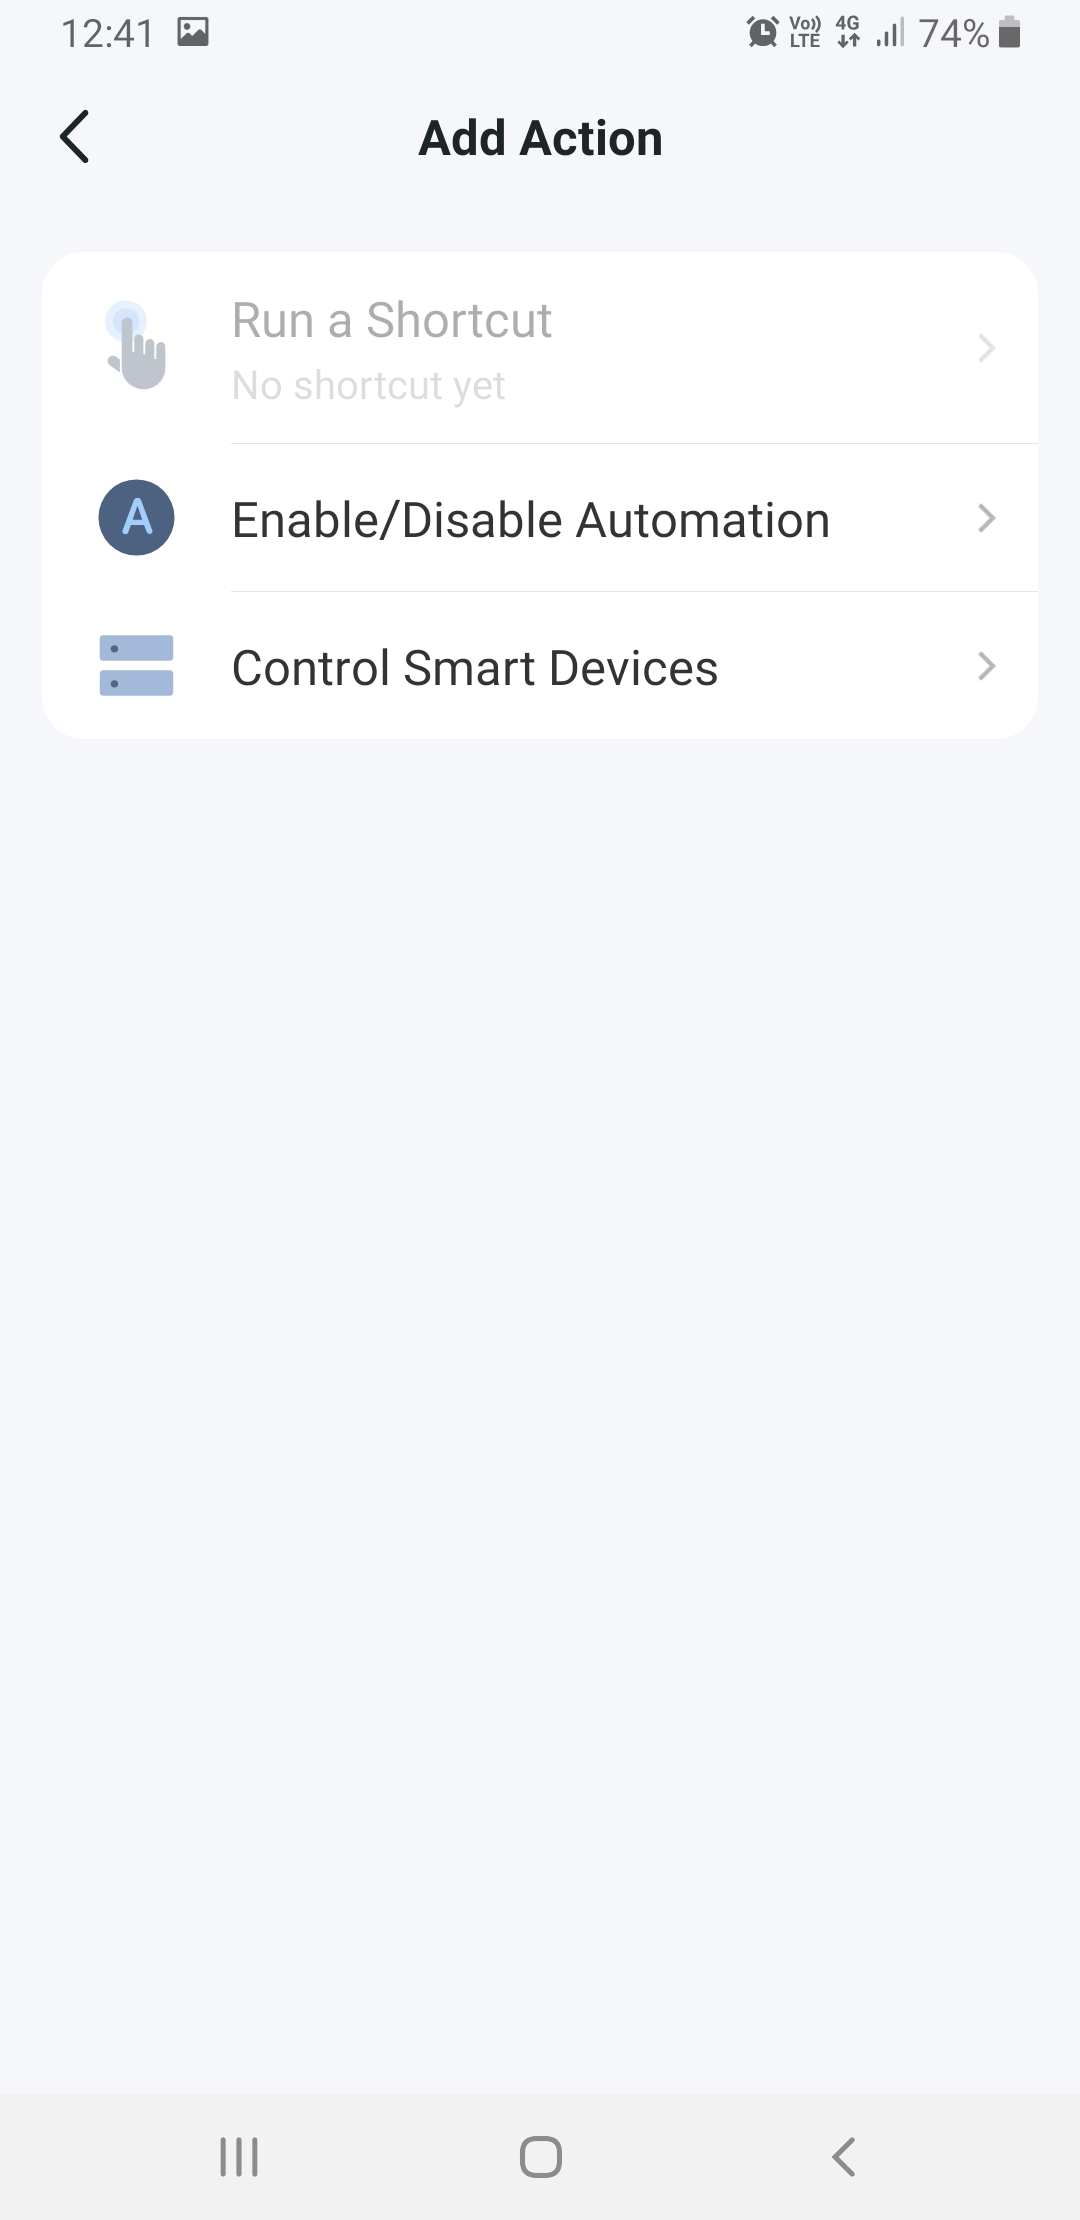
On the next screen, you choose what the automation does. You can enable and disable a separate automation (for example, you could have a hidden cancel button later on) but in this case, we want to tap 'Control Smart Devices'.
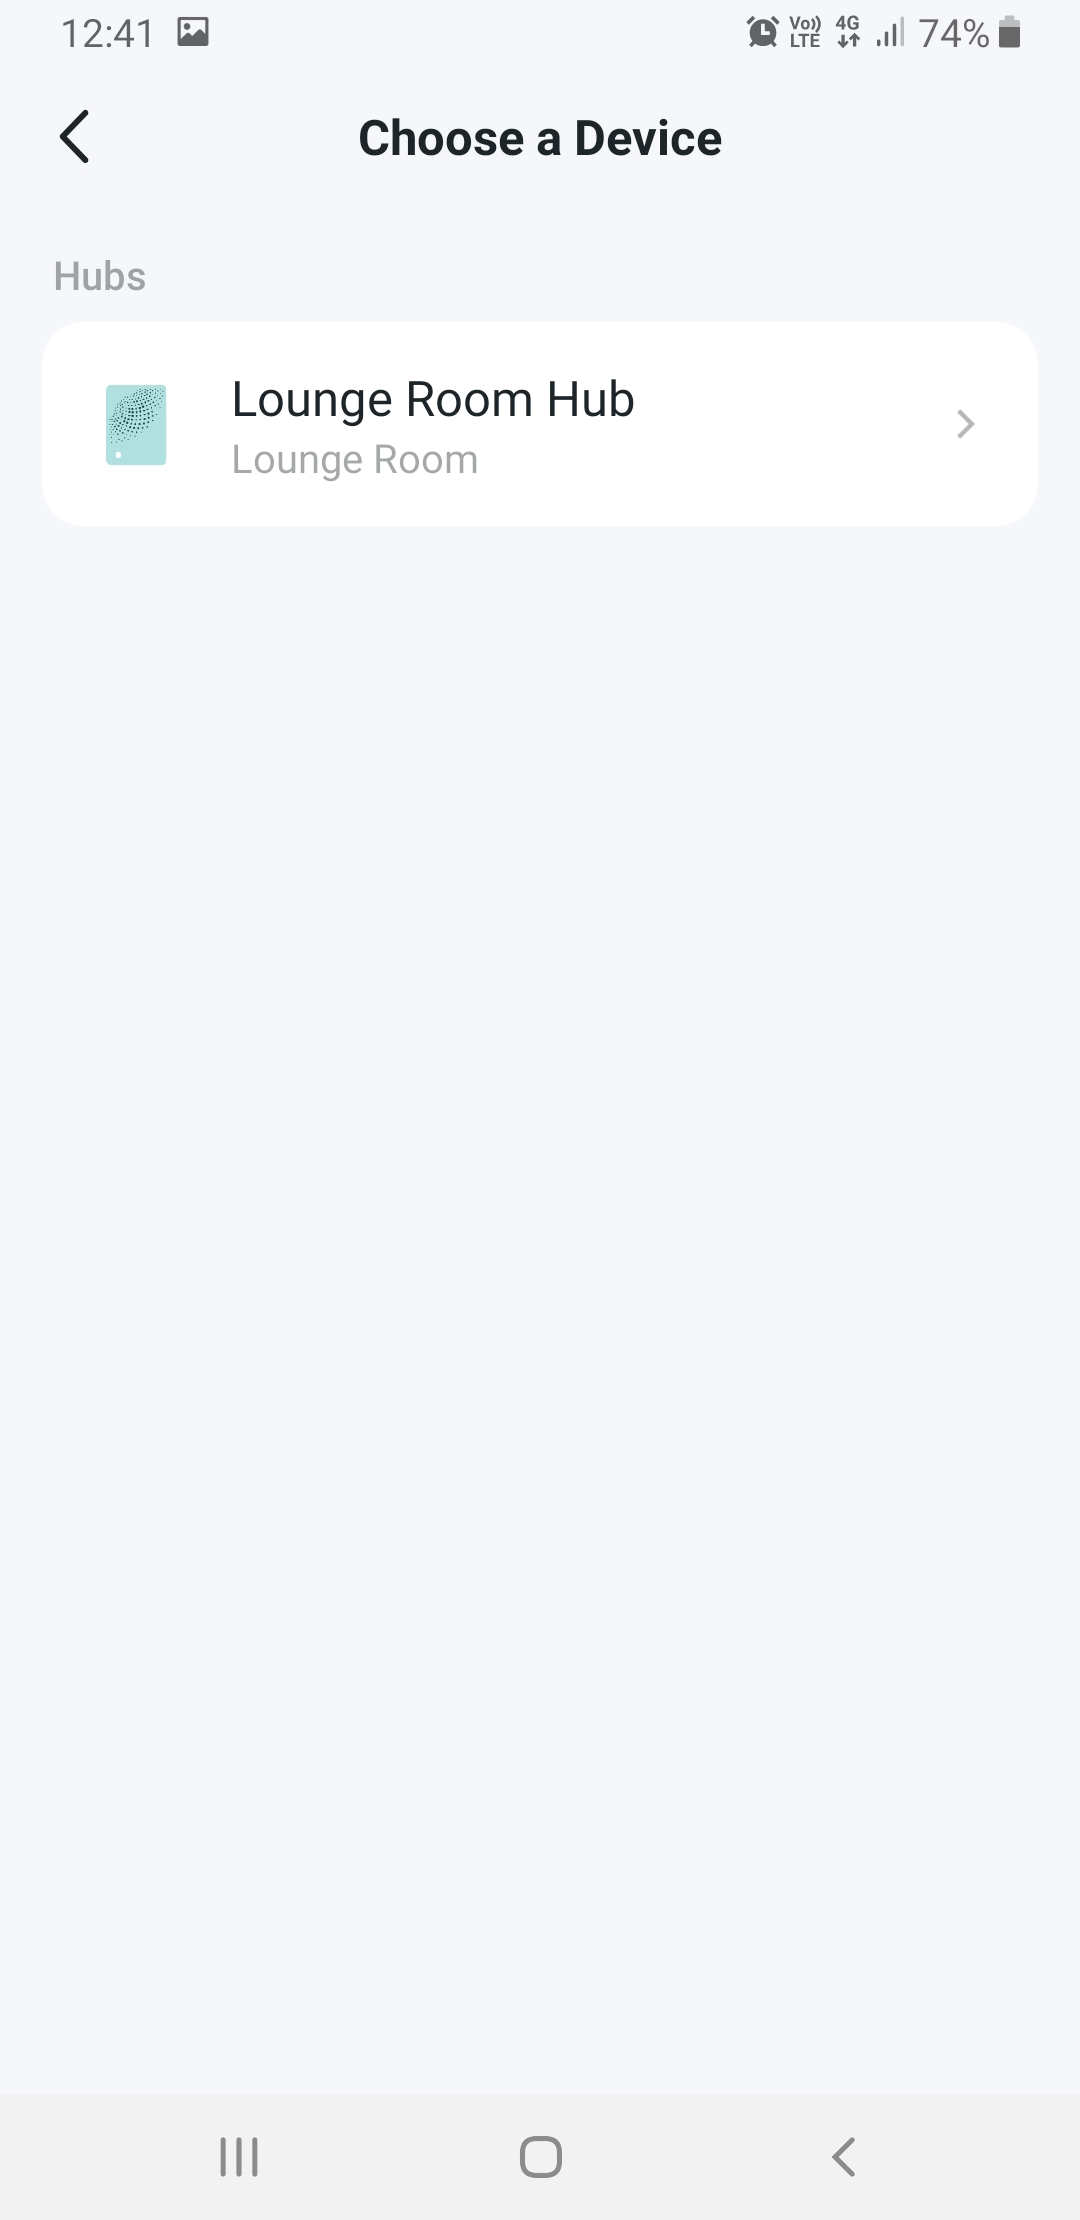
The only controllable device in our list is our single Hub, but you may have others if you have a Tapo system already.
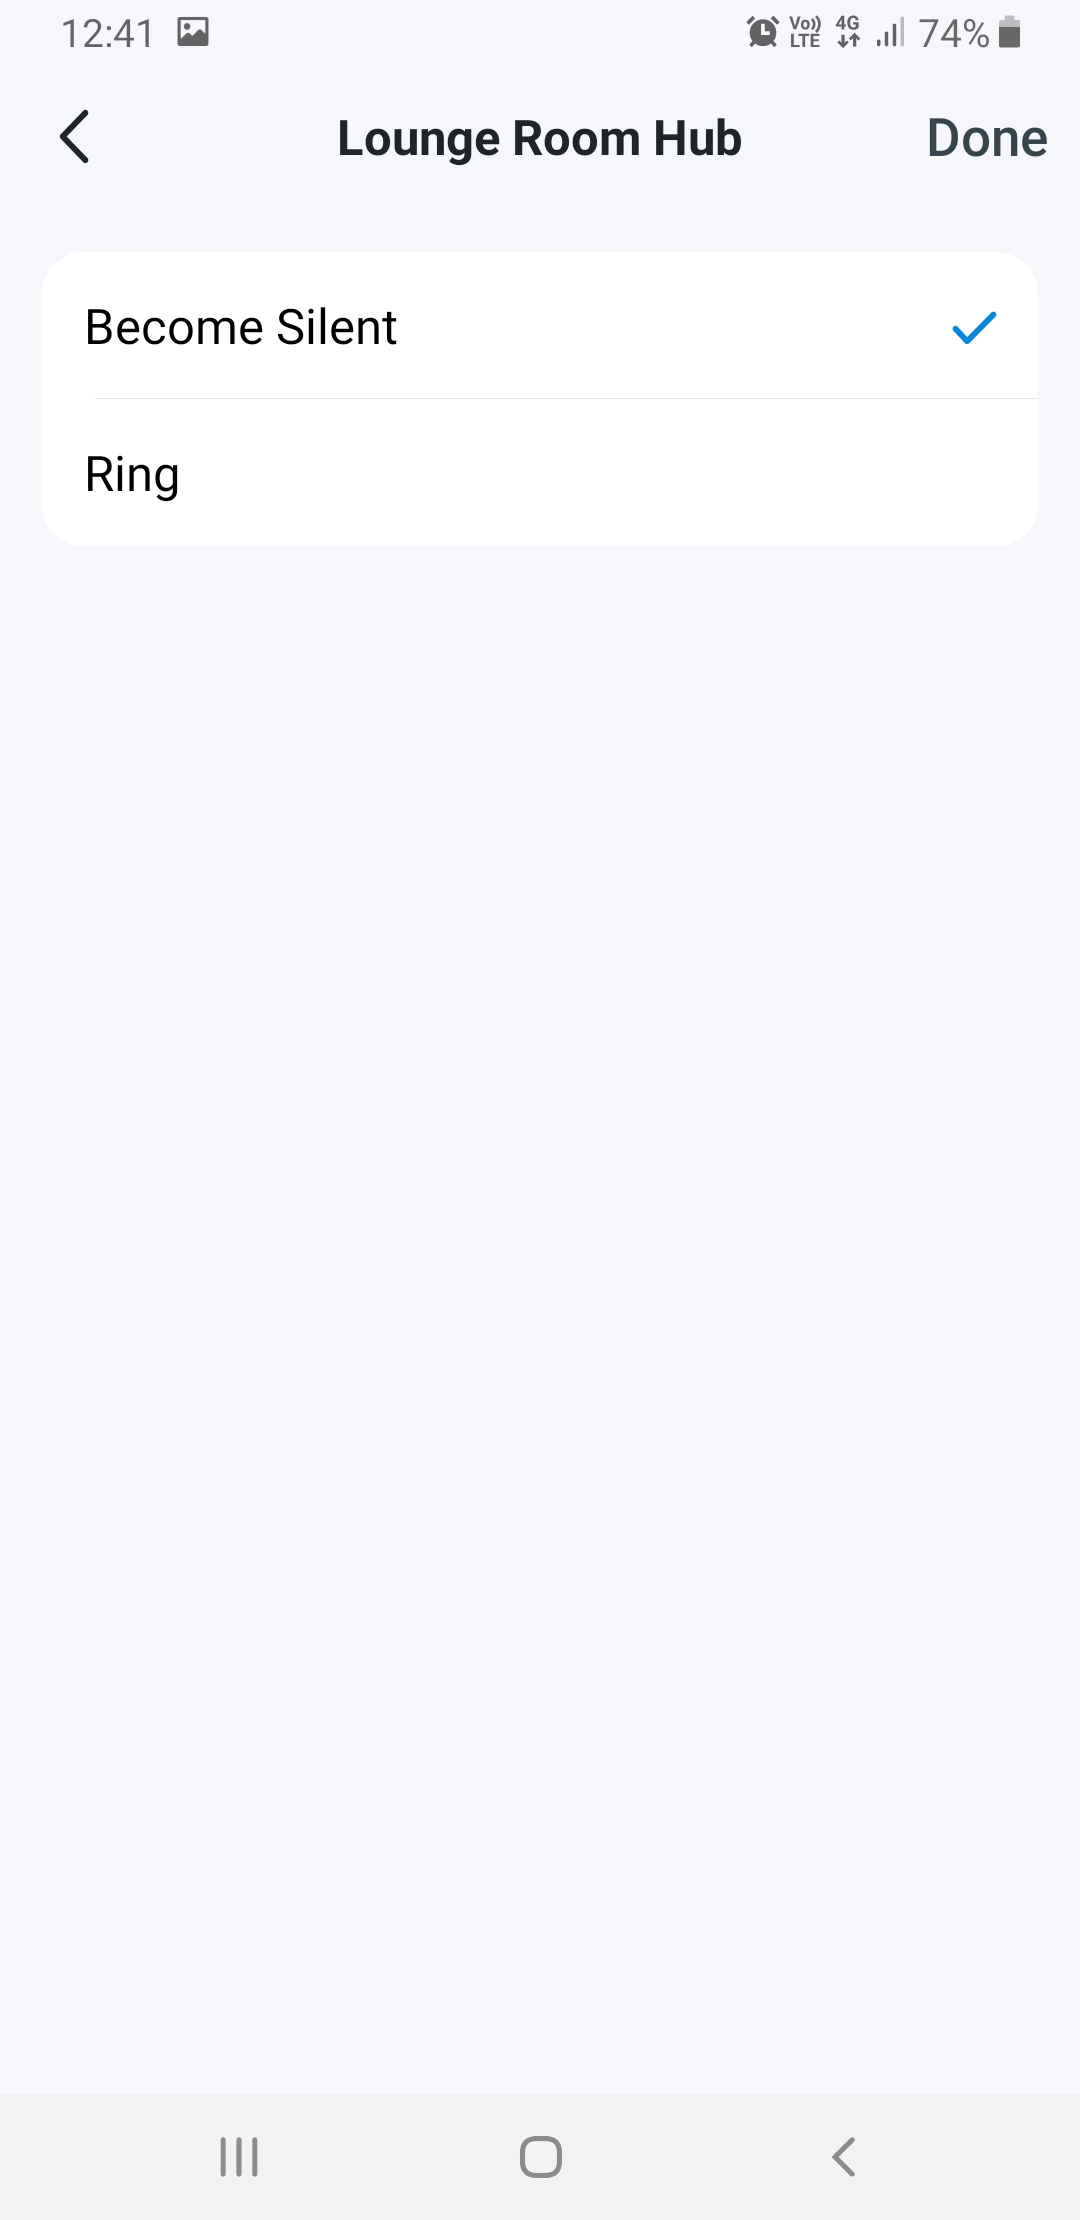
Once you select the device to control the next screen will show the things it can do. In this case, the options are 'Become Silent' and 'Ring'. Select 'Ring'.
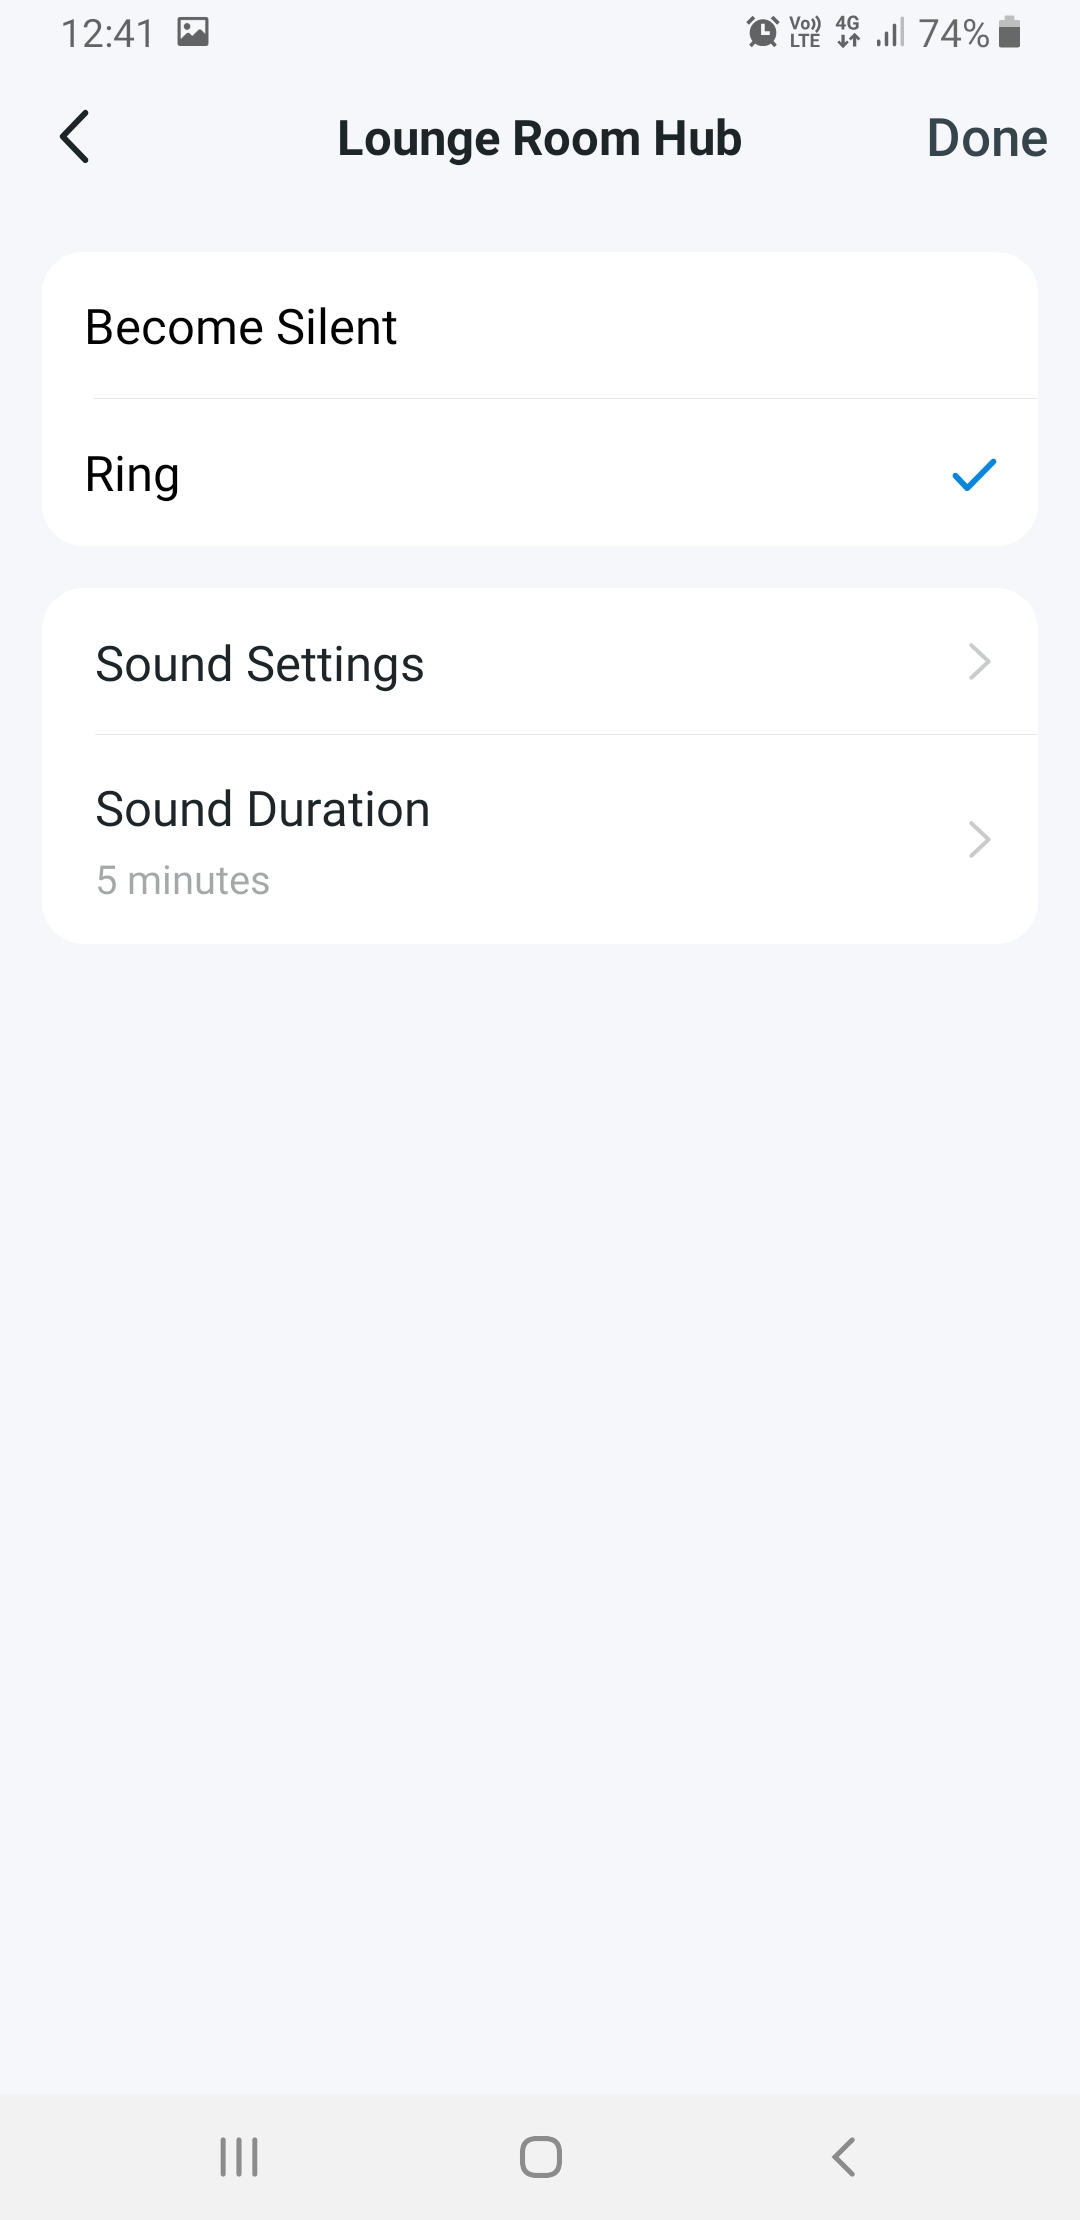
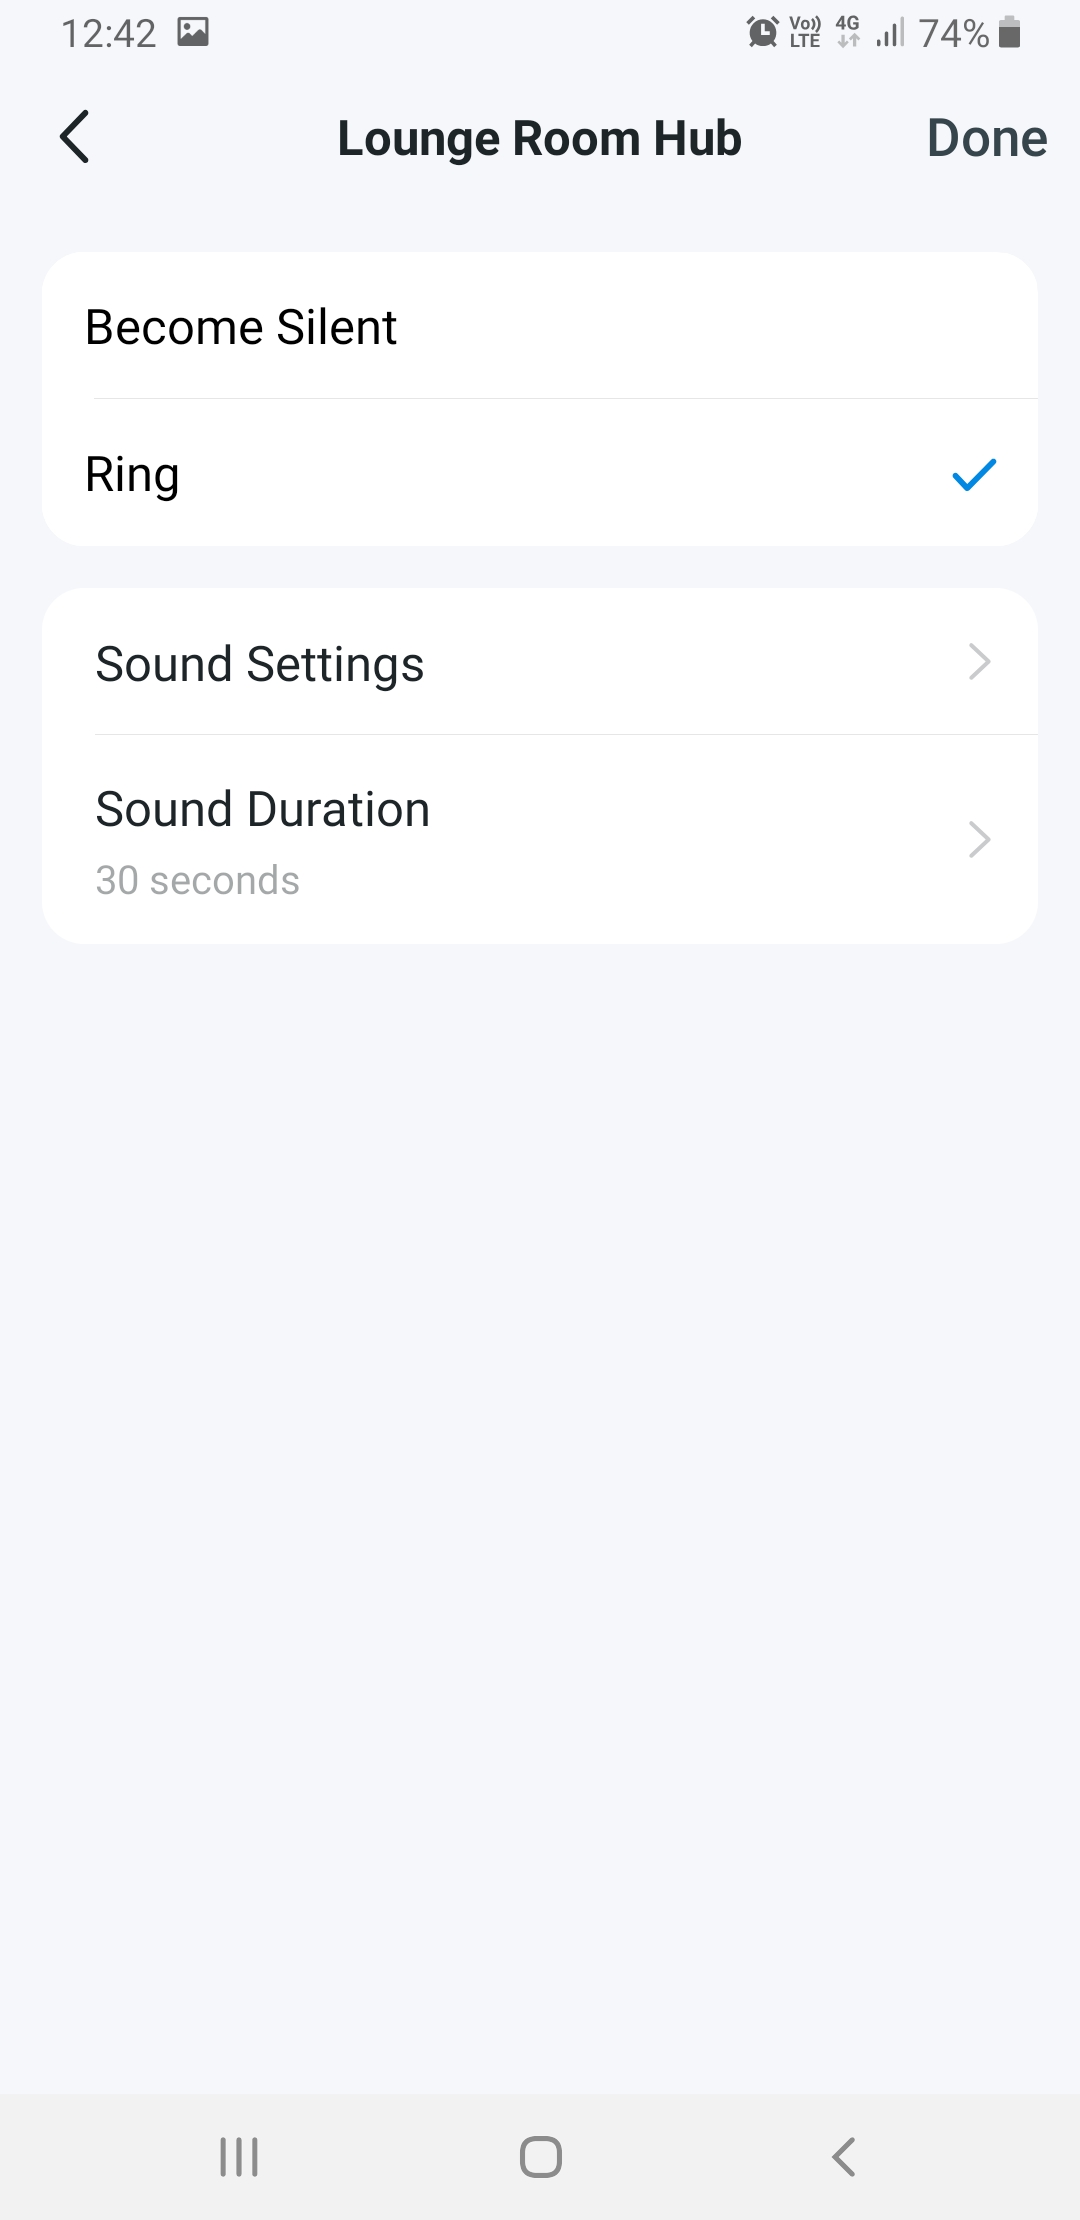
When you select ring, you will be presented with more menu options. You can control the sound duration, and the sound settings.
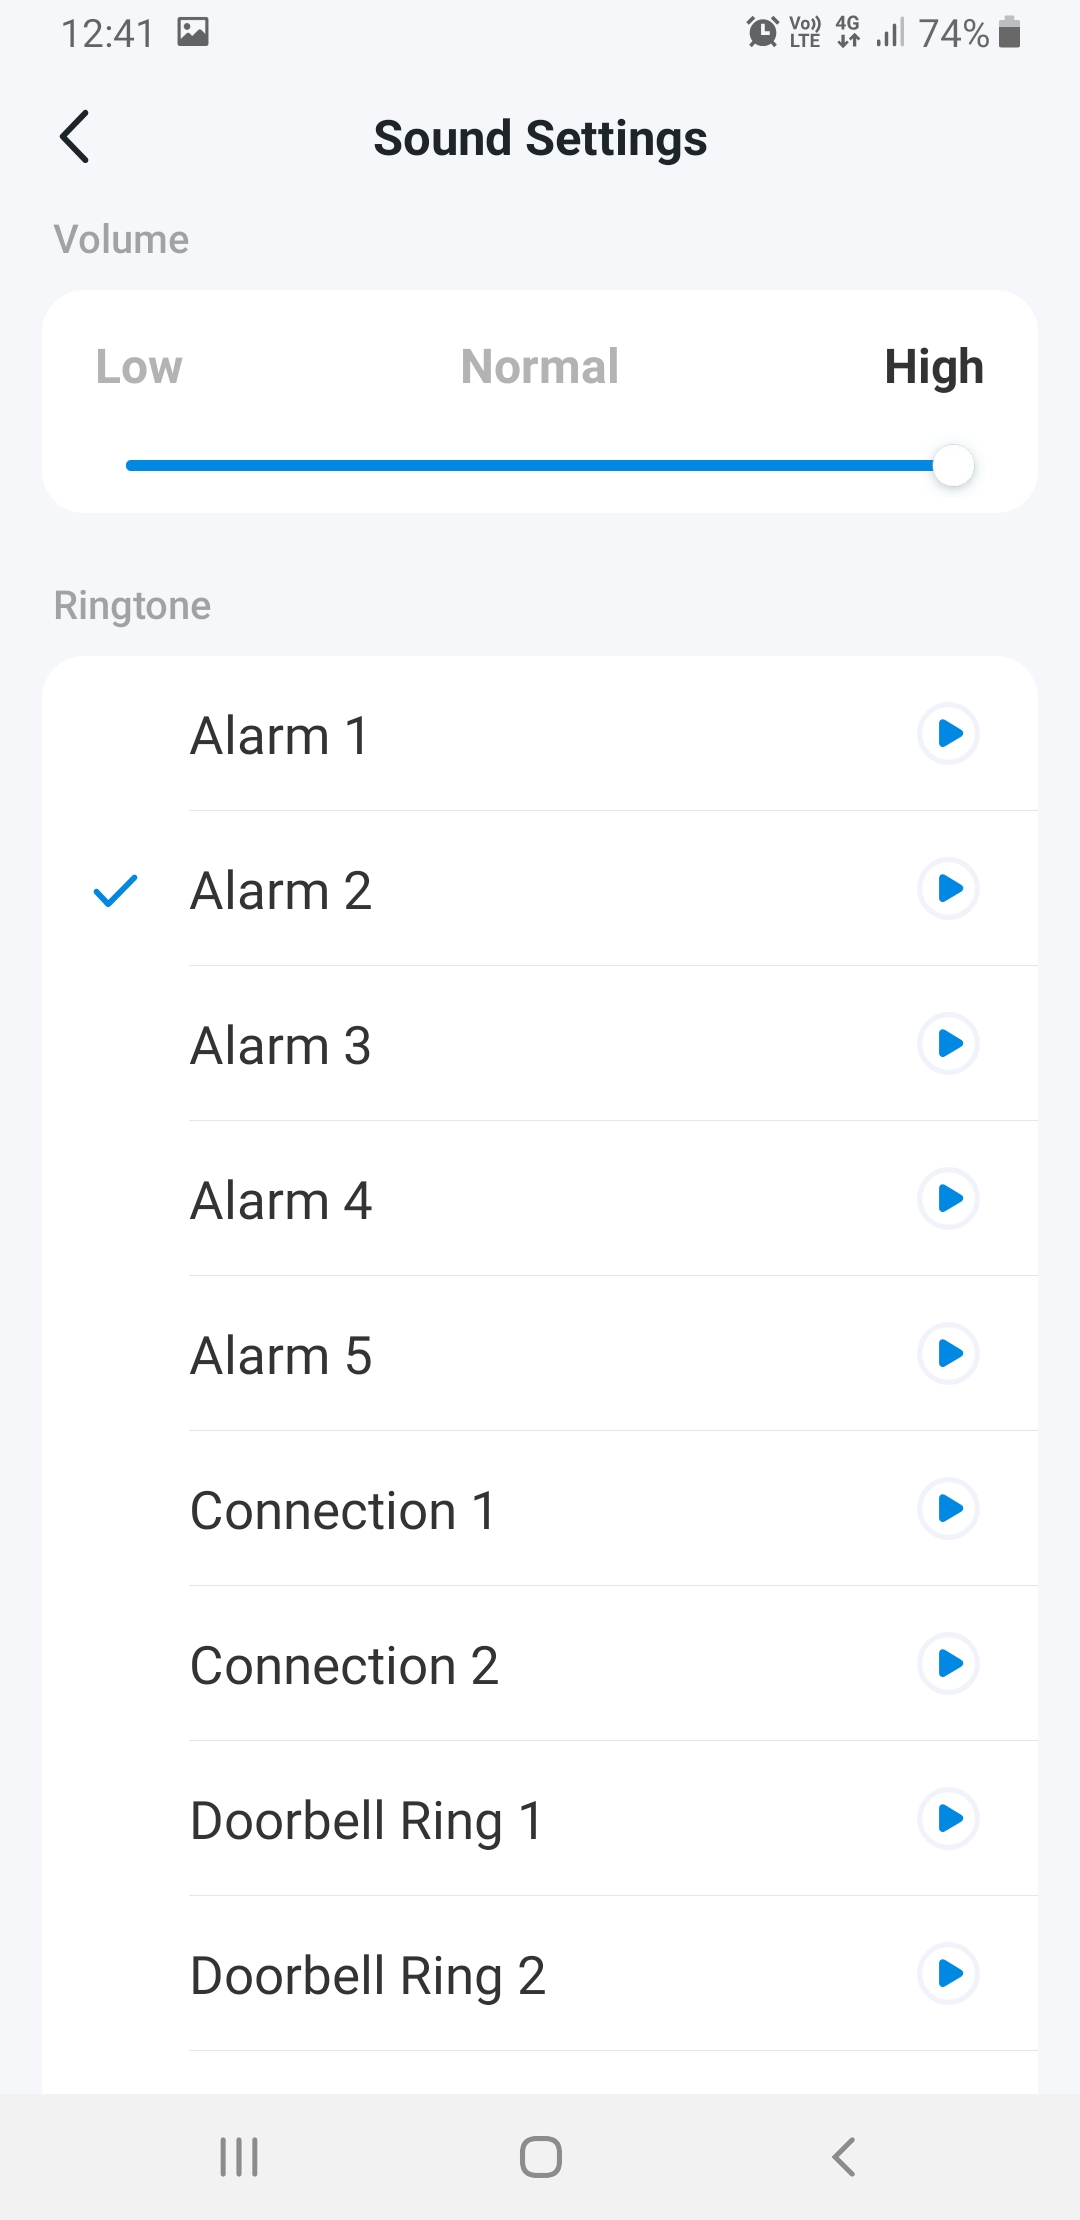
In the 'Sound Settings' button, you will find the volume control, and the different ring tones. Use the play button to hear each one, then press to the left of the one you like to tick it and select it. Tap the back arrow in the top left to save.
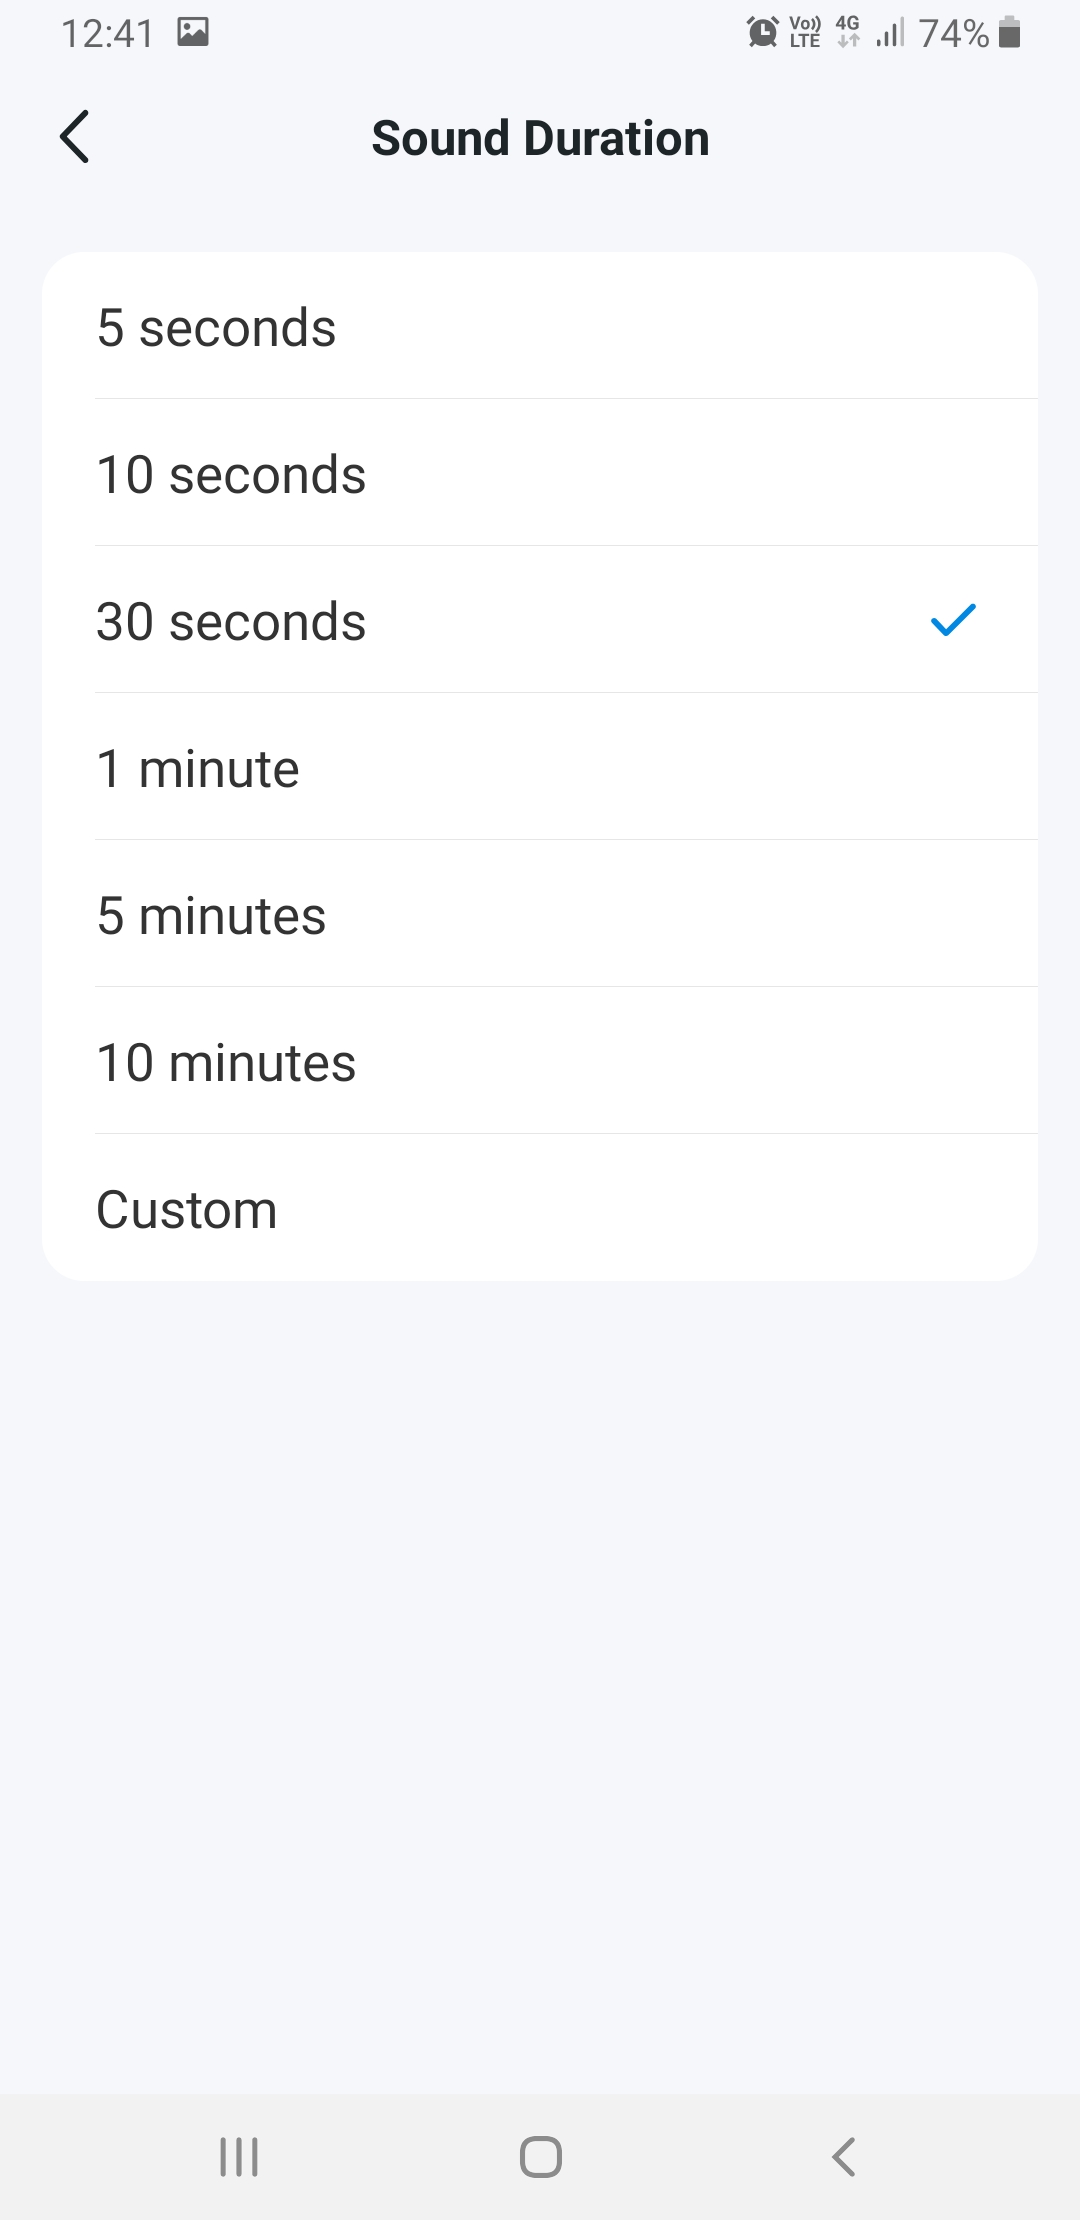
The sound duration menu has less options, so choose a duration that suits you and press the back arrow in the top left to save your choice.
With those settings saved, press the 'Done' button at the top right.
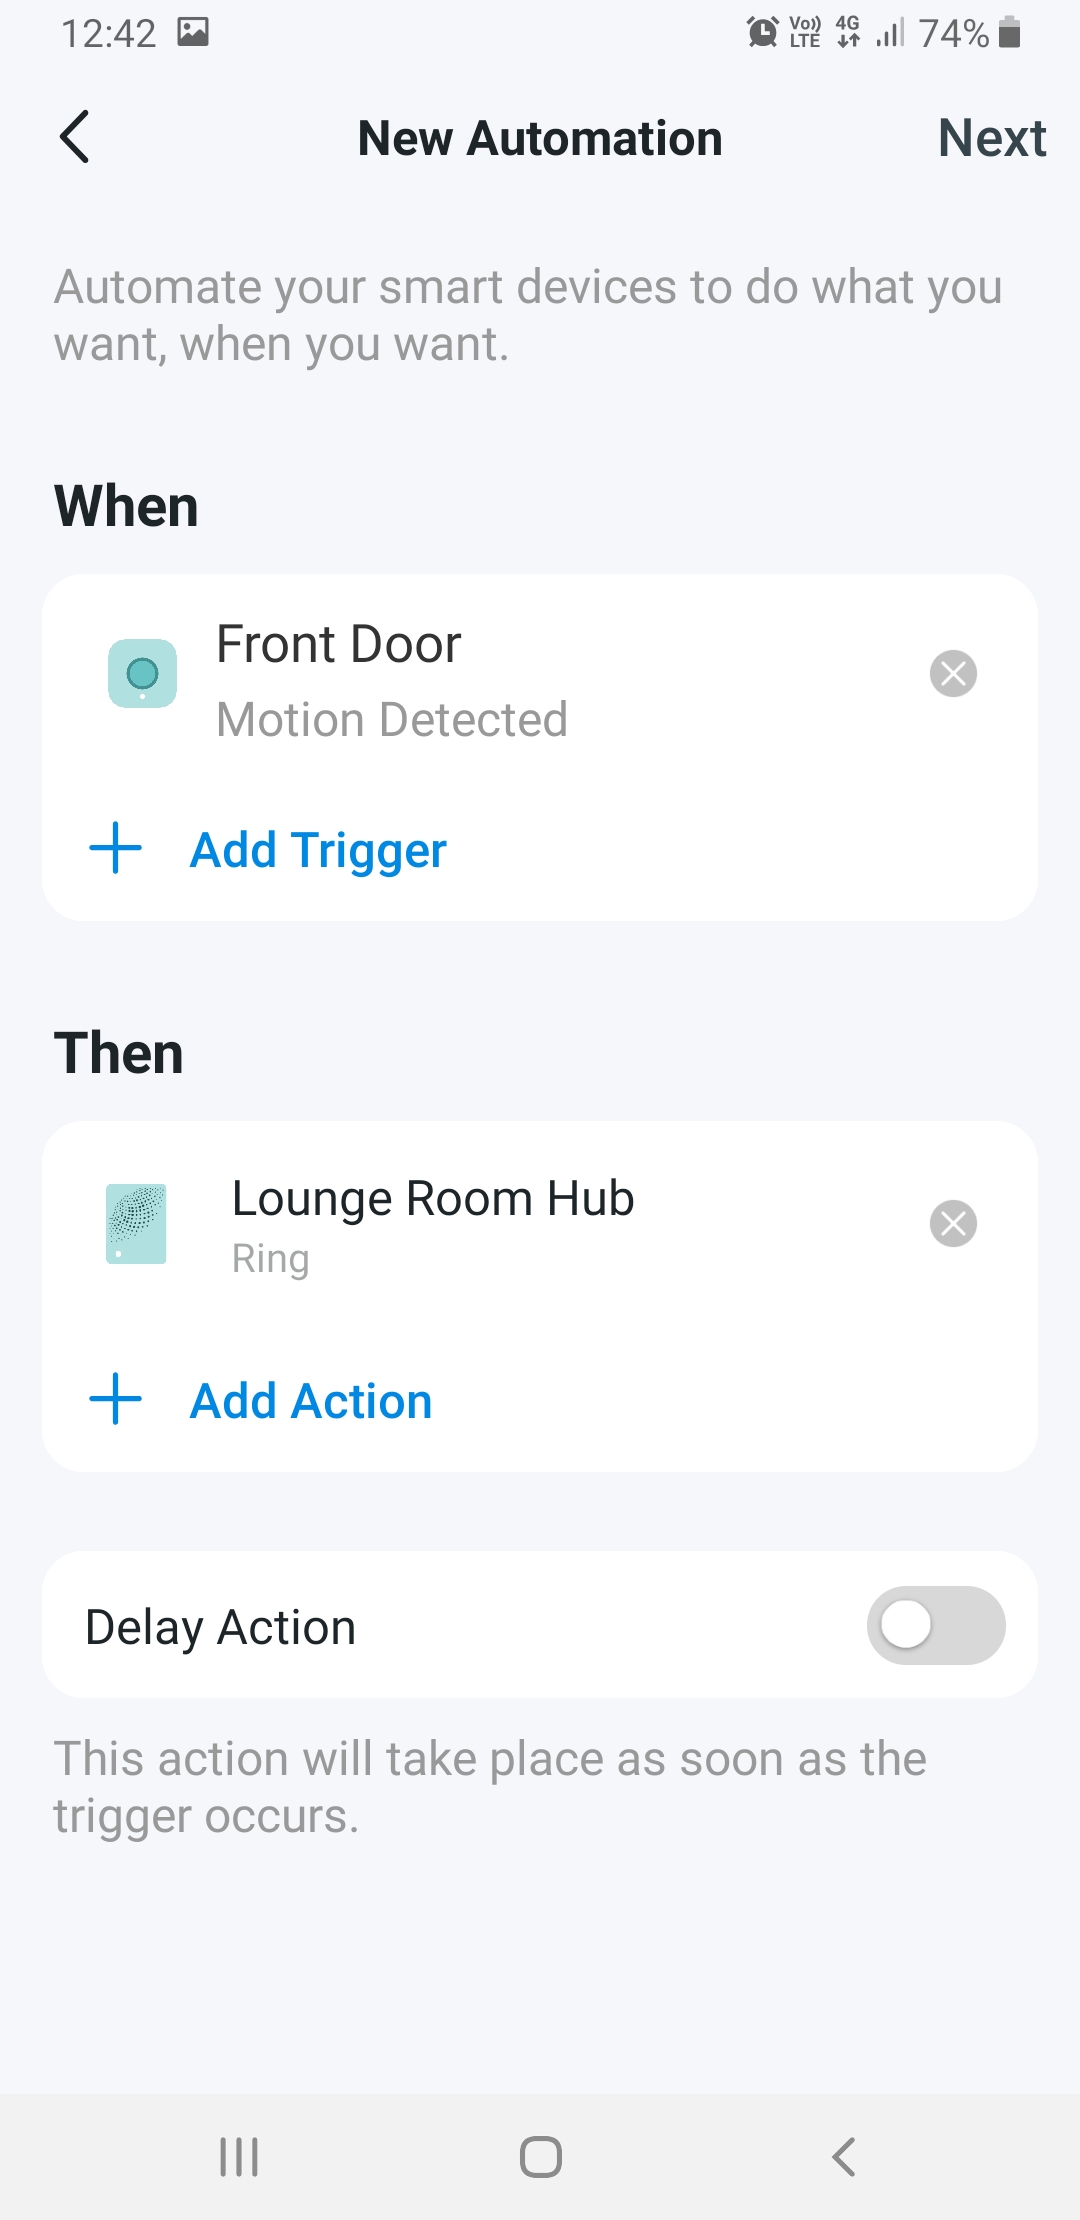
The screen returns to the automation When/Then page but now, the settings are all visible. Tap 'Next' at the top right.
You now have to name your automation. We went with 'Alarm'. However, note the 'Effective Time' menu, set by default to 'Always'. Tap on it. There are four options: Always, During The Night, During The Day, and Custom. The two middle ones cannot be altered, so if you do not like the times, pick 'Custom Time'.

On this screen, you can really make your alarm useful. You can choose a time for the automation to become active, and a time for it to become inactive. Tap on the blue times to change them.
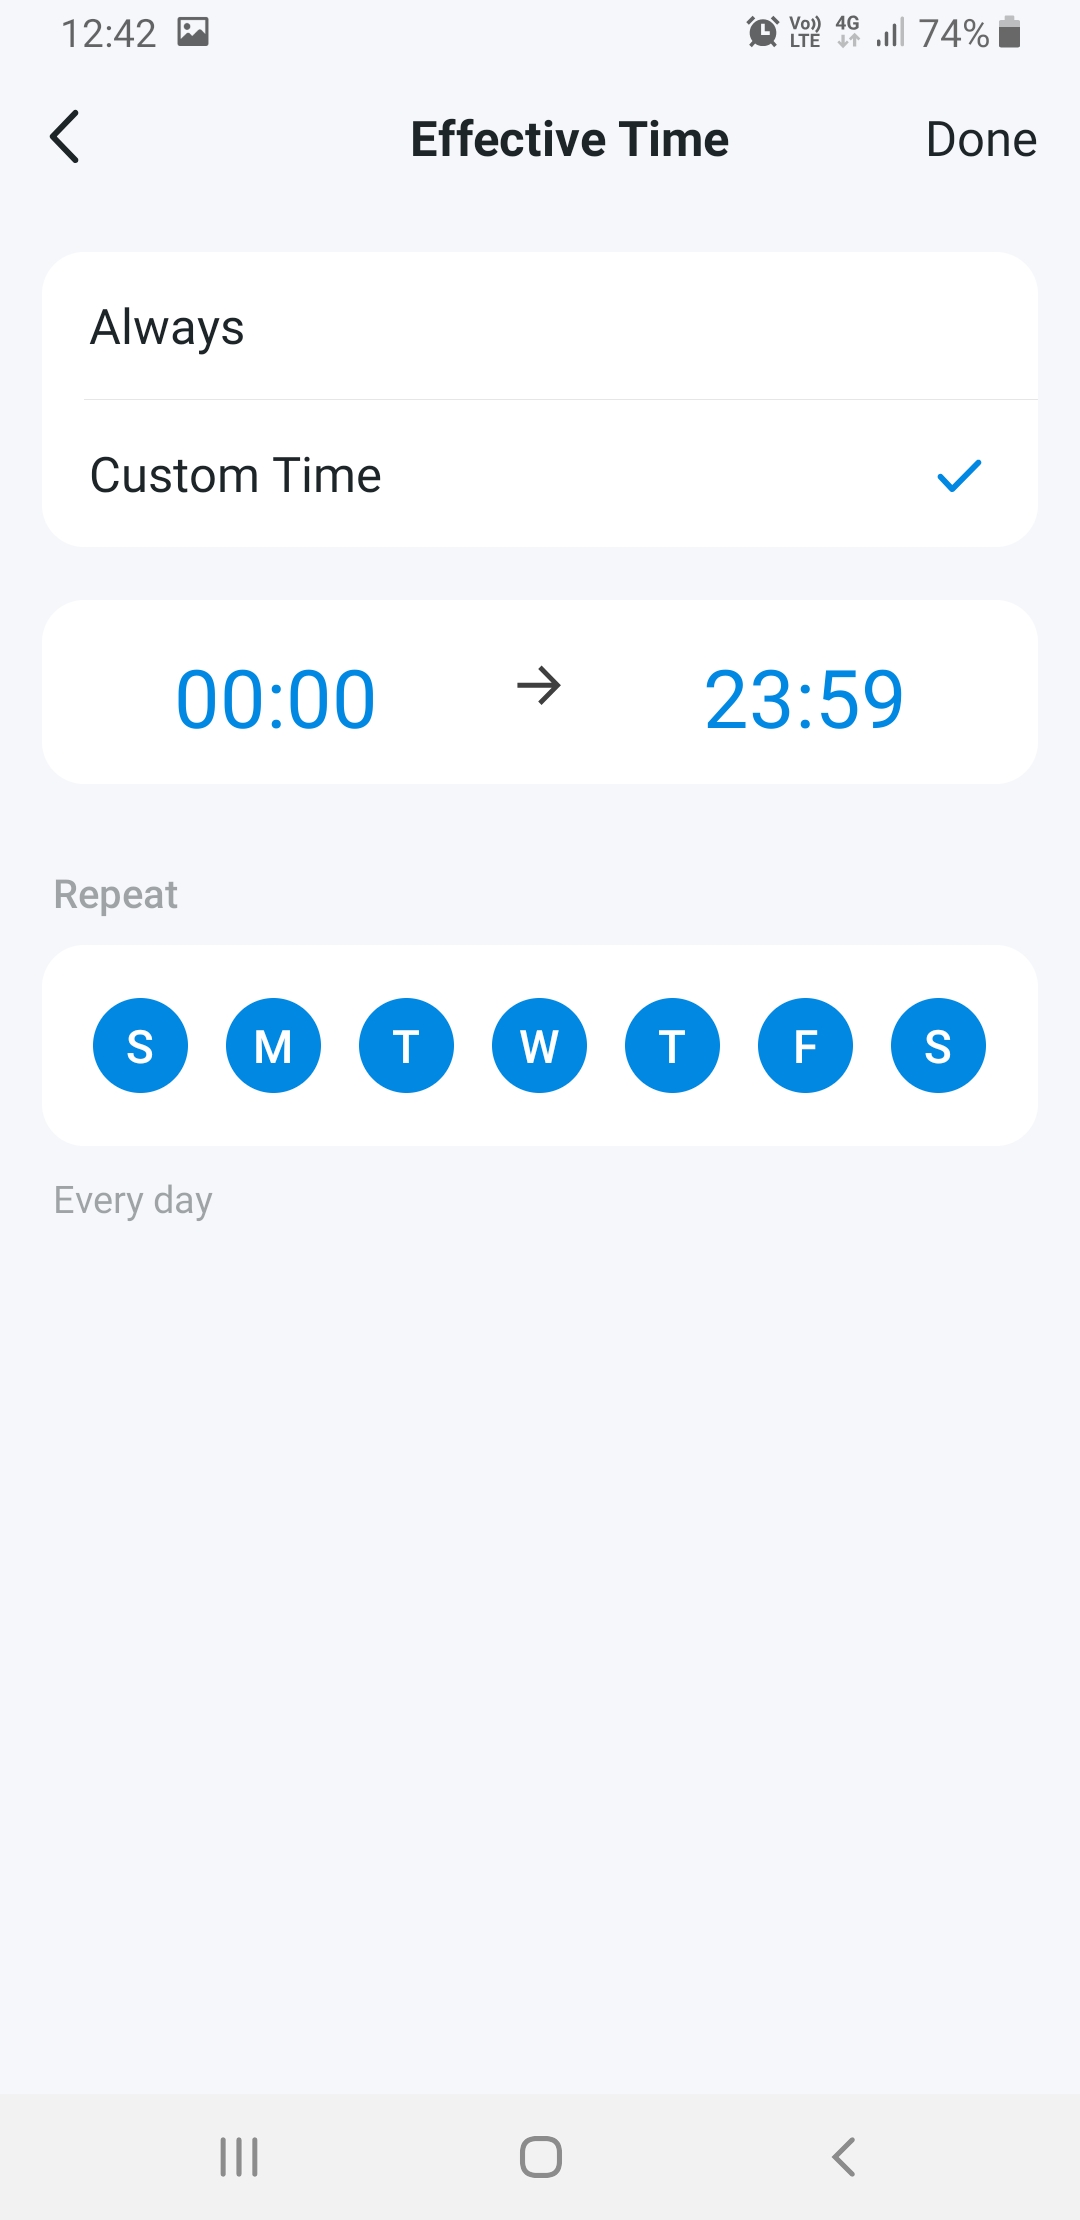
We went with a time that suited the household for times we are normally asleep by, and normally getting up for work. You can also set the days of the week that this applies to. Tap 'Done' in the top right when you're happy.
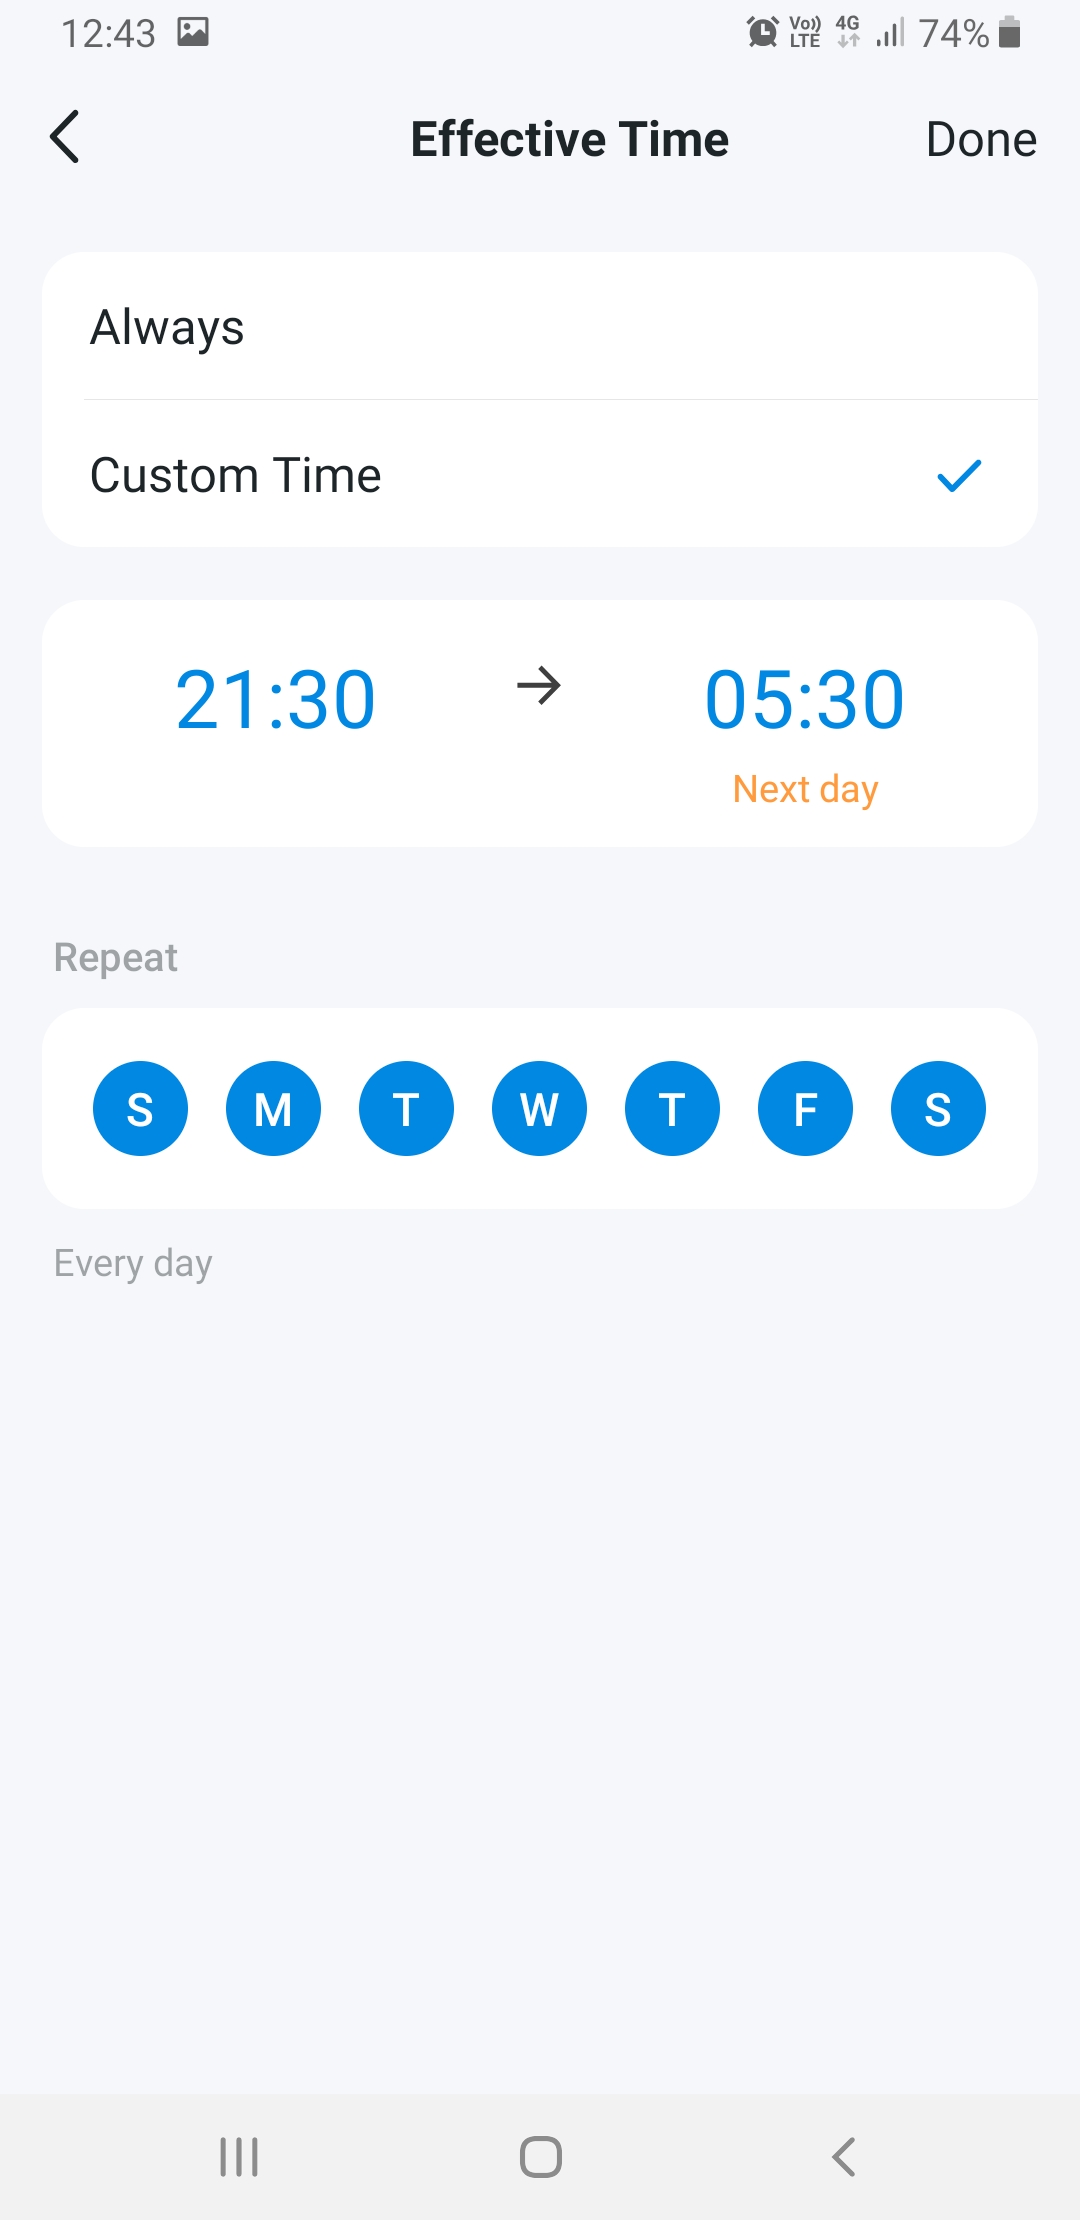
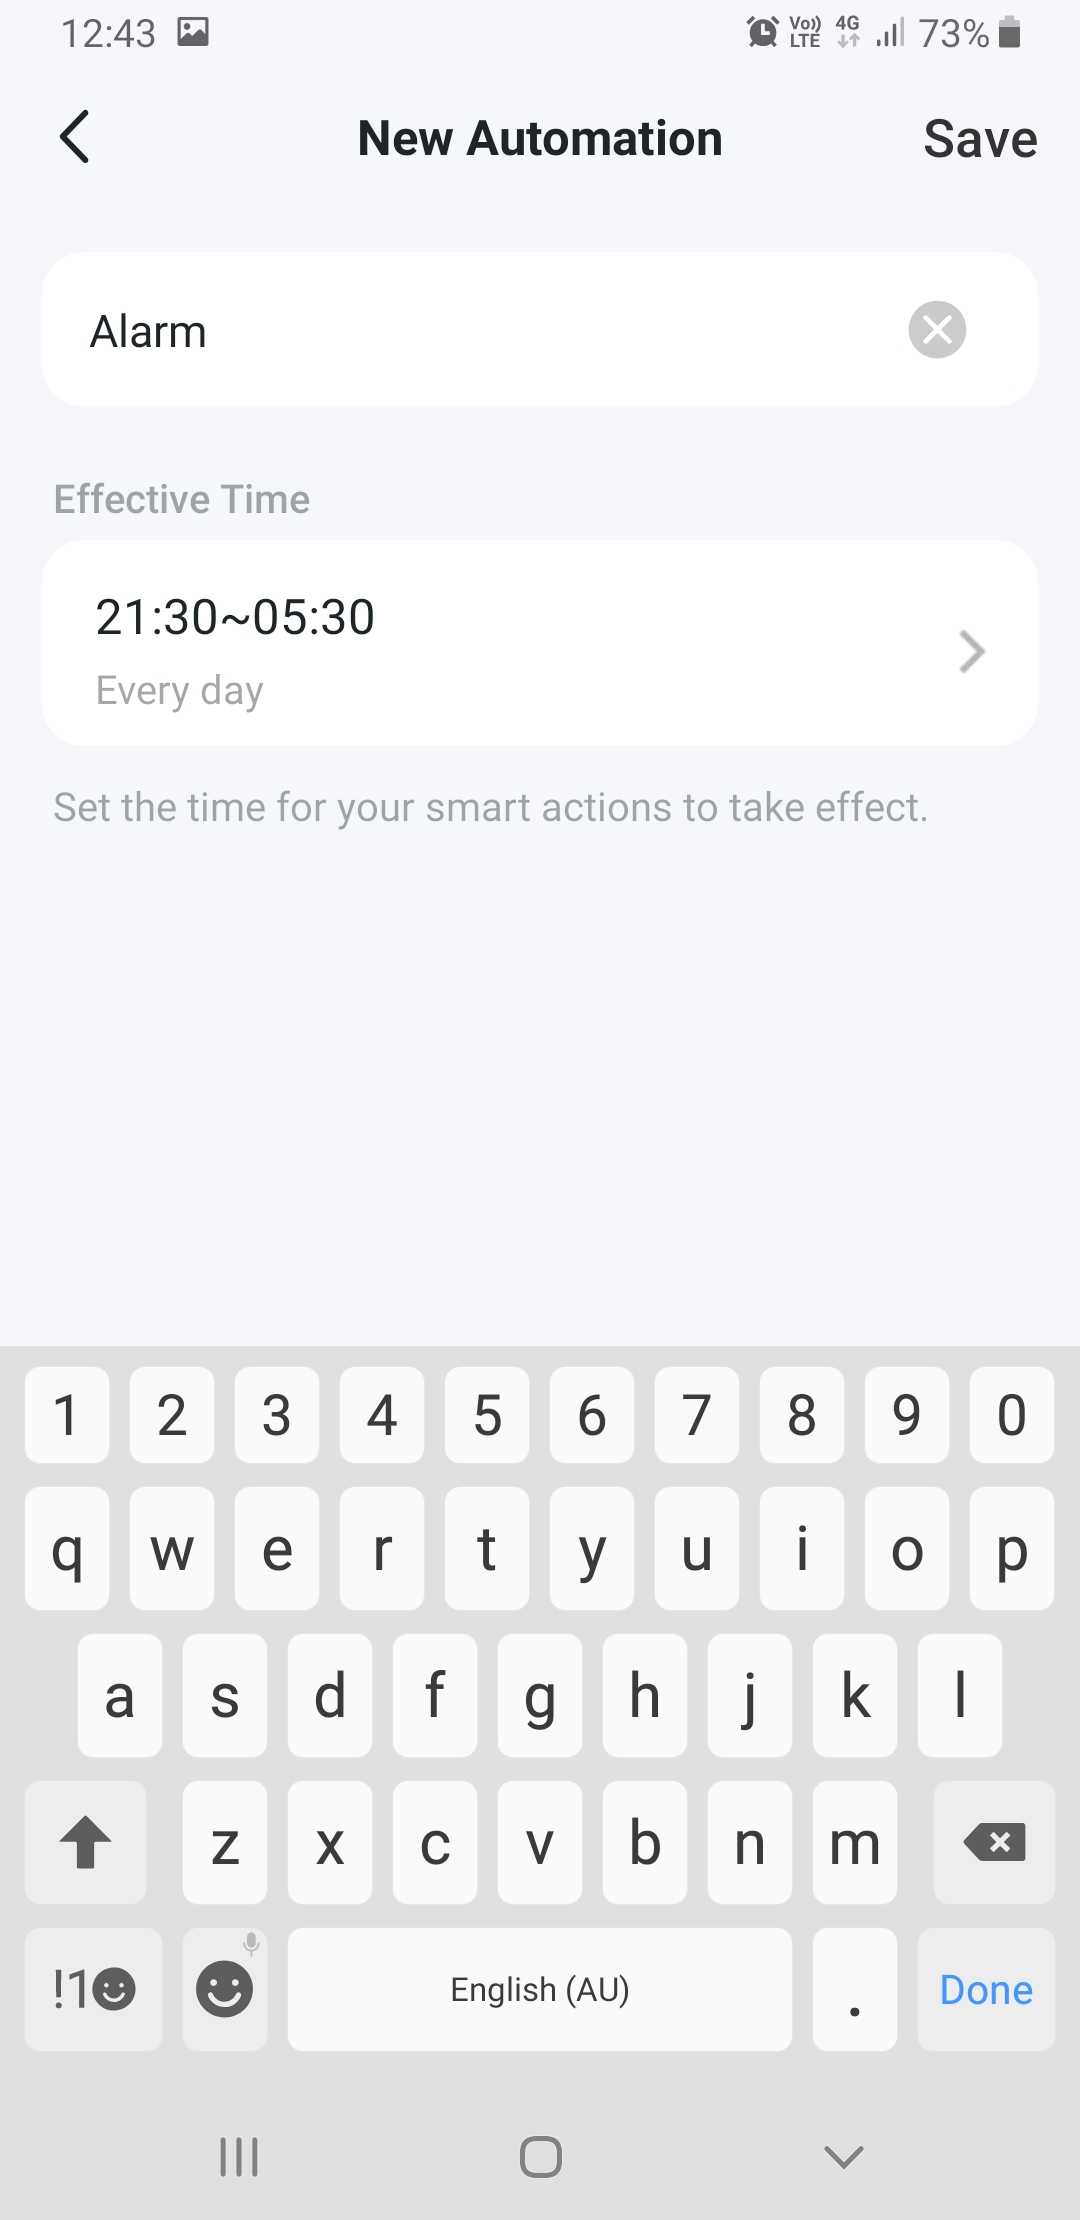
You are now back on the naming screen which should have your custom times and the automation name displayed. Press 'Save' at the top right.
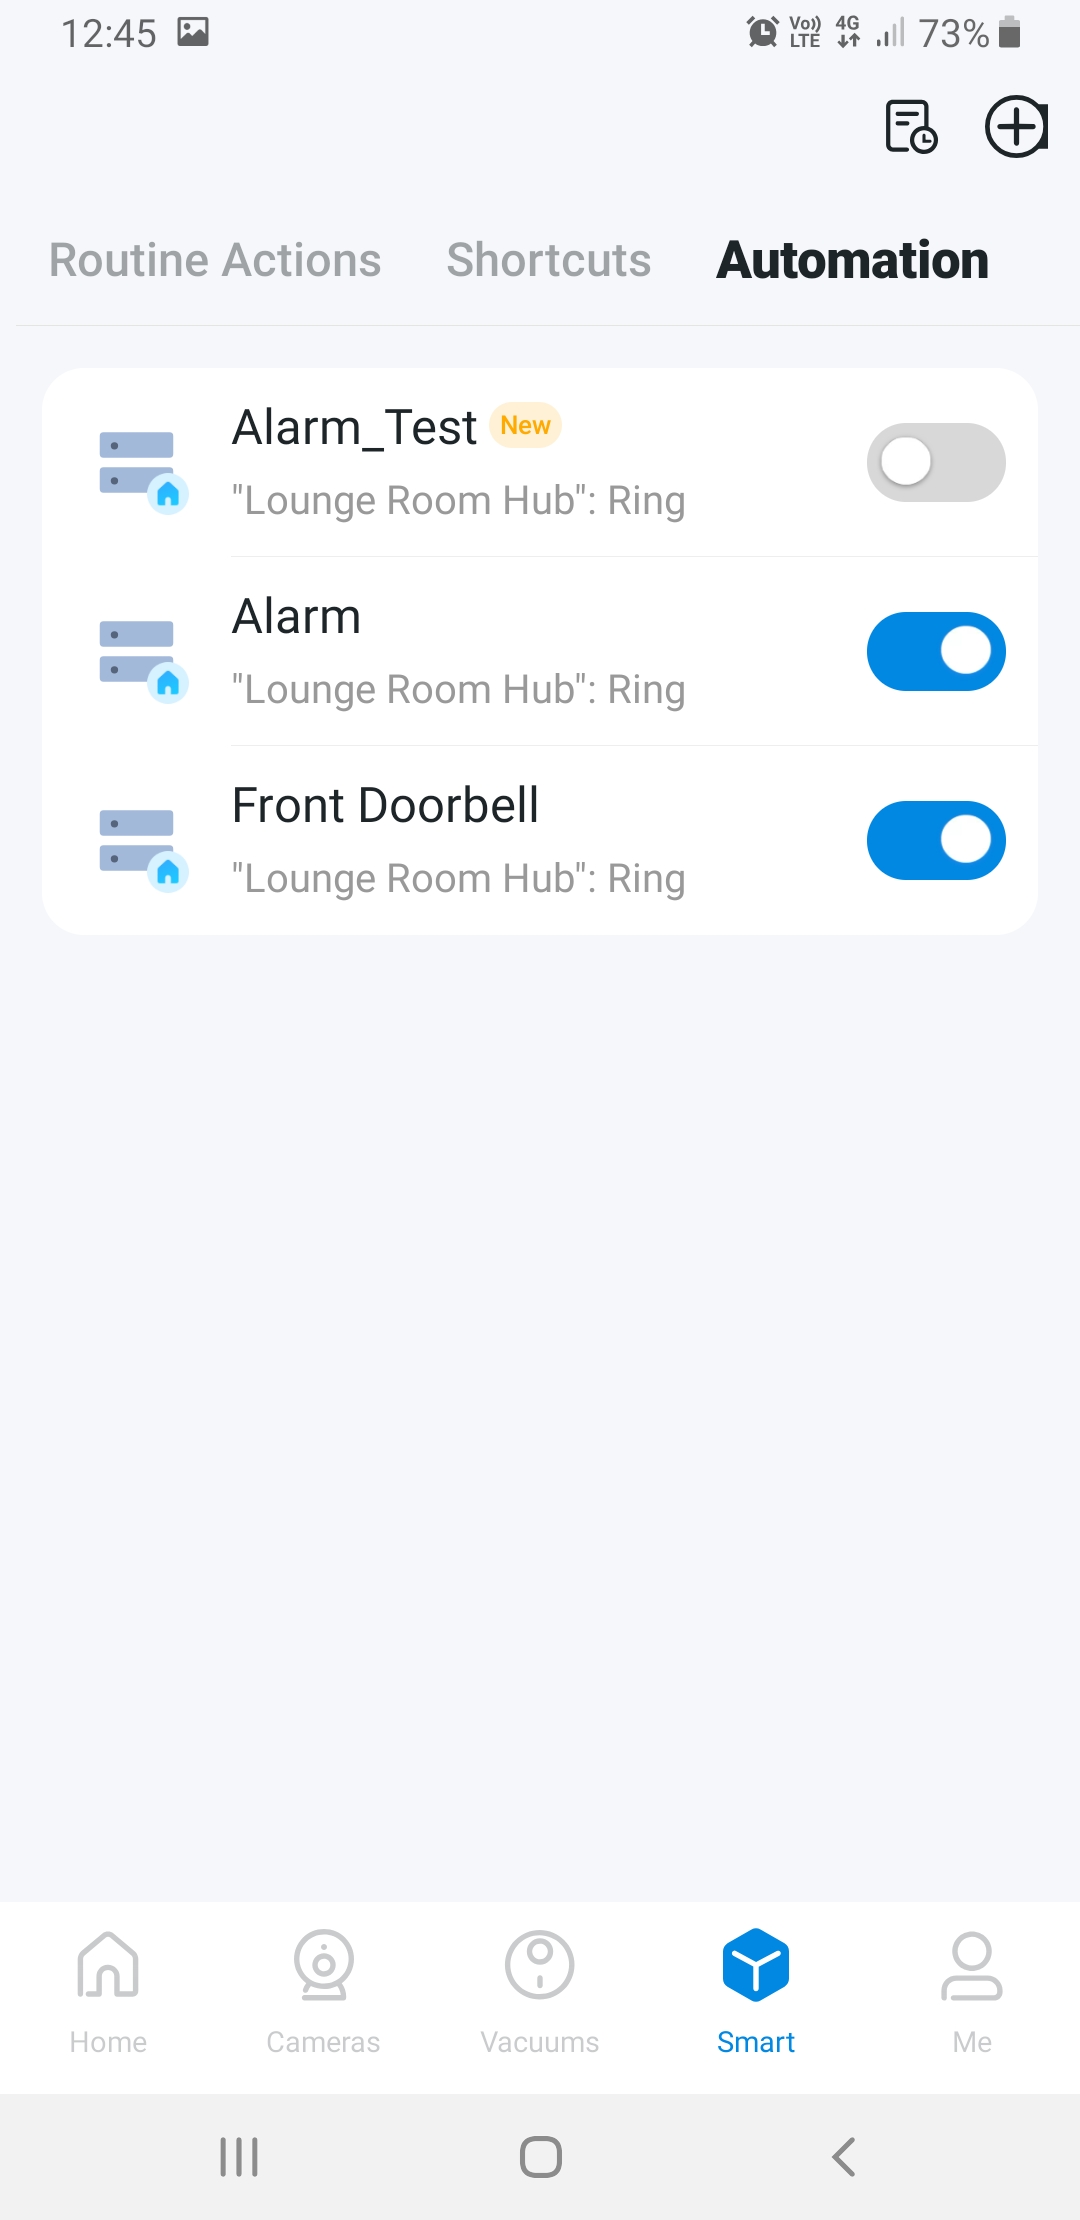
You are taken back to the automation home screen, where you should see your new automation. If you have set up others like our doorbell project, they will be there too.
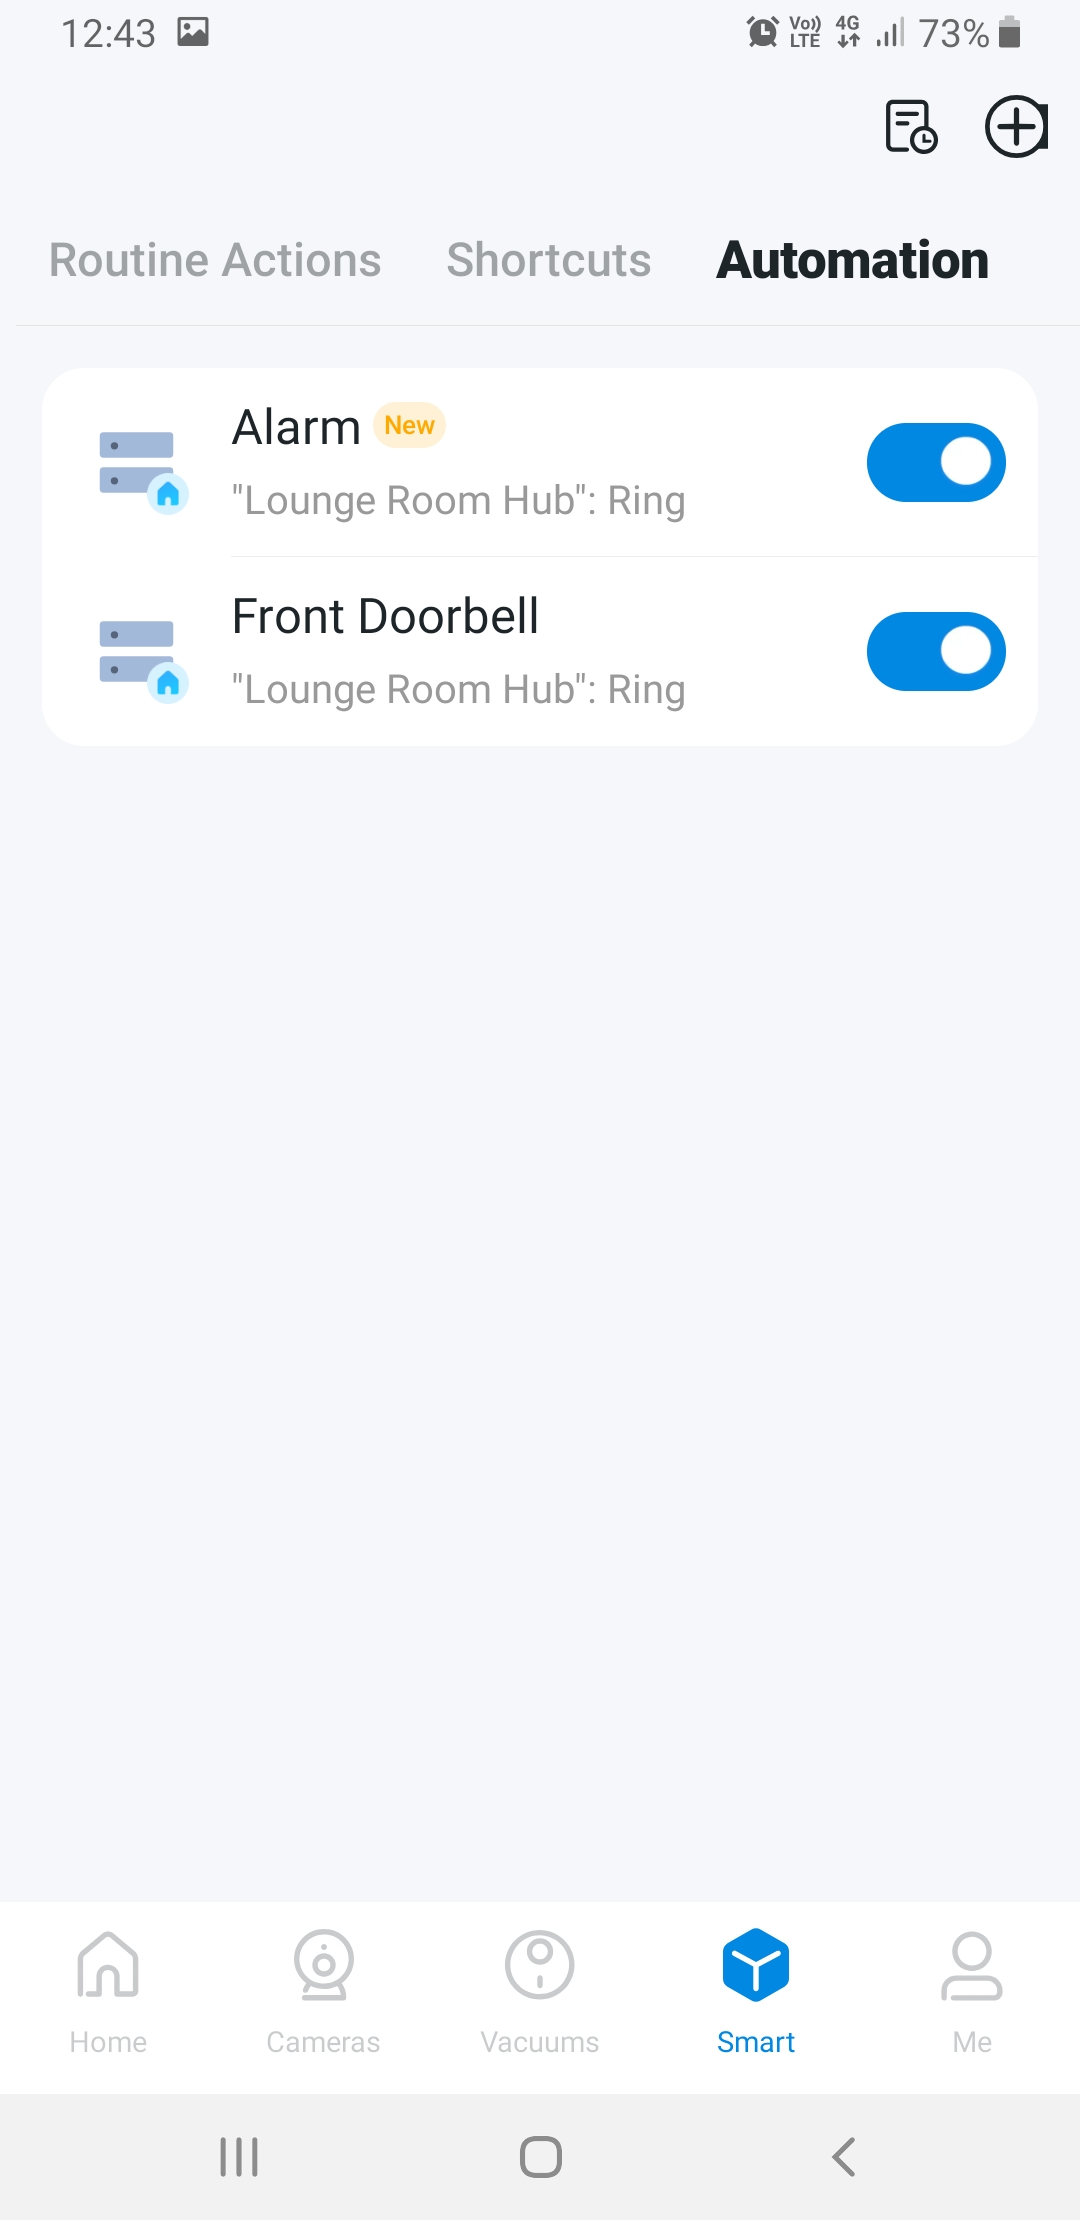
We went through that process again, in order to set up a second alarm. This one, however, has a duration of only five seconds, is always active rather than timed, and has a different alarm sound selected at a lower volume. We called this 'Alarm Test' and it is for exactly that: testing the alarm on demand. If you suspect the sensor is not powered or want to test its range, use this one. Note also that there are slide buttons next to each automation. Tapping these turns each automation on and off. So, You can keep the alarm test off until you need it. The same goes for the main alarm automation if you are going to be up later or earlier than normal. You can also make another for when you leave the house at other times.
Future Improvements
Making a Bigger Alarm
There is nothing to stop you adding multiple sensors like more motion sensors or door contact sensors and running automations for them all, or linking several devices to one automation under the 'When' menu. You can expand and experiment with up to 64 devices for one Hub!
There are still a variety of menus and options we have not explored. The possibilities of the Tapo range go well beyond this article, so feel free to have a go, explore, and if you don’t like something, you can just delete the automation or the link or so on.
Similar projects you may be interested in


